In this entry, we put the Water Crest to good use.
.png)
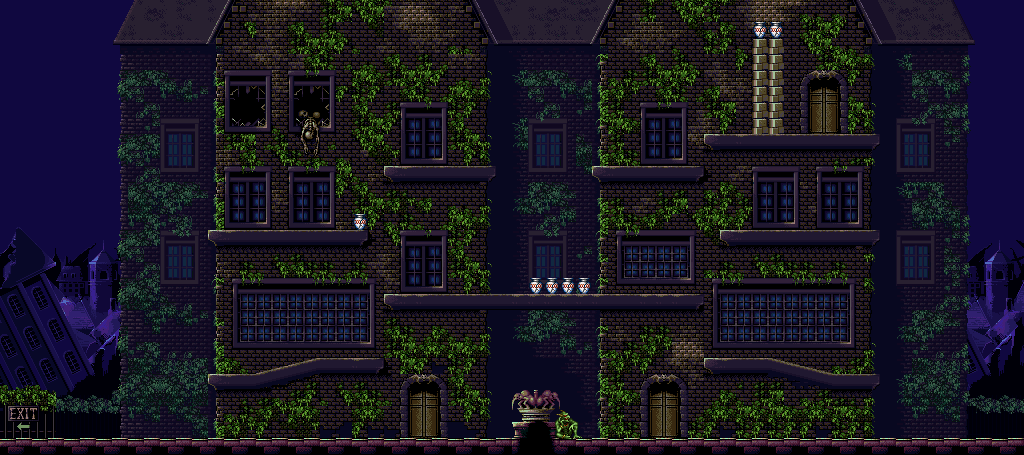
Area II
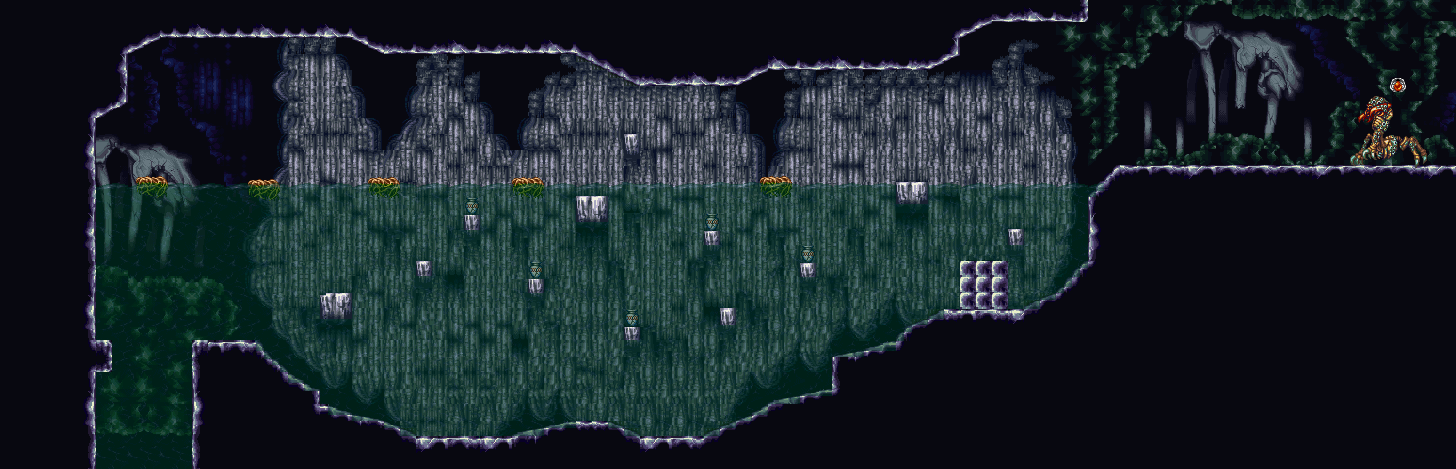
Now that you have the Water Crest, you can go underwater as the Tidal Gargoyle. Use B to ascend in the water, and hold A to swim in a straight line. All the way to the right will be an urn.
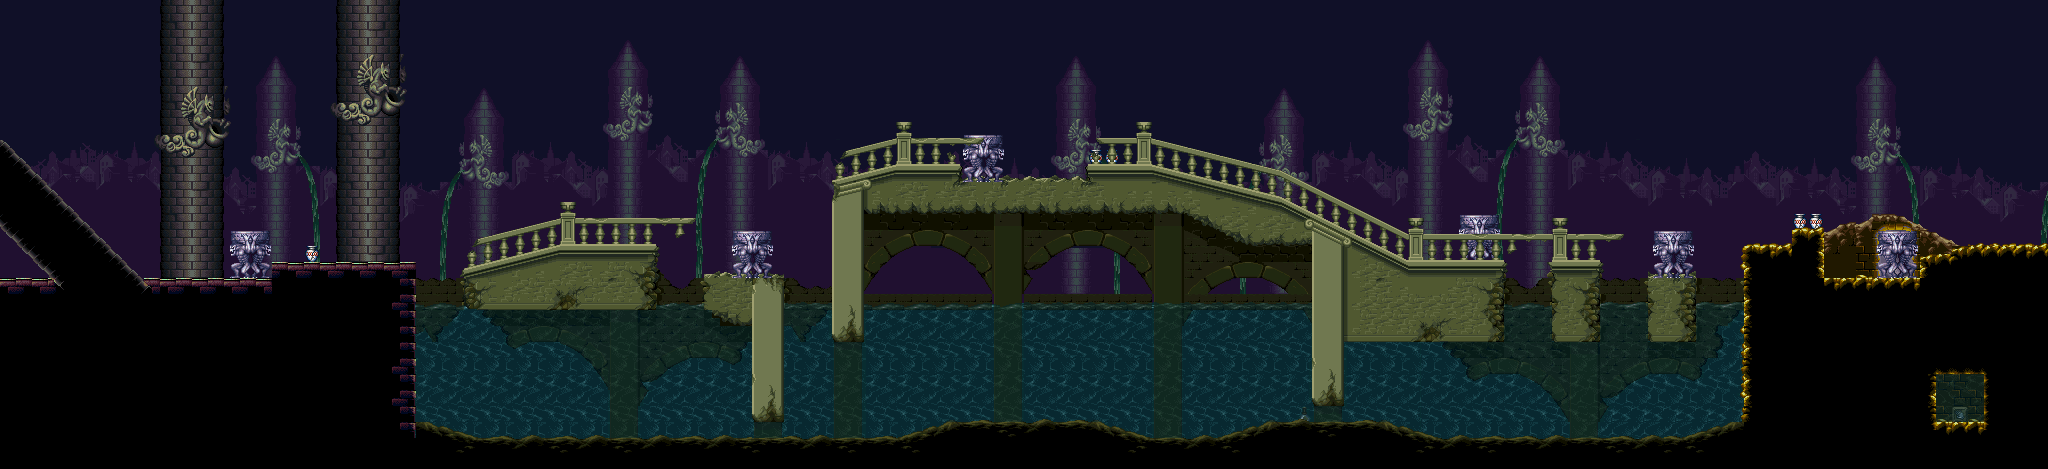
Area III
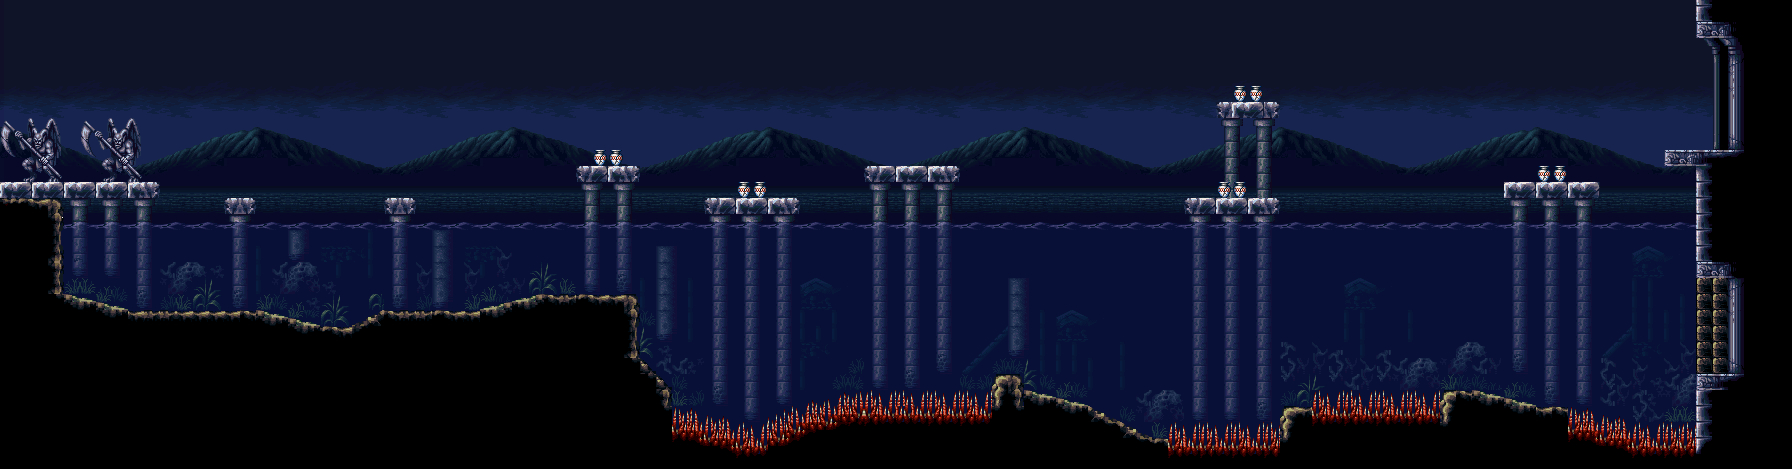
Now that we are here with the Wind Crest, you can use the Aerial Gargoyle to get the urn if you haven't already. Also, the Aerial Gargoyle's projectile can cut the vine walls between some of the tree branch projectiles.
There are two ways to get to where we need to go: breaking the blocks at the bottom of the Scula Cave with the Tidal Gargoyle's projectile, or through the doorway at the end of the underwater area in the riverbank. Both of these doorways lead to a life extension.
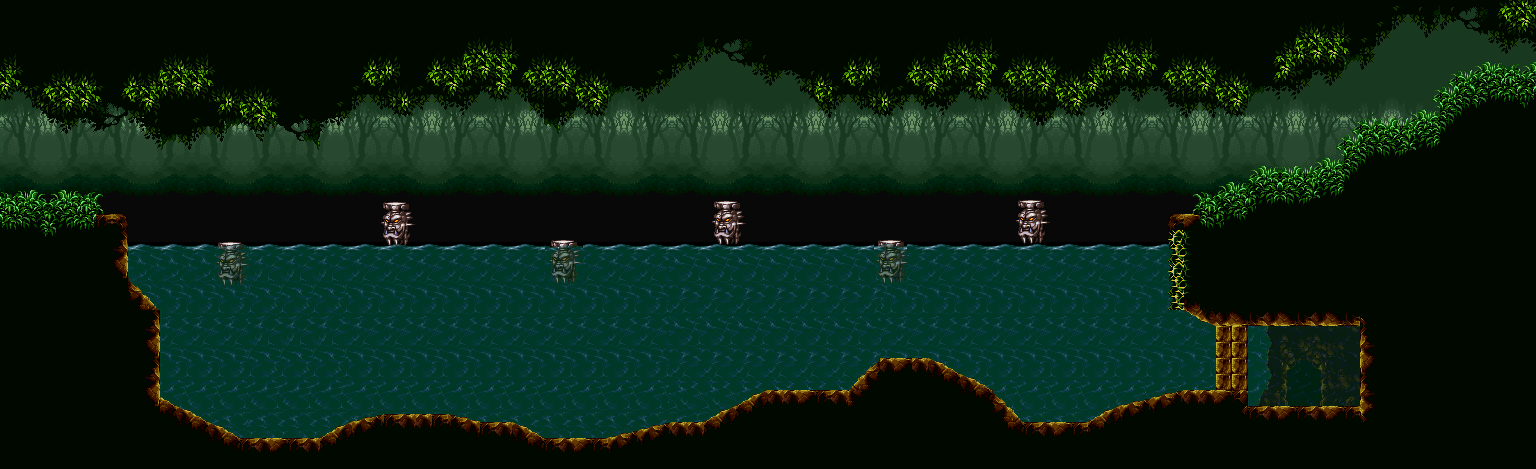
Area V: Entrance
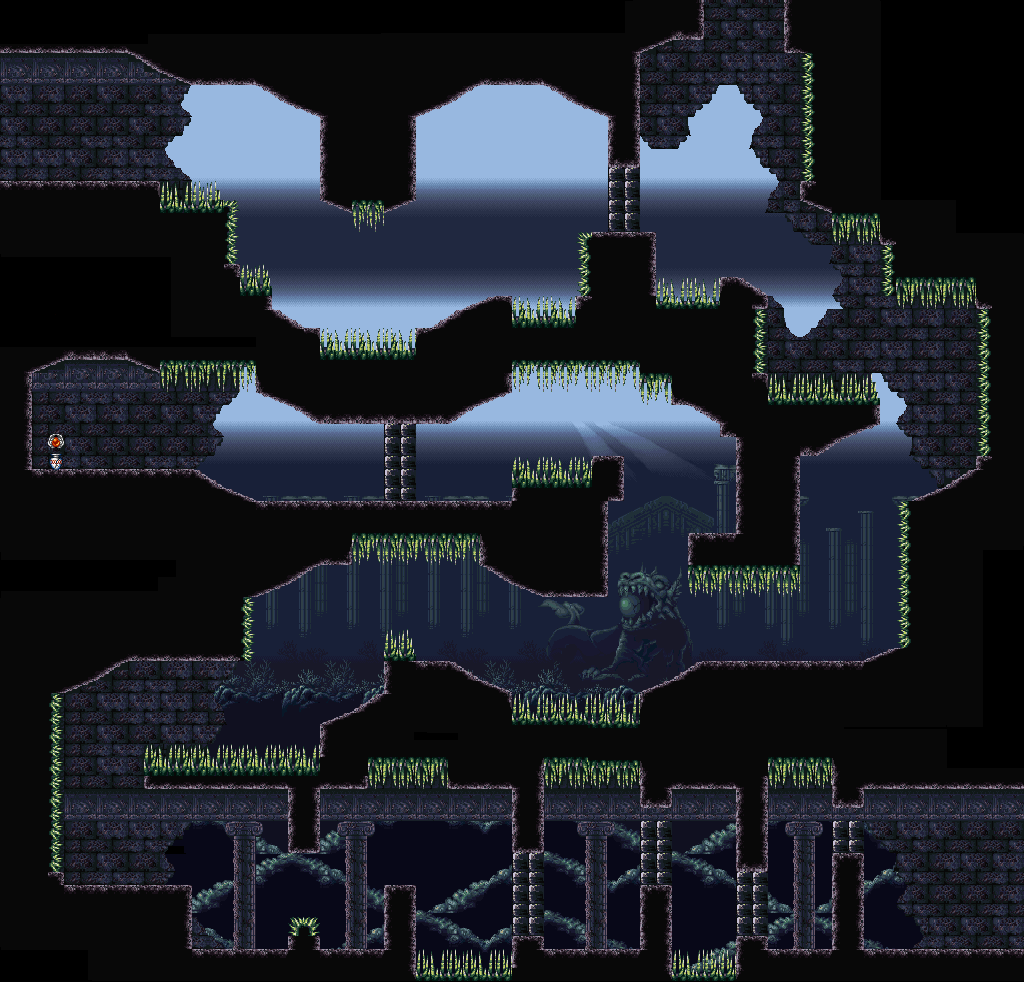
This time around, we'll be taking the underwater route at the bottom now that we have the Water Crest. Break the blocks blocking the entrance with the Tidal Gargoyle's projectiles to get in.
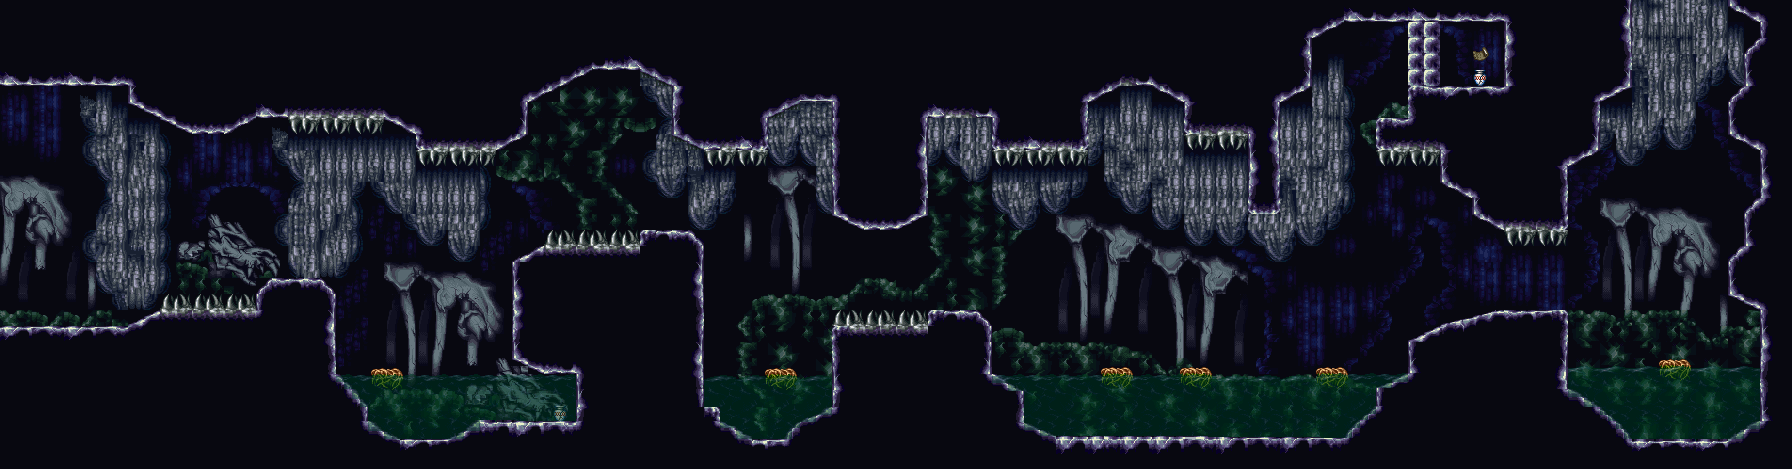
Area V: Underwater Path
The path here is pretty linear. Make use of the A button to avoid running into the spikes on the ceilings and floors. Going up at the fork in the road takes you to a life extension, but I don't get it yet.
Area V: Holothurion's Lair
Once again, you'll be using the A button to avoid running into the spikes.
To beat Holothurion, equip the Hand talisman and keep firing at its head. It will suck you towards it and also blow you away, and it will also fire off brown projectiles from its back that will be moved around by the currents made by the sucking and blowing action, so you'll need to move away accordingly and also avoid being sucked into Holothurion's body itself with the A button. Holothurion will turn a more reddish hue when it is close to death. Beating Holothurion gives you a life extension.
No comments:
Post a Comment