It's time for the final battle with Phalanx to see who is the real master of the Demon Realm. But we're not done yet...
.png)
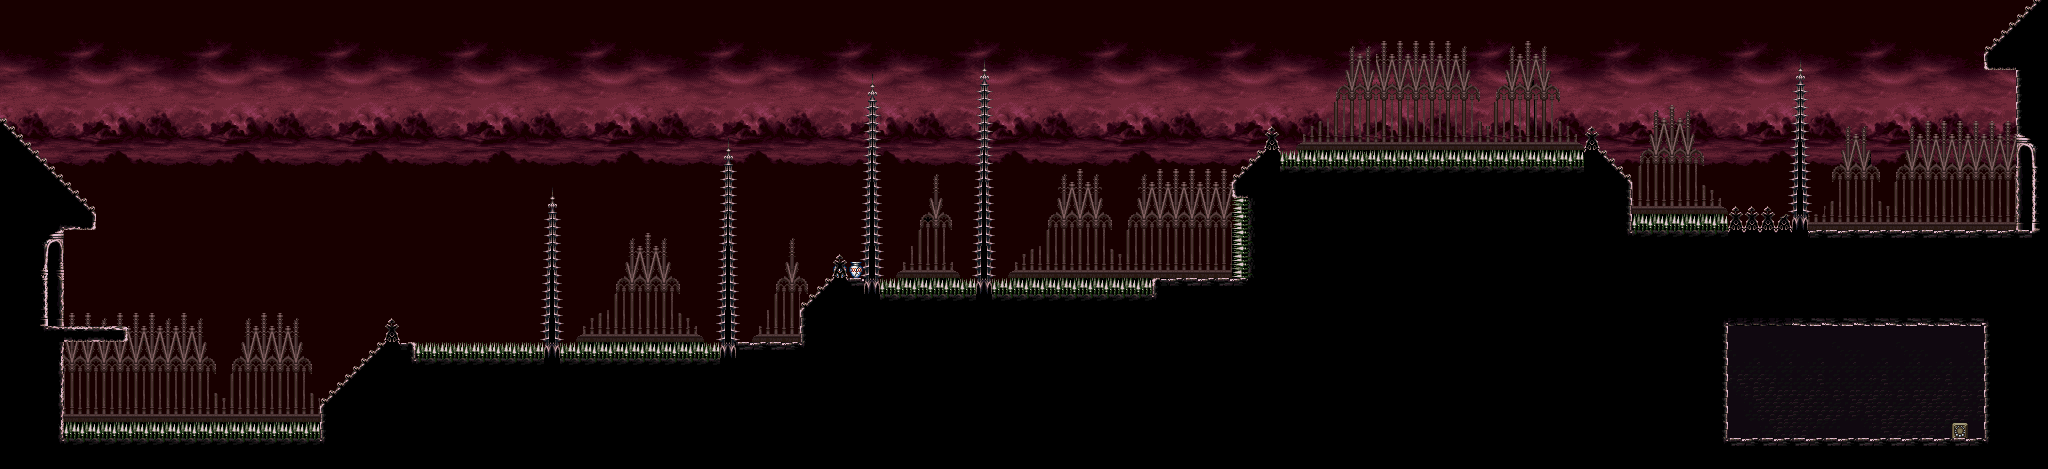
Remember where we fought Phalanx earlier and got the bad ending? Well, that tower is back, and if you enter it this time, you'll enter Area VII. Welcome to Phalanx's fortress.
Area VII: Front Hall
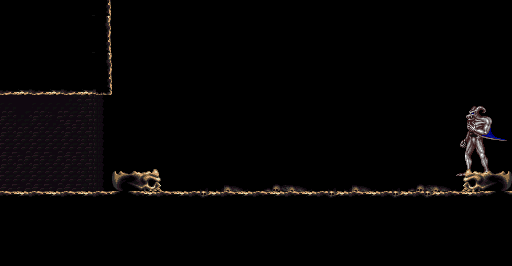
Use the Aerial Gargoyle to make your way across the hall and avoid the spikes. The demons on the ceiling crossbows fire downwards, and while you can destroy them, I find it easier to move past them, anyway, as they're not much of a threat.
Be careful near the stained glass windows, however, as the harlequin enemies can duck under your projectiles with a slide attack and throw balls at you. Thankfully, the balls don't bounce when they hit the floor; they just disappear. Unless they are standing perfectly still, they are invulnerable to your attacks and your attacks will pass right through.
At the end, you'll face the Hippogriff yet again. You shouldn't have any problem with the Hippogriff at this point.
Area VII: West Bell Tower
When you get here, turn into the Aerial Gargoyle and get to the top as quickly as possible to avoid the ghosts and axe throwers. When you reach the bell tower, turn into a form that lets you headbutt, then headbutt the bell and wait. When the bell stops ringing, the final life extension of the game will fall out.
Area VII: Balcony
Become the Aerial Gargoyle and fly your way through this area, fending off the bony pterodactyls along the way. When you reach the end, drop down and head to the left before leaving. There is a part of the floor you can drop to in order to get the Fang Talisman, the final talisman in the game. This talisman allows you to do double damage with whatever weapon you have.
Area VII: East Bell Tower
If you need health, headbutt the bell and wait before you drop down. You'll get a full refill. Now just watch out for the flying skulls and axe throwers.
Area VII: Hall of Souls
Zombies will come out of the iron maidens in the background, but you can easily destroy them with the Ground Gargoyle's projectiles.
You'll fight the Grewon again at the end. The same strategies from Area VI apply, but now you have the Fang Talisman to do more damage in less time with, so keep that equipped.
After beating the Grewon again, head straight to the next area. There's nothing above the path, so don't even bother wasting your time.
Area VII: Phalanx
In the next area, you'll face Phalanx.
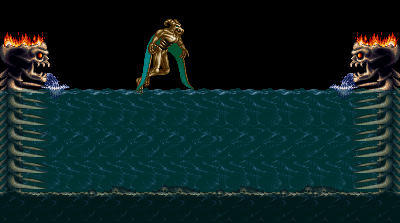
The first part of the battle is the same as before, but this time, you can play as the Legendary Gargoyle and equip the Fang Talisman. Stay just behind him, and watch out for the fireballs that he drops, which bounce around. If you're at just the right distance, he will drop down and will either shoot projectiles and dive at you. When he's at your level, hit him with projectiles.
After enough damage, he will use the Crest of Heaven, and this time, it will work. The arena will also flood with water, so be ready to play as the Tidal Gargoyle. His strategies will be the same, but this time, you'll be moving around in water that rises and sinks at regular intervals, and the fireballs that drop down and bounce from before don't really go anywhere in the water.
You'll be playing as the Tidal Gargoyle more often than not, but if you can get the chance, you can get in the air when the water is at its highest, turn into the Legendary Gargoyle, then hover and get a shot or two in before switching back to the Tidal Gargoyle. Also, coming in here with five Ginsengs really helps.
Eventually, the water will sink and never return, and the battle will be like before. When this happens, switch to the Legendary Gargoyle. This time, Phalanx will have some new attacks, such as a black hole attack that will try to suck you in and do damage (mash the D-Pad and Y to get free), the ability to blow you backwards with his wings into the spike walls and a fireball that moves backwards before curving around to hit you from out of nowhere.
Once you beat Phalanx a second time, however, the battle will not be over yet. Phalanx will combine the powers of the Crest of Heaven with all of your crests to get the Crest of Infinity and transform into something even more monstrous. You'll be riding on a lava platform where you'll ultimately meet his true form, then the battle begins.
Stay as the Legendary Gargoyle at all times, and keep the Fang Talisman equipped at all times. Be ready to heal with a Ginseng, as it is the only item of use in this battle. Use the platforms that move from left to right to get a good footing, and be ready to shoot Phalanx in the face when it is not covered, as it is his only weak spot. The orbs that move around and try to fly to your current position to hit you can be negated by one of your own attacks, but you'll need to avoid the lightning bolts that Phalanx shoots directly at you with his upper claws, which he also uses to protect his face regularly. Phalanx's attacks can and will destroy the platforms that spawn with frightening regularity, so be ready to hover and stick to the sides of the platforms throughout the battle. If any energy emanates from Phalanx's mouth, move out of the way of the blue laser that he will spit out. If you fall into the lava, get out of it immediately.
Once you beat Phalanx will all abilities, talismans, vellums, urns and health extensions collected up to this point, Phalanx will be defeated once and for all. Phalanx will toss the crests to the sea...
After "The End" fades out, you'll get a password. Be sure to write it down. You'll need it for what's ahead, as you're not done yet...
No comments:
Post a Comment