In this entry, we go hunting for power-ups before tackling Area IV.
.png)
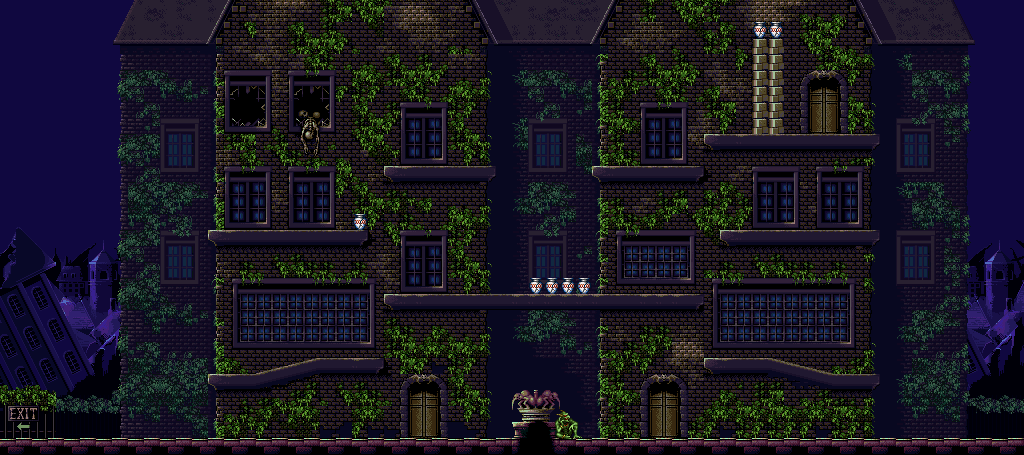
Area II: City
Now that you can break the blocks blocking the door in the upper-right corner of the city with Buster, you can buy spells here. There is a new spell here called Death, which kills all on-screen enemies and damages some bosses. Not surprisingly, it ends up being the only spell in the game that I use.
Area II: Catacombs
When you enter this area, go down and hit the square blocks with Buster. Inside the pot is another vellum.
Area II: Dark Catacombs
In this area, go down and to the left until you find some square-shaped blocks. Break them with Buster to get a health extension.
Area II: Boneyard
Believe it or not, you can charge into the piles of skulls early in this section with the Ground Gargoyle. One of the skull piles contains another health extension.
We're done getting stuff, so let's head to Area IV, which is in the lower-right quadrant of the overworld map.
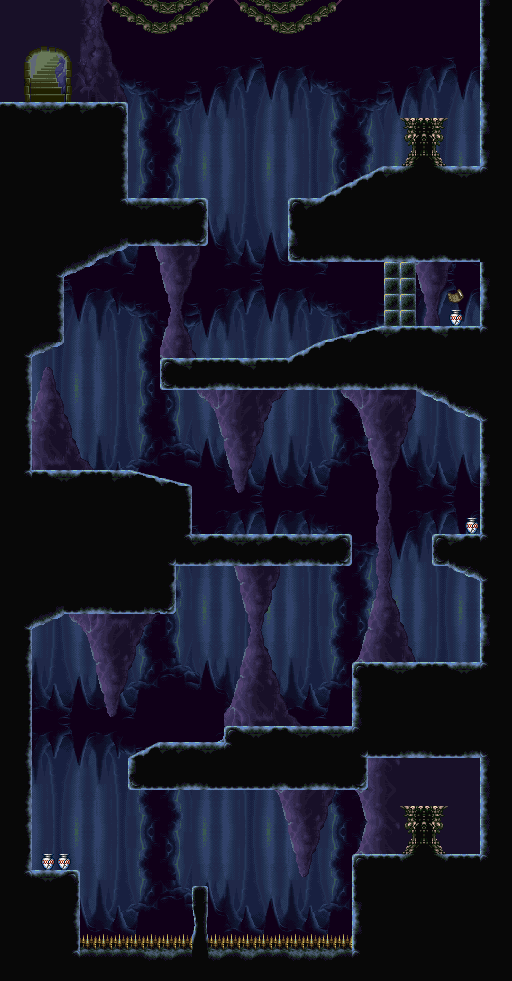
Area IV: Gryphon Spire
This is where your hovering skills are going to be put to the ultimate test. Watch out for the spikes on the floor and ceiling, and keep an eye on the monsters that rocket out of the walls and stick out their tongues.
There are some blocks you can break with Buster to make it easier to stick to the walls and also open up a safe spot. There is an item to collect beyond the safe spot, but I didn't know it was there at the time. I come back for it later.
The columns with the faces will move up and down. You can hang off the side of them like you can the walls, and you'll need to watch where you are so you aren't sent into spikes.
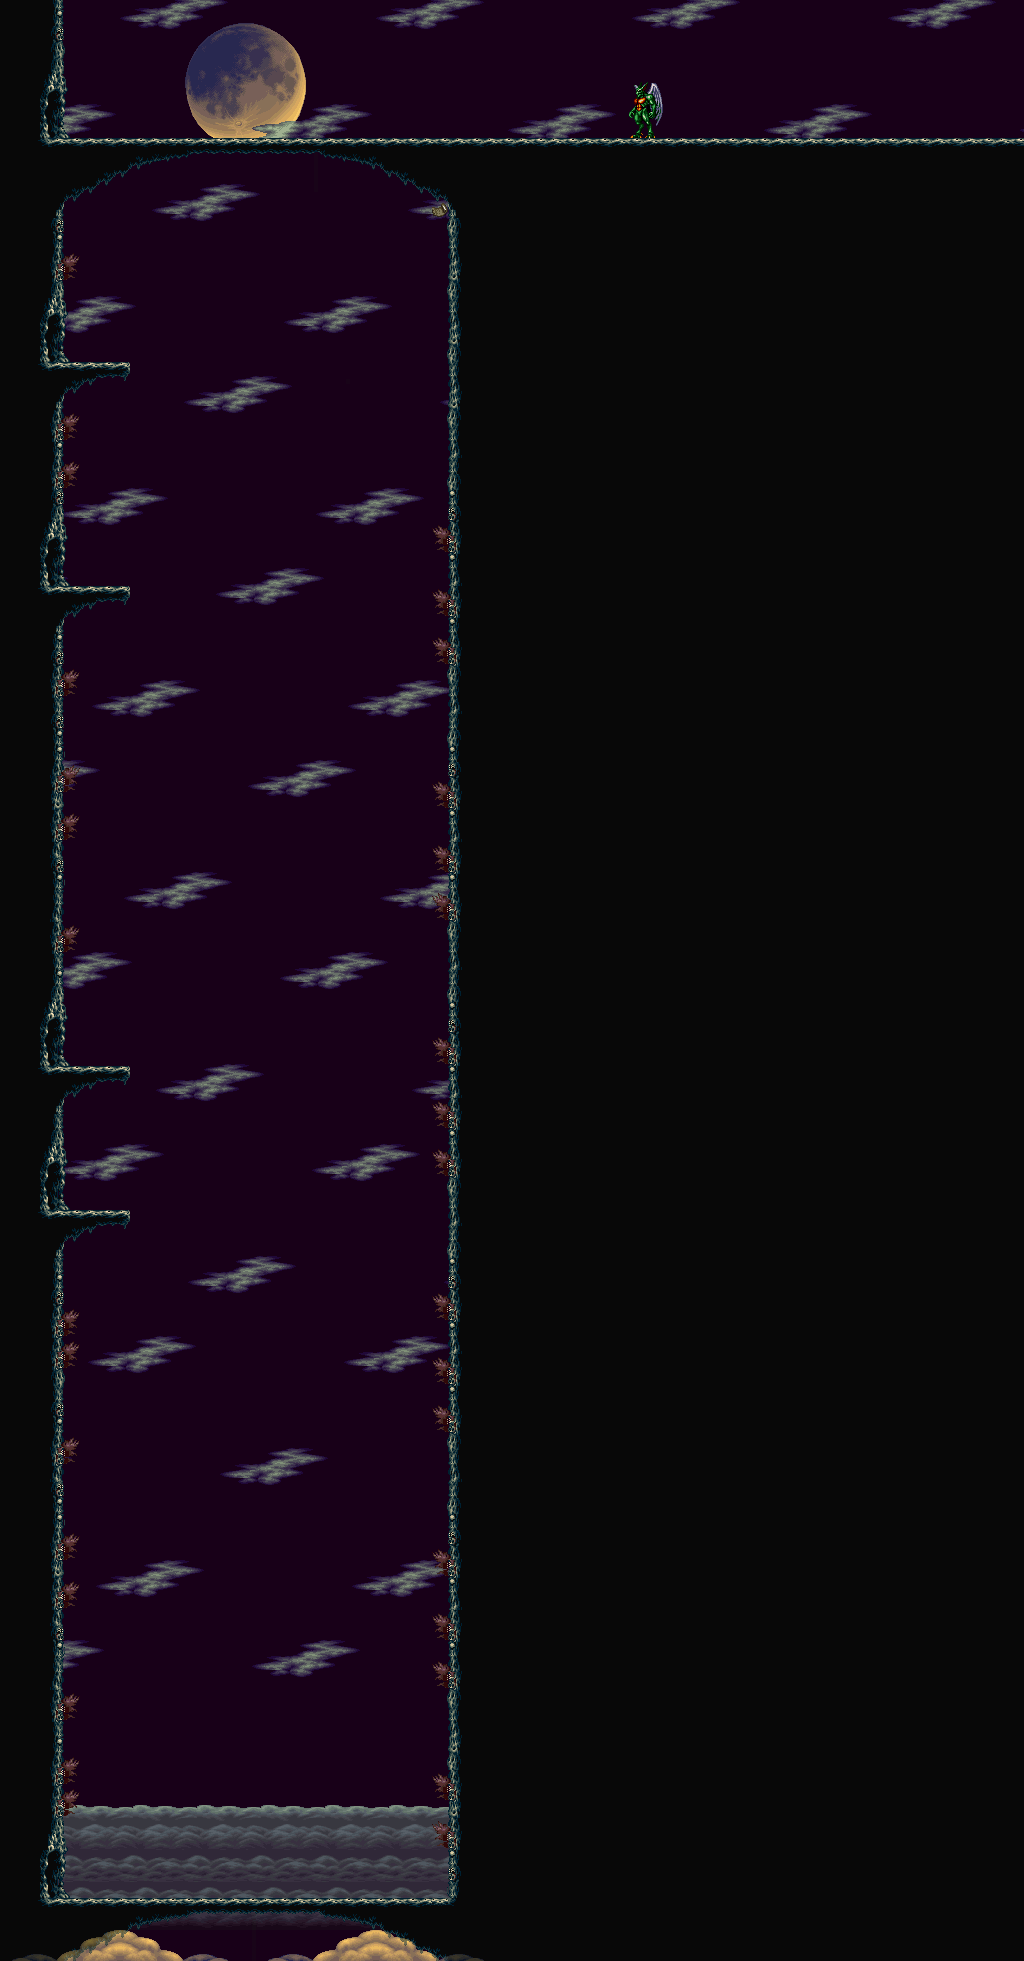
Area IV: Sky
Here, you'll also be tested on your hovering skills. Equip buster to get past the armor ghosts. As for the flying bird-like skeleton beasts, you won't be able to fight them just yet, so get past them however you can.
If you fall down the pit, you'll end up at the beginning instead of dying.
At the end, you have a choice between going into the nearby tornado or going to the right. I enter the tornado.
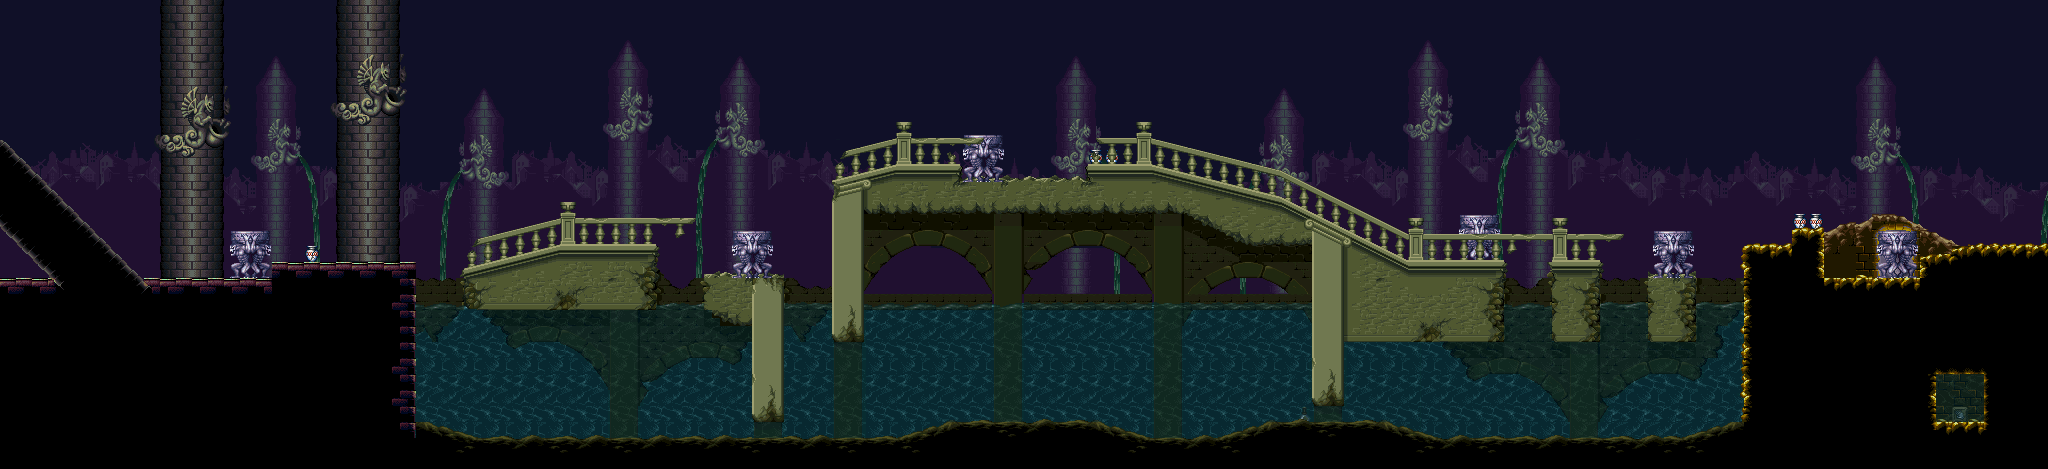
Area IV: Bridge
If you drop into the tornado near the end, you'll face the Hippogriff. Same strategies apply, but use the Buster this time. You'll make this a little bit faster. After this, grab the full health refill and head to the right.
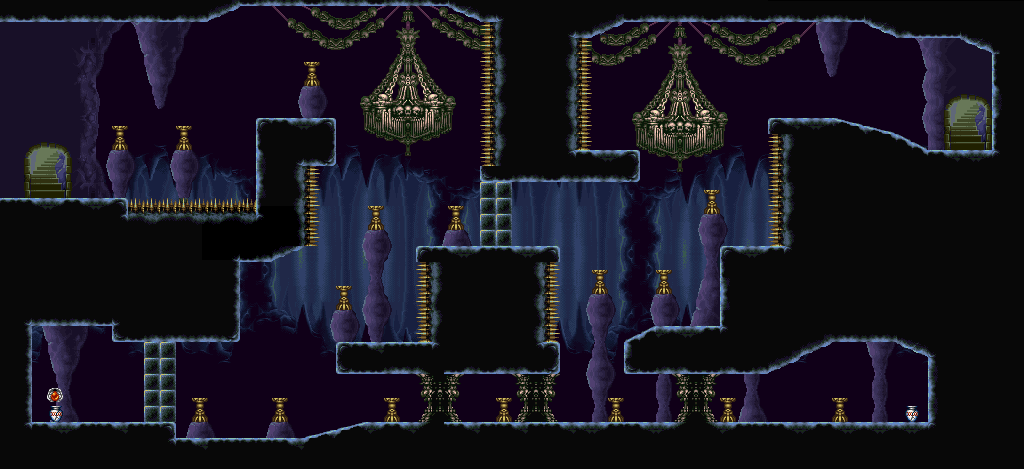
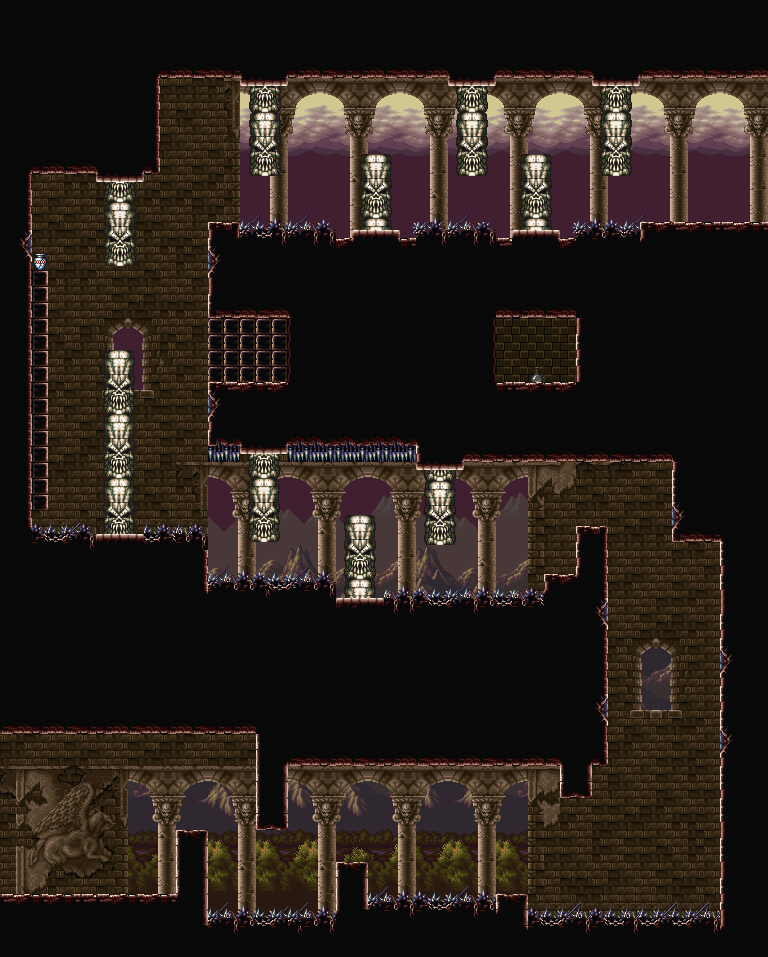
Area IV: Spire and Chasm
You can use your hover to cross the rotating platforms. This is good, especially when you have to deal with the ghosts from the bridge area in Area II.
You cannot hang off the purple pulsating walls, so don't.
The doorways to the right take you to the chasm. Here, you'll have flying skulls that try to home in on your current position as well as brown spinning spiked blocks that will try to hit you. If you drop all the way to the bottom and go to the left, you can headbutt the statues to get the Crown talisman, which increases the chance of a money drop when you defeat enemies when equipped.
Your main goal is to go all the way to the top of the indoor spire area. When you reach the end, you'll face Arma again. Arma fights much like he did last time, but he has a new attack where he crates a tornado that can push you back. If you get caught in it, keep shooting at Arma while trying to get out of the tornado, as the tornado inadvertently makes it easier for you to hit him.
Beating Arma gives you the Crest of Air, which allows you to turn into the Aerial Gargoyle and fly.
No comments:
Post a Comment