Friday, January 31, 2025

PrinceWatercress plays Wario Land II - Part 3 of 51


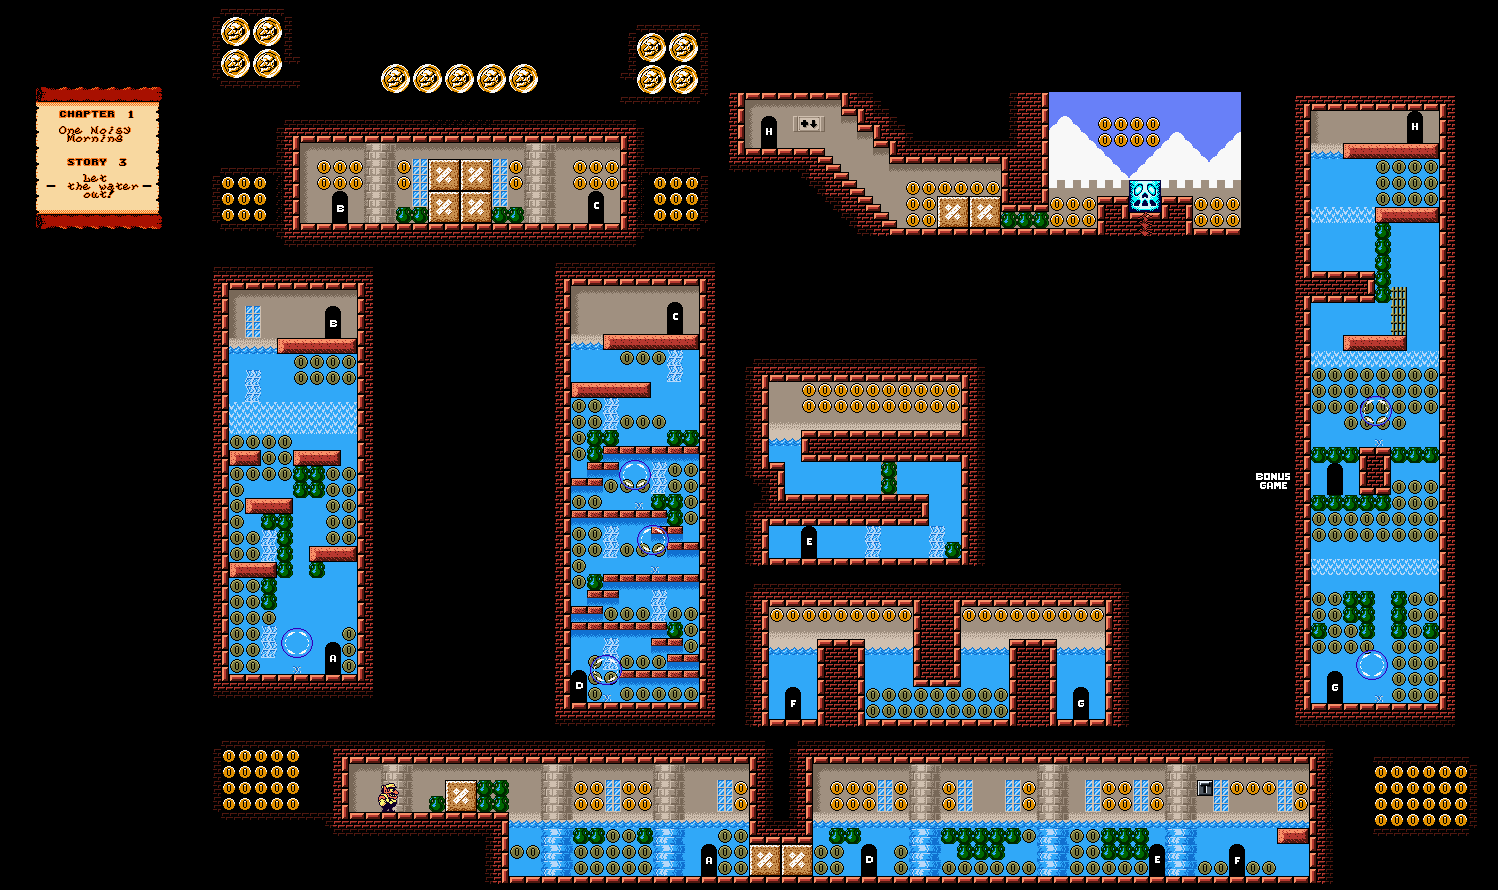
Now that we've turned the water off, it's time to get it out of the castle so we don't have some weird flooding problem.


Chapter 1: One Noisy Morning

Story 3: Let the water out!


There's some coins to the left, so tackle the wall at the start.

The fish with the drills for noses will hurt you and cost you coins if they ram into you. You can hit them from above or below to stun them.

It's already been established that D-Pad will let you swim in eight directions, while underwater, but A and B will also be useful here. A lets you dash upwards and break the jars in the water from underneath, while B will allow you to dash in the current direction you are going. That's a good thing, as the bubbles that come out of the cracks in the walls will carry you upwards past the currents that will push you down. You'll just need to use Left and Right on the D-Pad to move past all the platforms that are in your way and make sure that you've gotten rid of any and all breakable obstacles. The balloon will pop when you hit a ceiling or reach the water's surface.

The pirate ducks will throw boomerangs at you. Be ready to take them out before they wave their boomerangs when you get too close.

To toggle a switch, toggle it from underneath. Toggling switches will change things in other rooms, so take a look around.

The game will tell you that if you press Down on the D-Pad at the top of a slope, you can roll down it. While rolling, you can tear through obstacles in narrow pathways that you normally couldn't break through, and you can also jump to other areas and reach other narrow pathways if your timing is good. While what's going here is simple, but you'll see more complex uses of this gameplay mechanic later on.

The treasure room is in one of the underwater rooms with the bubbles, and winning it nets you a black flag.

The cork with the face and the glowing eyes will let out the water if you tackle it, and when that happens, the level is over.

Thursday, January 30, 2025

PrinceWatercress plays Wario Land II - Part 2 of 51


In this video, we do some basic swimming, learn how Fire Wario works, and turn off a giant faucet.


Chapter 1: One Noisy Morning

Story 1: Turn off the giant faucet!


In this level, you'll be swimming for the first time. You can swim in eight directions with the D-Pad. If you see moving white lines in the water, you'll be caught in the current and sent back to the start in it.

You can jump on dresser drawers to get across the water, which sure beats swimming.

The fox with the torch in his mouth will turn you into Fire Wario if he burns you. You'll run around with your overalls on fire until you turn into a moving flame. When your overalls are on fire, you will keep running, you can only jump, you cannot stop, and you can only change direction by running into a wall. When you are a fireball, you can change the direction you are moving with the D-Pad, but you won't be able to jump and you won't be able to stop moving completely until you either fall into water (which will douse out the flame) or until enough time passes and you return to being regular old Wario again. 

The fire blocks can only be broken if you are in Fire Wario's fireball form. All you have to do is walk into or onto them, and they will break.

The fish that leap out of the water can only knock you back.

You'll need to stand on a floating dresser to enter the treasure room. The treasure is a bed, which Wario seems to already have, if the last stage was any indication.

The slime enemy will shock you and cost you coins if you touch or attack it. To get rid of it, throw an enemy at it.

Inverted colored coins will make a special sound when found, and give 100 coins when collected. You'll want to pick these up if you can find them, as they are very crucial for beating the treasure and picture panel mini-games. Somehow, I lucked out and found two at once!

Tackle the faucet from the right side three times to turn it off and complete the level.

Wednesday, January 29, 2025

PrinceWatercress plays Wario Land II - Part 1 of 51


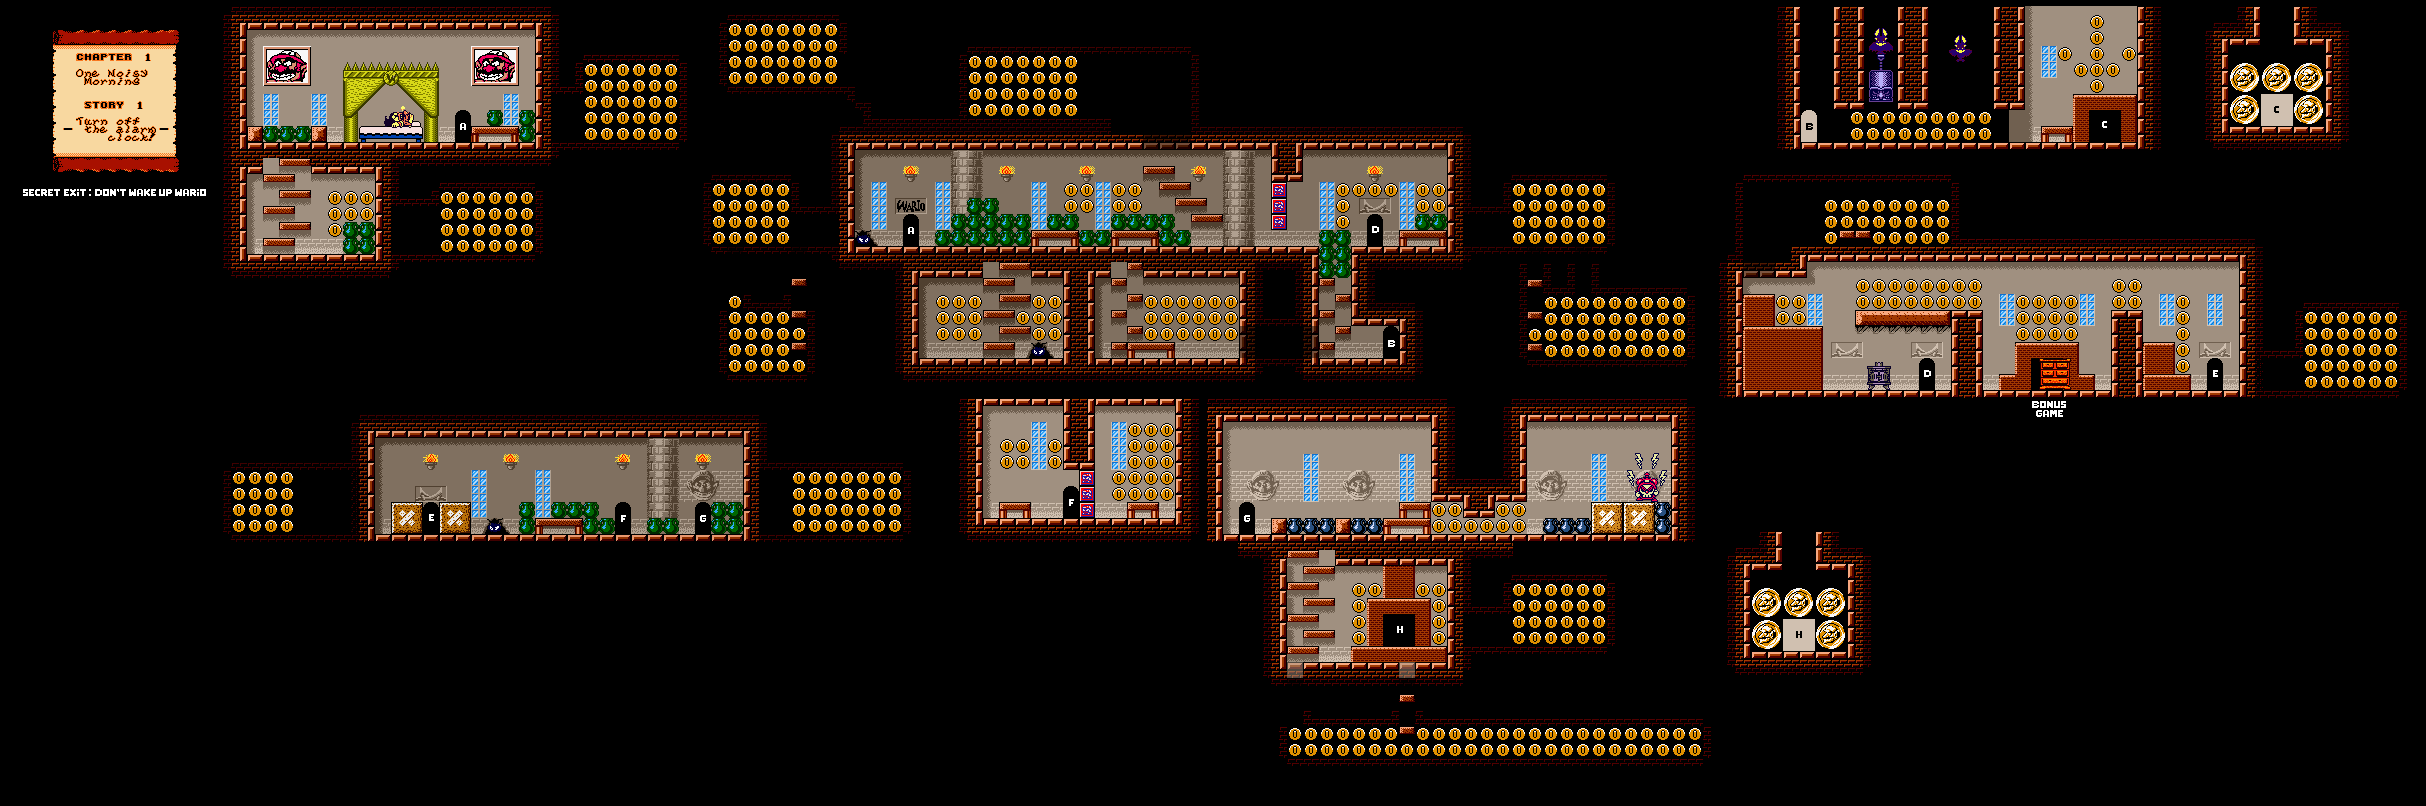
It's been a long time since I played the first Wario Land, but here I am, finally playing the second game in the series. This one is different from the first game in a variety of ways, and there's a lot more to do in this game. Get ready to collect coins, find treasure and get even more rich with Wario!


The game begins with a few pirate goons with pitchforks breaking into Wario's castle, stealing his treasure and flooding his castle. Meanwhile, the alarm clock (which is probably on the other side of the house, for all we know) wakes up Wario...and it's really, really loud.

Remember all of Wario's moves from the last game, such as the tackle and the ground pound? Well, they're back, and they'll be more useful than ever!

The main thing that sets this game (and its sequels) apart from the first one is that you can't die or lose energy from touching an enemy. Instead, Wario just loses some coins. He can sometimes gain their powers from touching enemies, which is crucial to solving puzzles in this game and ultimately finding everything there is.

Chapter 1: One Noisy Morning

Story 1: Turn off the alarm clock!


As soon as the level starts, press A to wake Wario up. Otherwise, you'll get the secret ending if you leave on the bed long enough, and we will not cover that until much later in the Let's Play.

The controls for this game are the same as ever. A jumps, B tackles, Left and Right left you move left and right, Down ducks, Down-Left and Down-Right let you crouch walk, and Up enters doors. Outside of doors, Up, when held, allows you to jump higher. Pressing Down while in mid-air lets you do a ground pound. Start pauses the game, while Select also pauses the game and also lets you know what level you're currently on, how many coins you have for the level and in total, whether or not you've found the treasure for the level, and the treasures and pixel panels that you've collected.

As you go through the castle, jump into ceilings, ground pound floors and tackle walls. You just might be able to find hidden areas. You can also ground pound and tackle jars to smash them. Pay attention to any coins that pop up and collect them.

Enemies don't kill you, but some of them will cause you to lose coins if you're not being careful. Tackle the Spear Goons when they are facing away from you so you don't lose six coins from running into the Spear Goon's spear.

The mice that pop out of the holes in the wall just bounce you around if you run into them. 

The blocks with the picture that look like a Spear Goon can only be broken if you throw enemies at them. Stun an enemy by jumping on them, then walk into them to pick them up. You can press B to throw them, and if you hold B down, you can do a superthrow that will allow you to throw them so hard that they die and turn into a coin when they hit a solid wall. If you're holding Up on the D-Pad while charging up the throw, you can throw them straight up.

Some enemies will carry coins and drop them when defeated; others will not.

The bat carrying the huge weight will turn you into Flat Wario. You'll move slowly because you're flattened, and you won't be able to jump vey well. The bat without the weight will grab you and stretch you back into shape (and can take coins away when that happens if you're regular Wario; if that happens, keep mashing B and the D-Pad). 

The fireplace past the bats leads to five big coins with Wario's face on them. These big coins are worth ten coins each.

To move the wood heater, just keep tackling it until you have it where you need it. Tackling the dresser will break it, but watch out for any hidden enemies. 

The fireplace behind the dresser leads to the first of so many treasure rooms in the game. The more coins you have, the easier you can make the game, but at the same time, you don't want to spend too much in case you mess up. Hard is 50 coins, Normal is 100 coins and Easy is 200 coins. When you start the game, you'll get a picture of an enemy on a panel. The eight panels at the bottom will open up, and you'll have a very short amount of time (how short depends on which difficulty you pick) to remember and pick which panel matches the enemy panel that the game gave you. If you get it right, you'll get the treasure for the level. If you get it wrong, you'll lose the game and you'll need to get a bunch of coins (which can take a while) and try again. The treasure here is a Viking helmet.

The enemies with the football helmet will keep punching forward as they move. If you hit a ground pound, you can stun any enemies that move back and forth on the ground and make them move in the opposite direction, and this move can definitely make these guys vulnerable to attacks from behind, which you'll want to hit them with if you don't want to lose coins.

To "turn off" the alarm clock, just tackle it one to get it upside down, then tackle it again to destroy it. When you're near the goal, you'll get some happy music that is different from the level music, and it won't take long to tell this music apart from the level music because it's the same musical track everytime. Once you turn off the alarm clock, you'll beat the level. You'll get credit for the treasure from the treasure room if you grabbed it, and the current amount of coins that you ended the level with will be added to your grand total.

After you beat the level, you'll play the panel. There are nine panels, and you can turn a panel for 50 coins by pressing A. The first panel is always free. These 50 coins come from your grand total, so you'll want to grab as many coins as you can in each level. Use the numbers at the bottom of the screen to help your identify the number at the upper-left corner. When you're ready to answer, you can press B to solve. You only have one shot to do this, and if you get it right, you'll fill out a panel for a mystery picture. If you get it wrong, you'll have to play through the entire level before you can get another shot at getting the panel again.

When you complete a level, the game will automatically save. Wait for the game to tell you that saving is complete before turning the Game Boy off, if you need to.

Tuesday, January 28, 2025

PrinceWatercress plays Fruit Machine - The Longplay


Now to play this game again, minus commentary. Enjoy!


This game is also known as Bandit, and was written by S. Crump and published by Beebugsoft in 1983. It was also sold as part of a double pack with another Beebugsoft game known as Honest Joe. It's a simple slot machine game, but it works and it can be fun. 

To get a winning combination, you'll need to line things up on the red "win" bar at the bottom. Three bananas or grapes will net you the most, followed by the pineapples, then the bars. The cherries, apples, oranges and lemons give you the least from lining three up. If you get two bars on the first two reels regardless of where they are positioned, you'll get a little bit of money. You'll also get a little bit of money if you get the same fruit on reels 1 and 2 on the "win" bar, and if you get a cherry on the first reel, you'll get the lowest reward of ten pence.

The current amount of money you have is in the lower-left corner. You can either collect your winnings with C or gamble them for more winnings with G, and if you gamble them, you'll have to time the lights so you win double instead of earning only half. 

Sometimes you will be able to hold reels; other times, you will not. Z, X and C will let you hold reels 1, 2 and 3 respectively. If the word "Hold" is yellow and solid instead of white and flashing, you have held the reel. See if you can get some winnings that way!

If you get the "Nudge" message below the slot machine, you can use A and Z to nudge reel 1 up and down, S and X to nudge reel 2 up and down, and D and C to nudge reel 3 up and down. You'll have a number underneath the word "nudge," which acts partly as a timer and party as the amount of nudges you have left, and if you know what you're doing, you can salvage your previous pull of the lever and get some winnings.

If you win 200p from getting three bananas or grapes, you'll get a nice little jingle for doing it. Interestingly, I always get it after a couple of minutes.

I had no problem with this game. No coding errors, everything worked like it should, and it's simple and fun to play for an early game in the BBC Micro's lifespan. Try this one out if you can.

Return - spin reels

Z, X, C - Hold/unhold reels 1, 2, 3 respectively

While nudging: 
A, S, D - Nudge up reels 1, 2, 3 respectively
Z, X, C - Nudge down reels 1, 2, 3 respectively

Escape - see the controls again

N - change fruit on reels

Winning combinations:
200p - three bananas/grapes
100p - three pineapples
100p - three bars in any position
50p - three cherries/apples/oranges/lemons
20p - two bars in any position on reels 1 and 2
20p - reel 1 has the same fruit as reel 2
10p - cherries on reel 1

Monday, January 27, 2025

PrinceWatercress plays Fruit Machine


A simple, fun slot machine game for the BBC Micro? Well, somebody had to make it...and it's quite the delight.


This game is also known as Bandit, and was written by S. Crump and published by Beebugsoft in 1983. It was also sold as part of a double pack with another Beebugsoft game known as Honest Joe. It's a simple slot machine game, but it works and it can be fun. 

To get a winning combination, you'll need to line things up on the red "win" bar at the bottom. Three bananas or grapes will net you the most, followed by the pineapples, then the bars. The cherries, apples, oranges and lemons give you the least from lining three up. If you get two bars on the first two reels regardless of where they are positioned, you'll get a little bit of money. You'll also get a little bit of money if you get the same fruit on reels 1 and 2 on the "win" bar, and if you get a cherry on the first reel, you'll get the lowest reward of ten pence.

The current amount of money you have is in the lower-left corner. You can either collect your winnings with C or gamble them for more winnings with G, and if you gamble them, you'll have to time the lights so you win double instead of earning only half. 

Sometimes you will be able to hold reels; other times, you will not. Z, X and C will let you hold reels 1, 2 and 3 respectively. If the word "Hold" is yellow and solid instead of white and flashing, you have held the reel. See if you can get some winnings that way!

If you get the "Nudge" message below the slot machine, you can use A and Z to nudge reel 1 up and down, S and X to nudge reel 2 up and down, and D and C to nudge reel 3 up and down. You'll have a number underneath the word "nudge," which acts partly as a timer and party as the amount of nudges you have left, and if you know what you're doing, you can salvage your previous pull of the lever and get some winnings.

If you win 200p from getting three bananas or grapes, you'll get a nice little jingle for doing it. Interestingly, I always get it after a couple of minutes.

I had no problem with this game. No coding errors, everything worked like it should, and it's simple and fun to play for an early game in the BBC Micro's lifespan. Try this one out if you can.

Return - spin reels

Z, X, C - Hold/unhold reels 1, 2, 3 respectively

While nudging: 
A, S, D - Nudge up reels 1, 2, 3 respectively
Z, X, C - Nudge down reels 1, 2, 3 respectively

Escape - see the controls again

N - change fruit on reels

Winning combinations:
200p - three bananas/grapes
100p - three pineapples
100p - three bars in any position
50p - three cherries/apples/oranges/lemons
20p - two bars in any position on reels 1 and 2
20p - reel 1 has the same fruit as reel 2
10p - cherries on reel 1

Sunday, January 26, 2025

PrinceWatercress plays M.C. Kids - Part 7 of 7


PuZzLeWoRlD ended up being a little easier than I expected, but I like the level designs up to a point.


Now for PuZzLeWoRlD. There are no cards to pick up here or anywhere else in the game. If you complete all of PuZzLeWoRlD, then go back to Ronald in that world and talk to him, you'll get ten extra lives. It is possible to pick up all of the arches and get infinite lives (after being taken to 99, losing ten of them, and then talking to Ronald in PuZzLeWoRlD to get infinite).

PuZzLeWoRlD


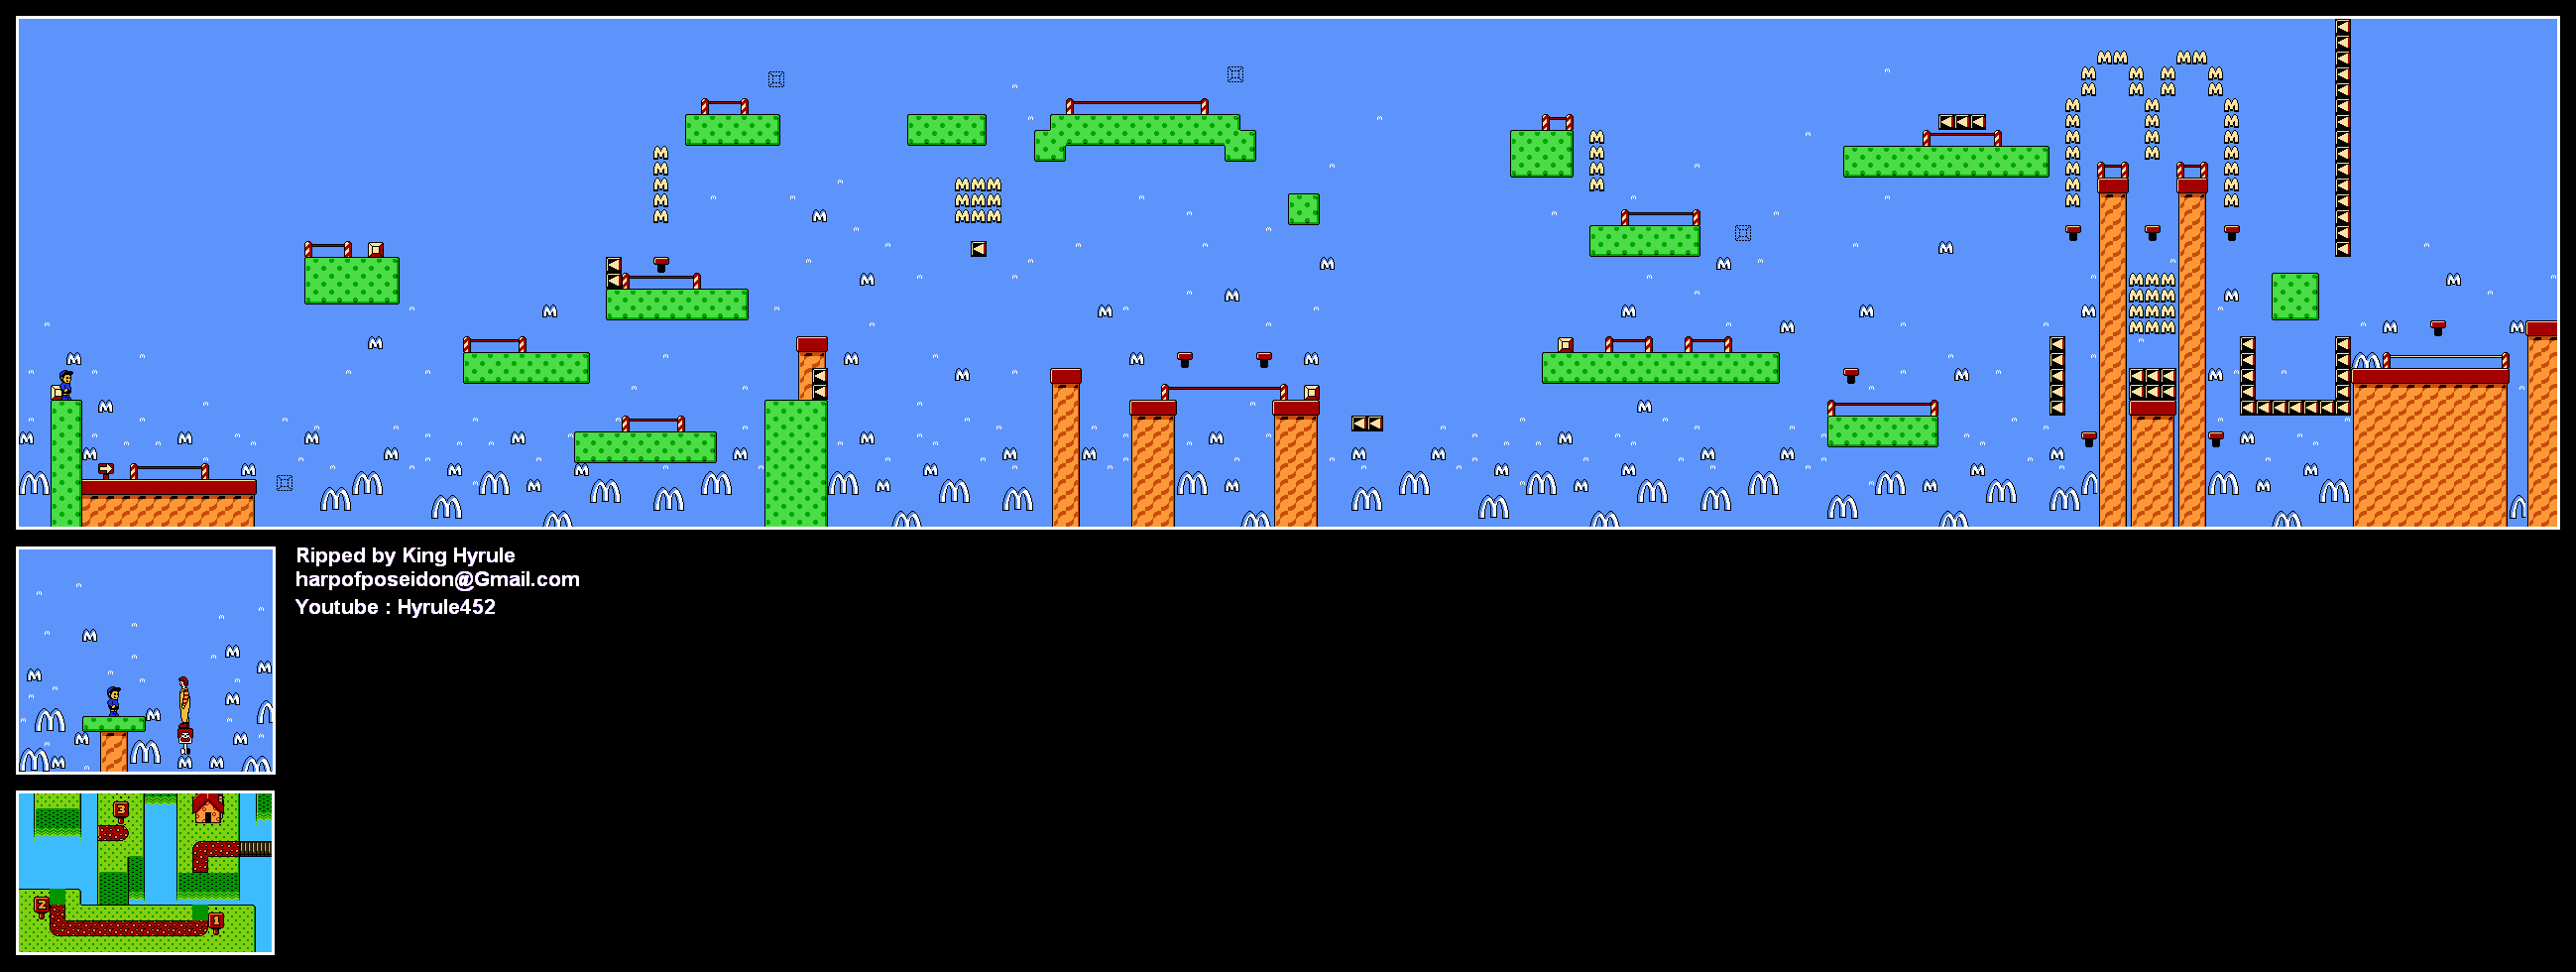
Level 1: Phony Finishes


Grab the platform block, then throw it at its dotted line counterpart on the other side. When you grab the next one, drop down when you see the platform above with the goal all the way to the left. Make your way right, avoid the goals and get the platform block in the dotted line block. You'll need to ride it to the right, then get the platform block, use it to get further up, then ride the platform to the right when it's in place. You'll need to stay left and drop down, grab the plaform block, avoid the goals, and use the trampoline to place the platform. Do the superjump to get to the next platform. Jump over the goal and the blocks that send you all the way back to the beginning, and use the trampolines to get to the green platform at the end. Wait for the flying Ronald platform, and use it to get over the blocks that take you back to the beginning to get to the real goal. 

The real goal is the one with the arch moving back and forth in it. The others are fake. 

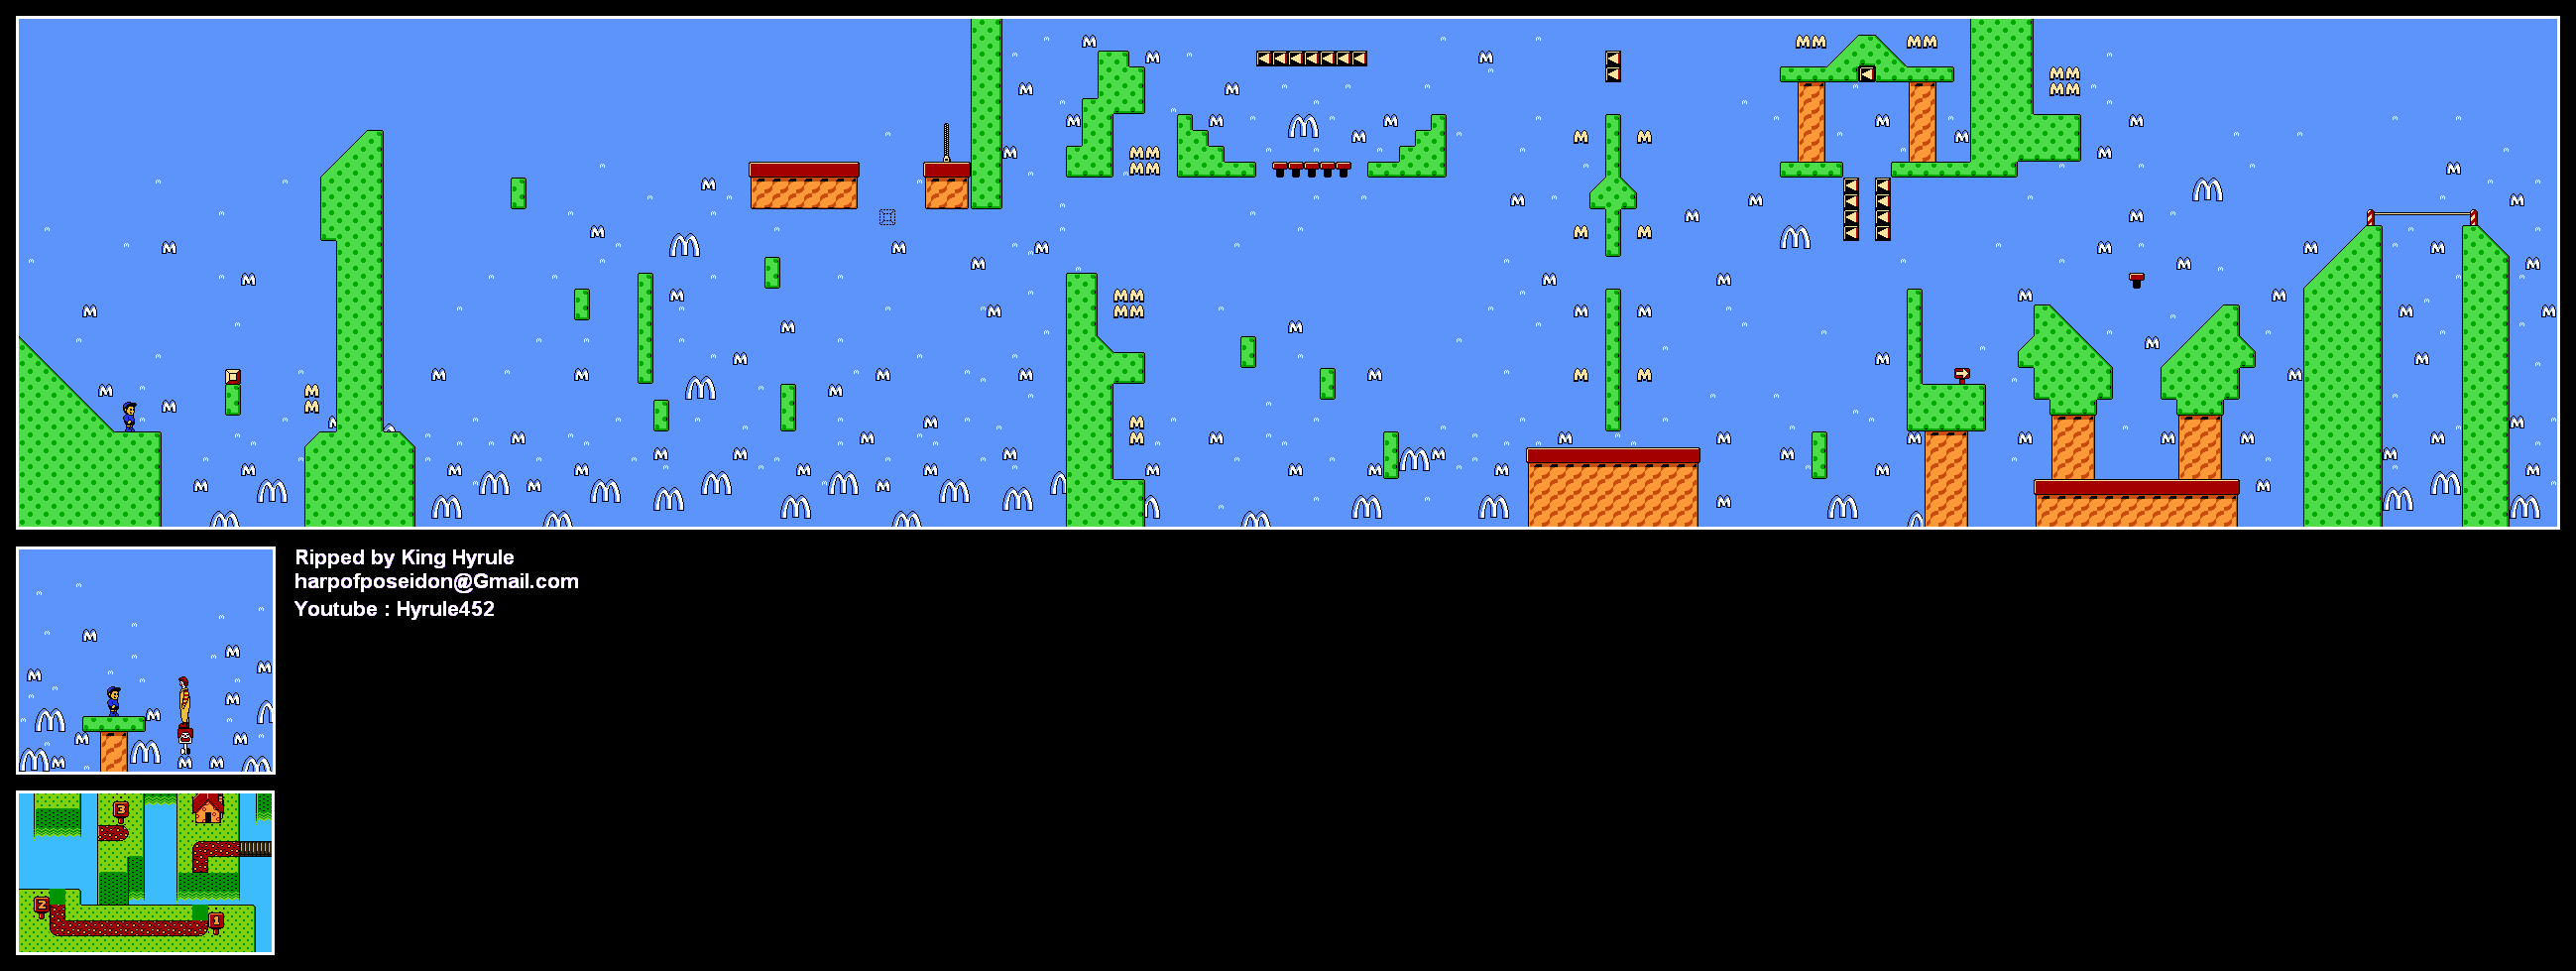
Level 2: Clowning Around


Grab the platform block and ride the Ronald platform. Wait for the next one, and be ready to maneuver yourself around the green platforms, then throw the platform block into the dotted line block moving around below the nearby zipper.

Enter the zipper, then wait at the left end of the platform you are on for another flying Ronald platform. Take it to the left, ride the next one, then wait for the third. Ride it and take the green platforms to the fourth. Wait for the platform block and jump to the top with it, make a running jump to the last trampoline, then keep holding Right to stay away from the blocks that will take you back to the beginning. Use the next Ronald platform to get around the green platform (and the arrow blocks), and use it to jump to the right, which leads to the final area. 

Here, you're meant to ride the Ronald platform all the way down, but if you're not on it perfectly, you're going to be sent all the way to the beginning of the level. Instead, you can run and jump to the right over the wall, drop straight down, then make your way to the goal.

Level 3: Zippety Do Da


At the start, enter the zipper on the left.

At the next platform, enter the lone zipper.

At the next platform, enter the lone zipper.

You'll be at the upper-left corner of the level. Enter the left zipper.

You'll be at the upper-right corner of the level. Make a running jump off the left edge, then drop down. At the platform shaped like an upside-down triangle, stand above the center dot. Run to the right and jump from the edge to reach the goal. That's all there is to it.

Hamburglar's Hideout


Level 4: Magic Cave


Use the trampoline, get to the end of the bridge and then grab the red block. From here, take a short hop to the left, throw the block with Down and B while in mid-air, then face right before you land so you can travel in that direction. From here, watch the fireballs as you jump from platform to platform to get to the boss. 

Press B at the hill of dirt to grab dirt clods to throw at everything. You'll have infinite dirt, so don't worry about running out of ammo. You'll need to avoid the tied-up towels and throw dirt clods at them as they approach to get rid of them. If they get too close, you'll need to make a running jump over them.

To beat the magic wand, stay directly underneath it as it moves back and forth to avoid getting zapped. From here, you'll want to make a running jump, then hold Up and B to throw the dirt clod upwards. If you're at the areas where the magic wand switches direction, you'll have a good chance of hitting the magic wand. 

You'll then face a rabbit in a hat that bounces around. Get under it as it is airborne, and jump straight up and throw the dirt clod to easily hit it. When it stops bouncing around and runs back and forth, you'll need to jump straight up and hit it with dirt clods until it is defeated. I got lucky and only had to do one more hit. After the bunny is truly defeated, run up to the Magic Bag and press B to pick it up and beat the game. Ronald will thank you for saving the Magic Bag, and you'll get the credits. You just beat M.C. Kids!

Saturday, January 25, 2025

PrinceWatercress plays M.C. Kids - Part 6 of 7


Prepare for the hardest cards to get in the game!


If you've collected everything up to this point, you'll have three of Hamburglar's cards. The other three will be here.

Hamburglar's Hideout


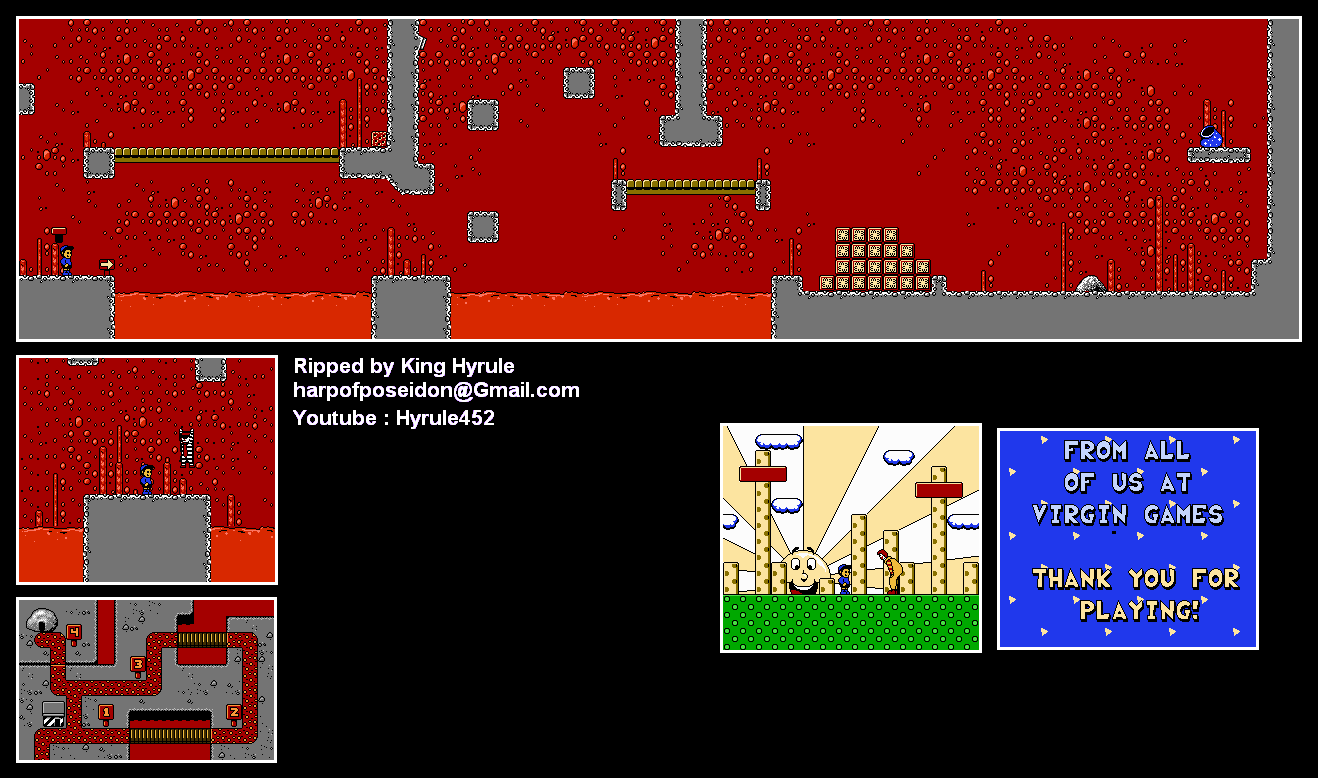
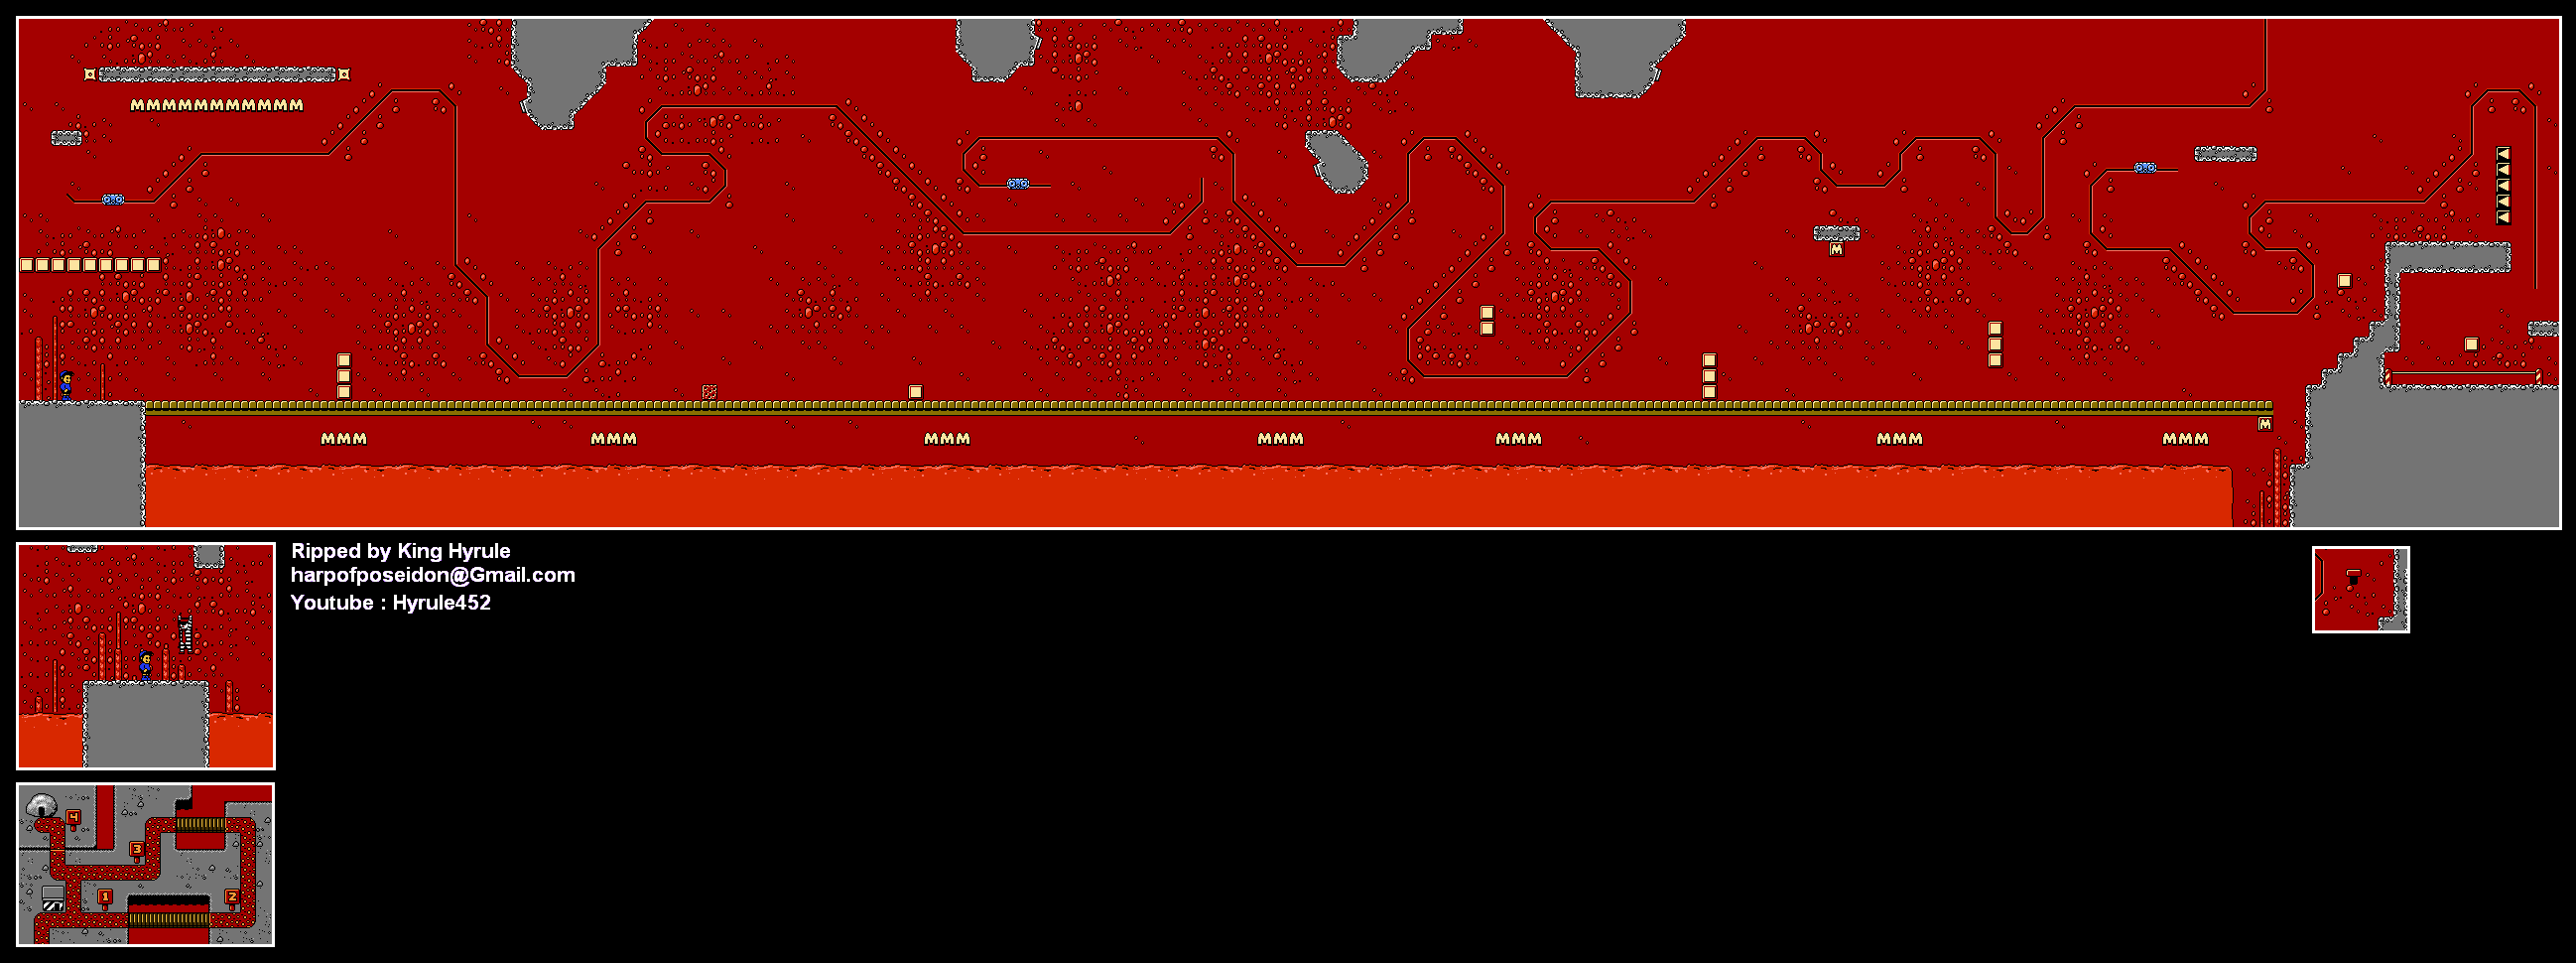
Level 1: Burning Bridges


Cards: Hamburglar's Hideout

To avoid landing on the bridge, you'll need to run and jump to the right to get past the bridge below the start.

The red blocks that look like sponges act as rafts that you can ride along the dangerous lava. The rock will move on its own, and you'll need to stay on it as you jump to avoid the fireballs coming out of the vents. When you are able to jump upwards on some blocks near the goal, do it. You'll need to take a big running jump to the right to get the card above the goal before ending the level. This card is for Hamburglar's 

There is a zipper here that leads to some 1-Ups, but I never take the path leading to it because I'd rather just get the card and be done with this level, anyway.

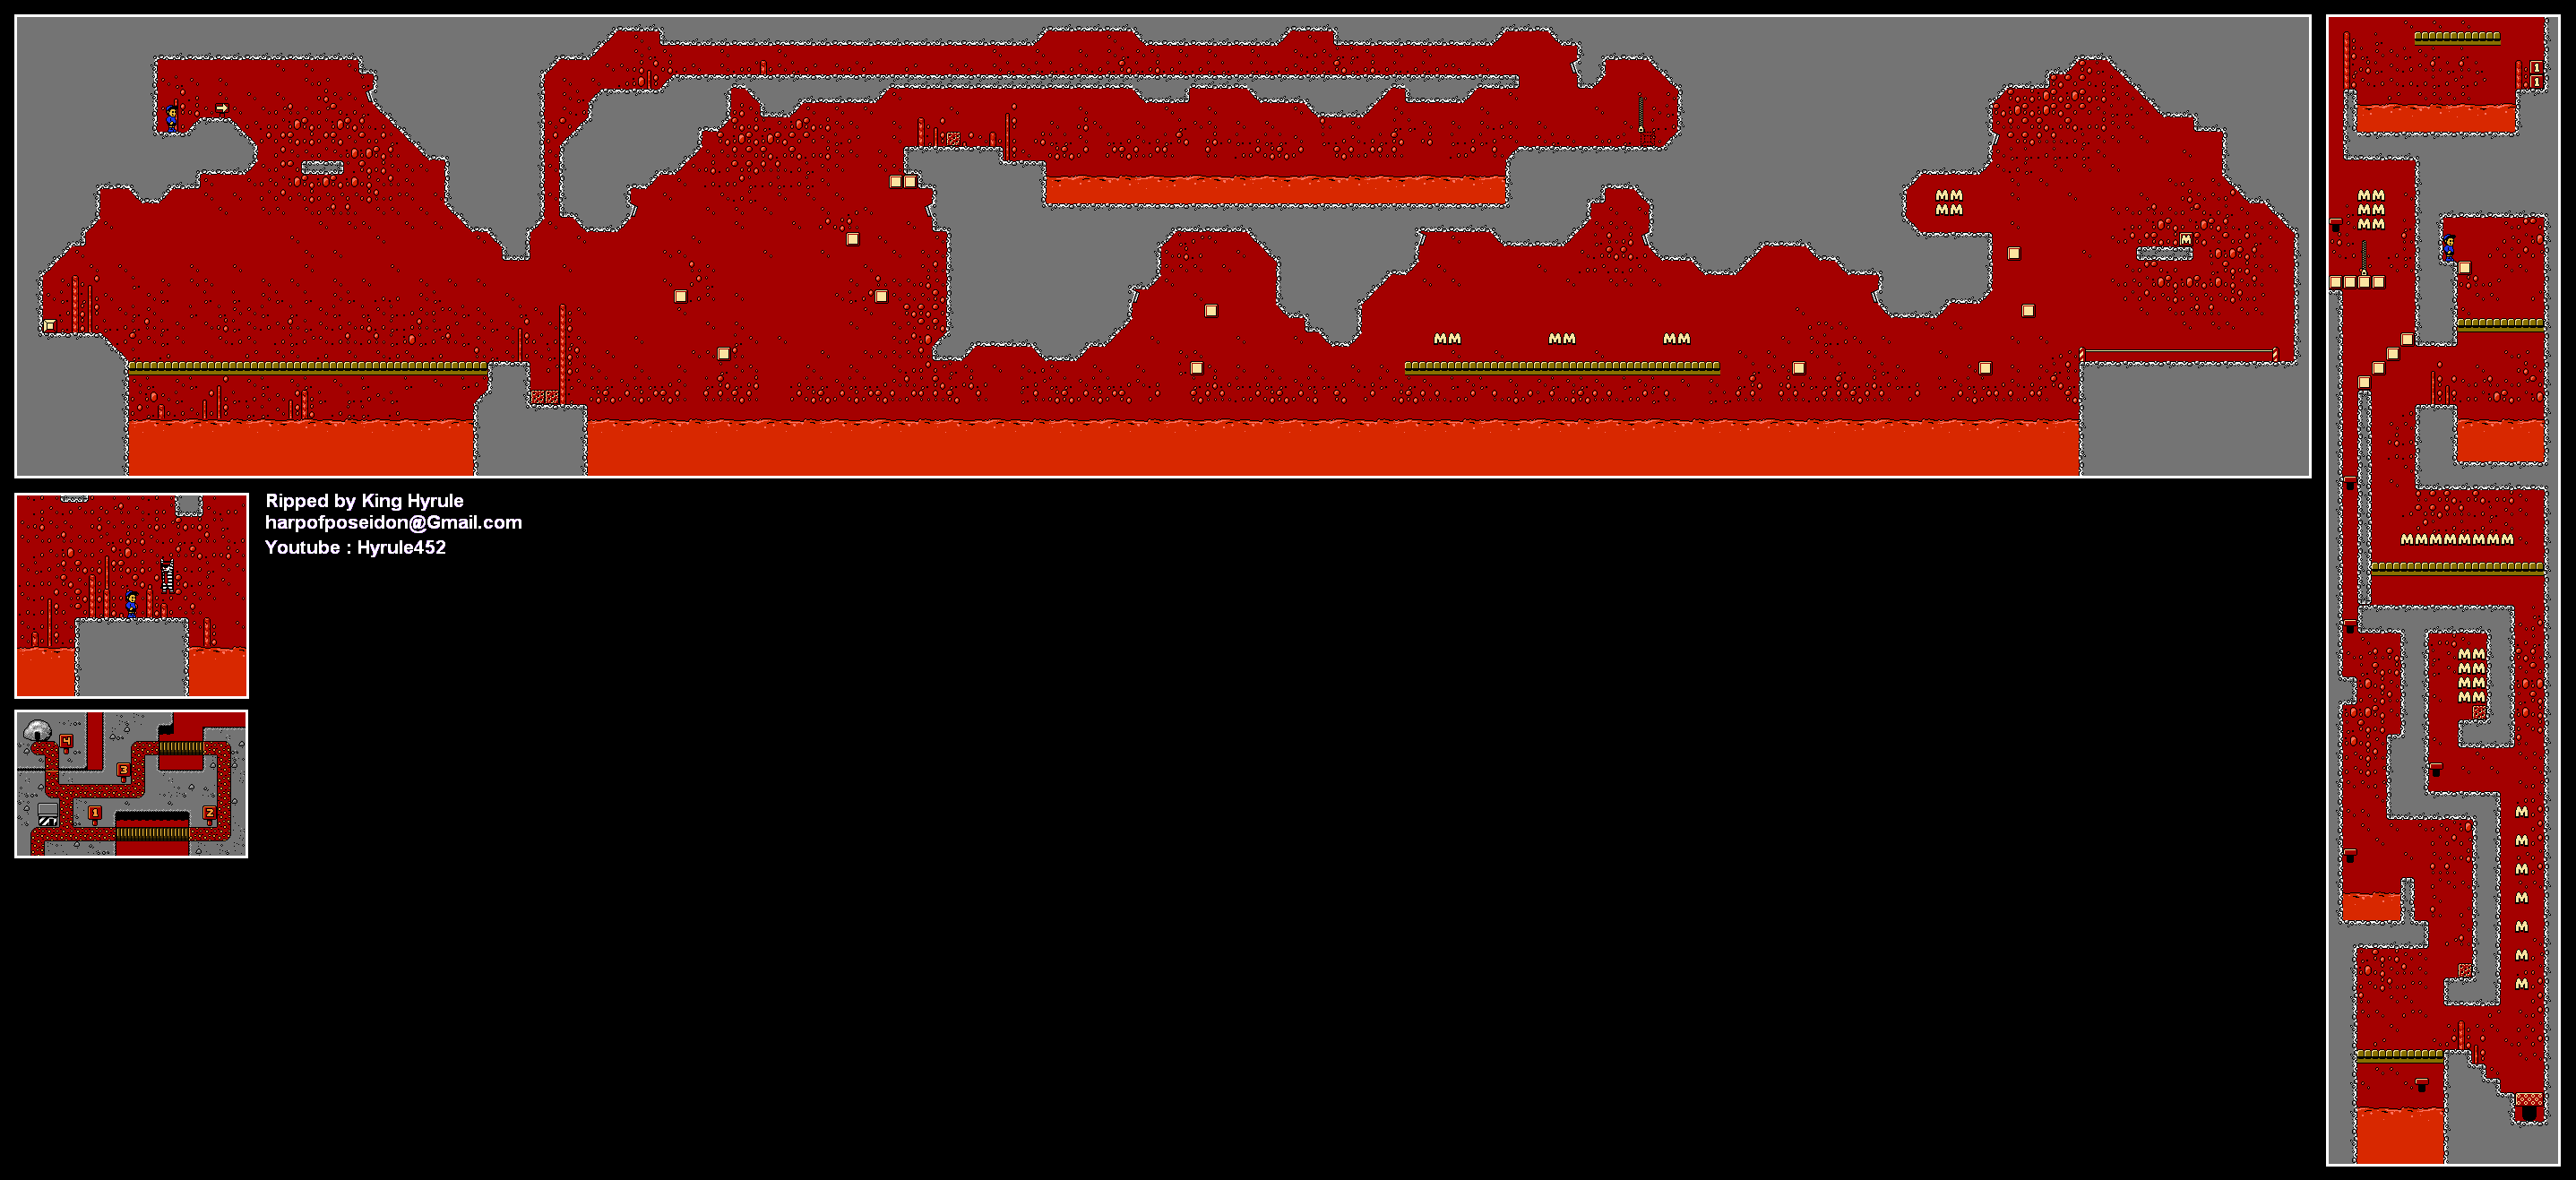
Level 2: Lava Belts


Cards: Hamburglar's Hideout

The conveyor belts move when you run in place on them. Moving left makes the platform move right; moving right makes the platform move left. The trick is to watch your speed so you don't get too carried away and run the platform straight off the track.

When you get off the first platform, grab a red block and take it with you as you take the second platform to the top. Take the third platform over the lava, then ride the next lava pool with the red block. Get the blocks out of your way, then ride the final platform. You'll want to be careful on it so you can easily get to the card on the far right. Grab it, then hit the goal below.

There are 1-Ups here, but you're better off not even going for them.

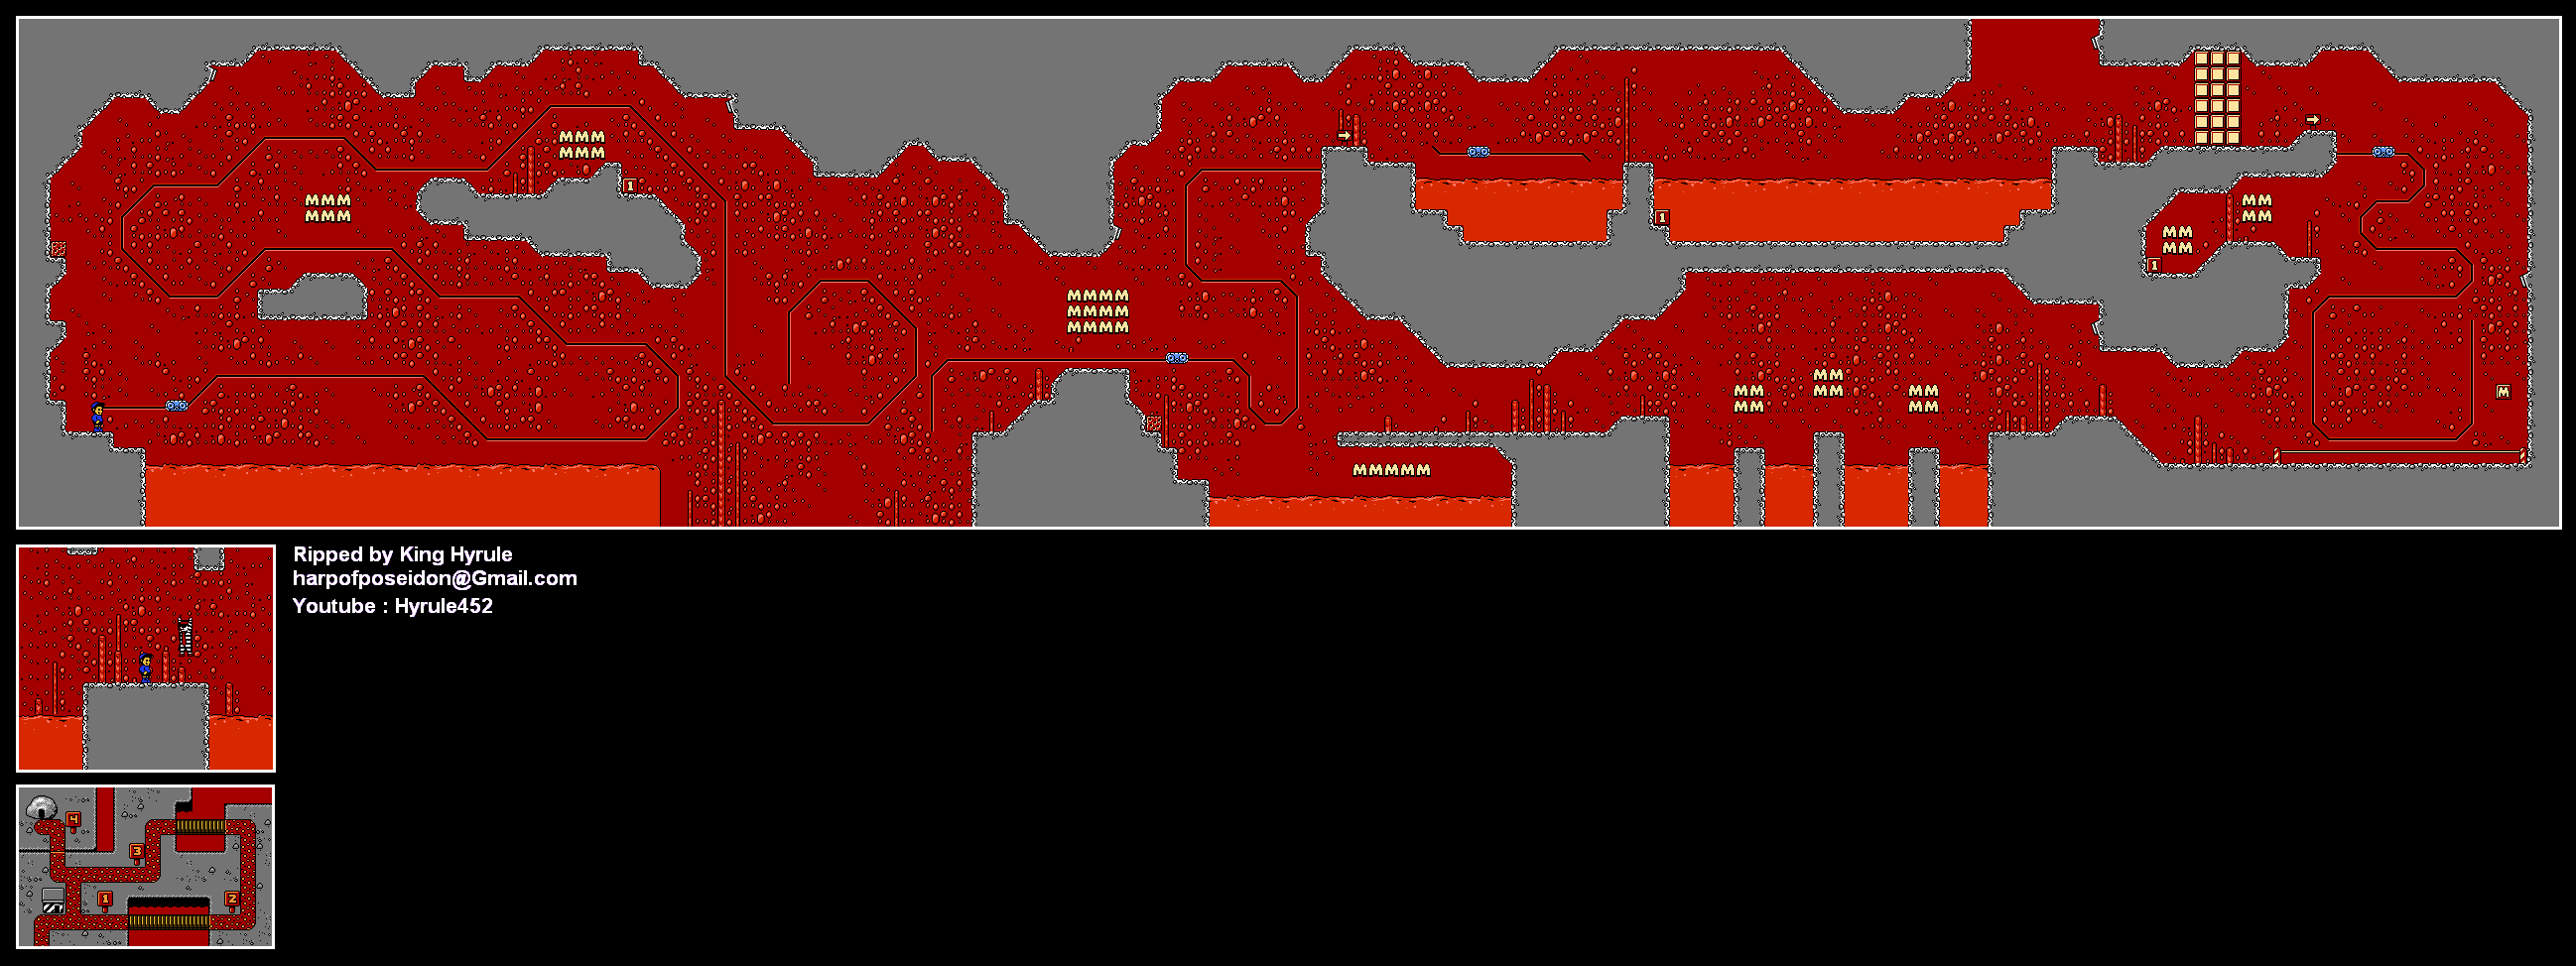
Level 3: Molten Madness


Cards: Hamburglar's Hideout, SECRET

For the first card, you'll want to make a mad dash across the bridge, then stop when you are above the card. Jump straight up and over the flame that spawns when you get on the bridge, then get to the right and grab the card from the side before getting back on the ground. Grab the nearby block to uncover a trampoline, and jump off it to the left. Take the nearby platform across the track, and you'll reach the goal. This will net you the Hamburglar's Hideout card.

As for the Secret Card, get to the goal like before, but hit the blocks with the arrows that take you all the way to the left. Before riding up the platform, go up and use the gears to become upside-down. From here, you'll have to ride the first conveyor platform, get to the second conveyor platform and then get to the card without going too fast or being hit by any fireballs, which will knock you off the conveyor platform you are on. You'll also want to be careful after you get the card, as it is possible for the conveyor belt to fall off while going down a diagonal part of the track with no momentum. Make sure you're on a straight part first.

As for the last platform, be sure to jump to the left before it goes off the track, then hold Up and jump to do the superjump and touch the goal. This will net you the final Secret Card.

If you talk to Hamburglar with all of his cards, you'll unlock the Magic Cave and the boss battle. But before we do that, we're heading to PuZzLeWoRlD...