Monday, January 20, 2025

PrinceWatercress plays M.C. Kids - Part 1 of 7


I still can't believe I played and beat this one.


Ronald McDonald was showing off his magic bag at a picnic in the meadow, when all of a sudden the Hamburglar runs off with it. The game starts out with you and the other playable character in the game reading about it when all of a sudden you're meeting with Ronald about it. Maybe you just did this and now you're reading about it or something; I dunno.

You'll start out in Ronald's Clubhouse. You'll need to go through the six levels in the world and get at least four of the Puzzle Cards. Doing this will allow you to advance to Birdie's Treehouse. You'll be on an overworld map similar to that of Super Mario Bros. 3. The D-Pad allows you to walk on the path, and A will allow you to enter the level. If there are moving lines on the M, that means you have not completed the stage yet.

At the top above the map, you'll see your current world (and current level that you're standing at, if applicable), the amount of cards you need for that world that you have yet to get, and your current amount of lives and arches. There will also be some blocks with M's on them to the right, signifying which cards you have collected for the current world.

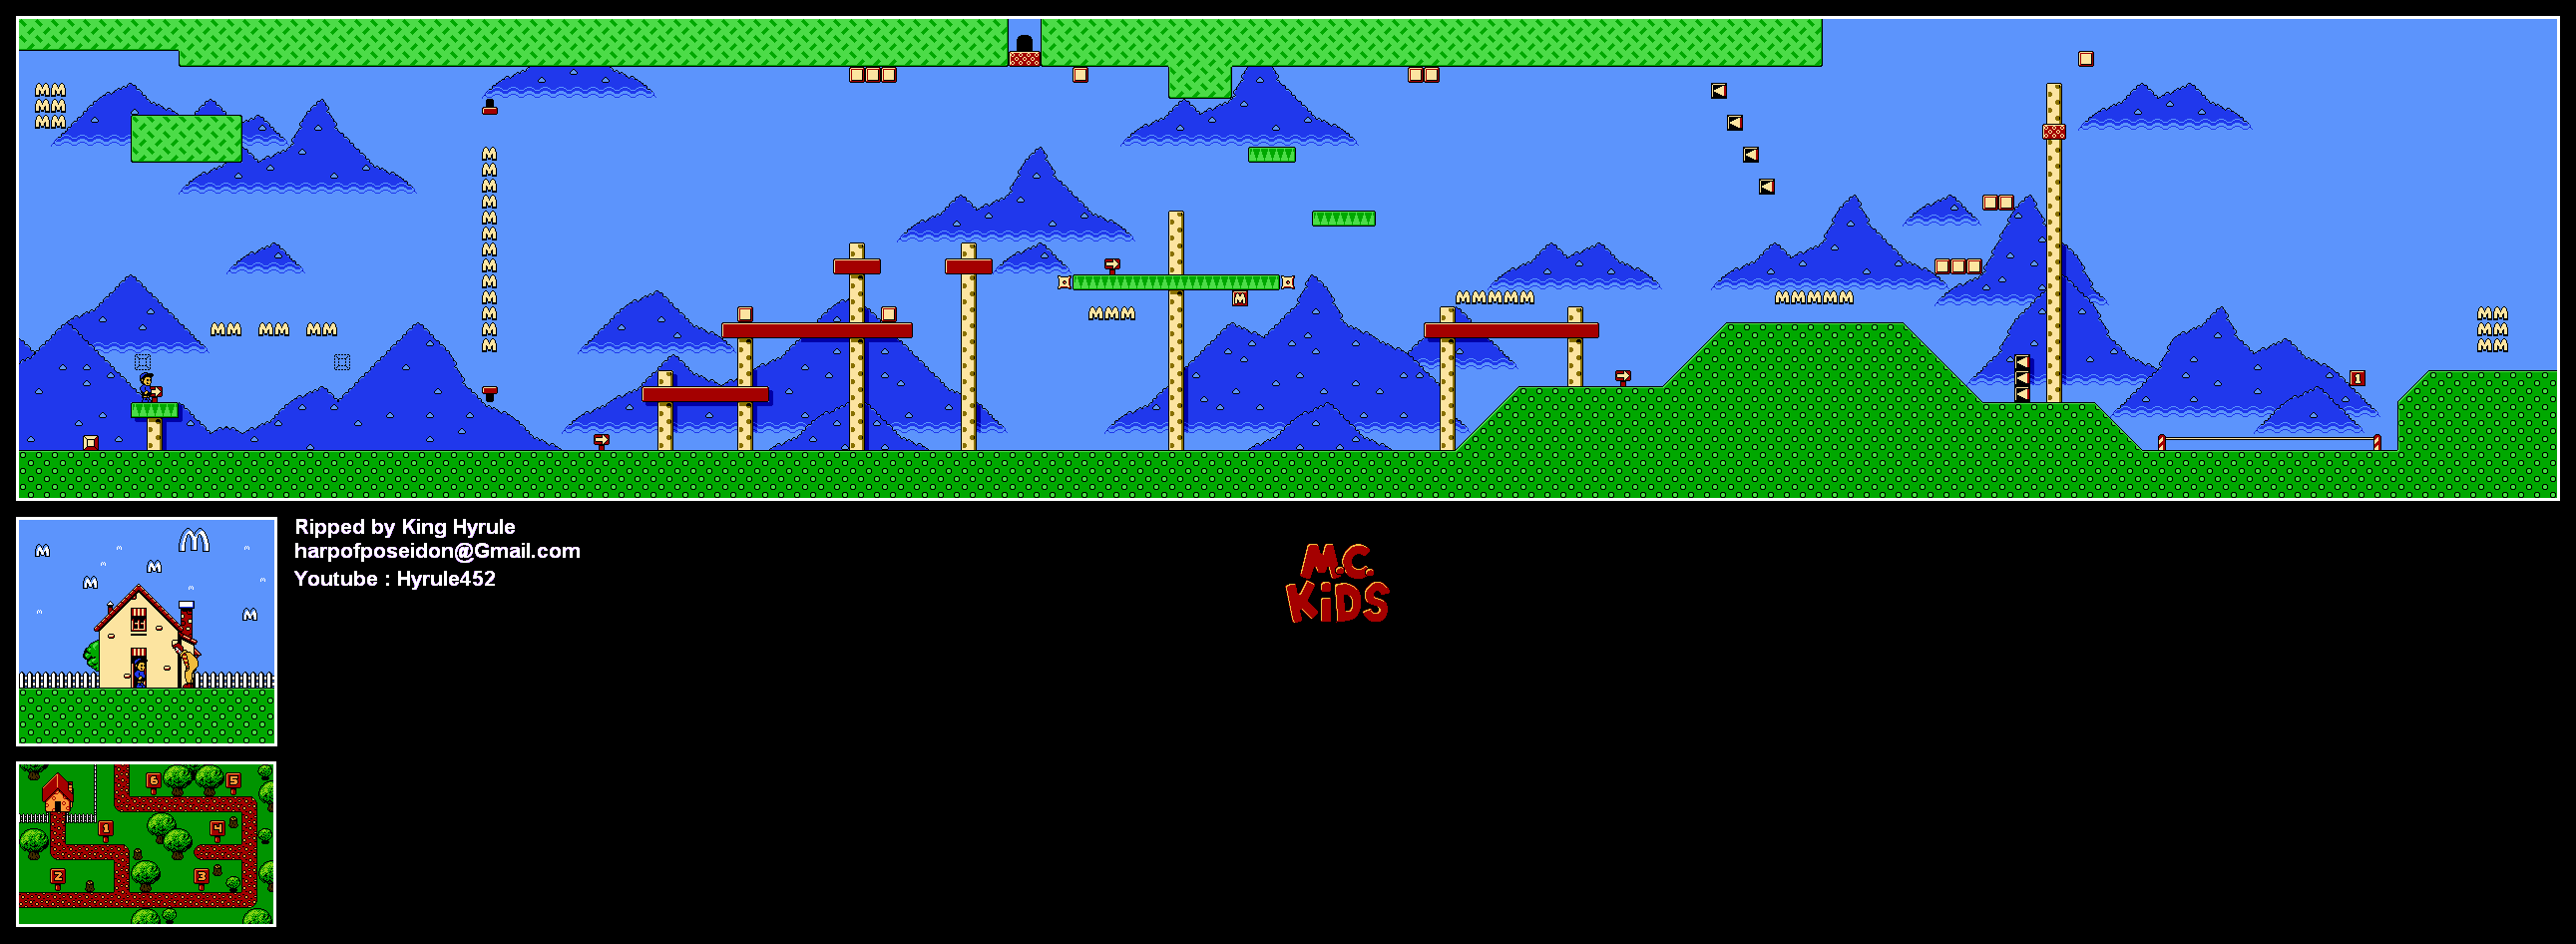
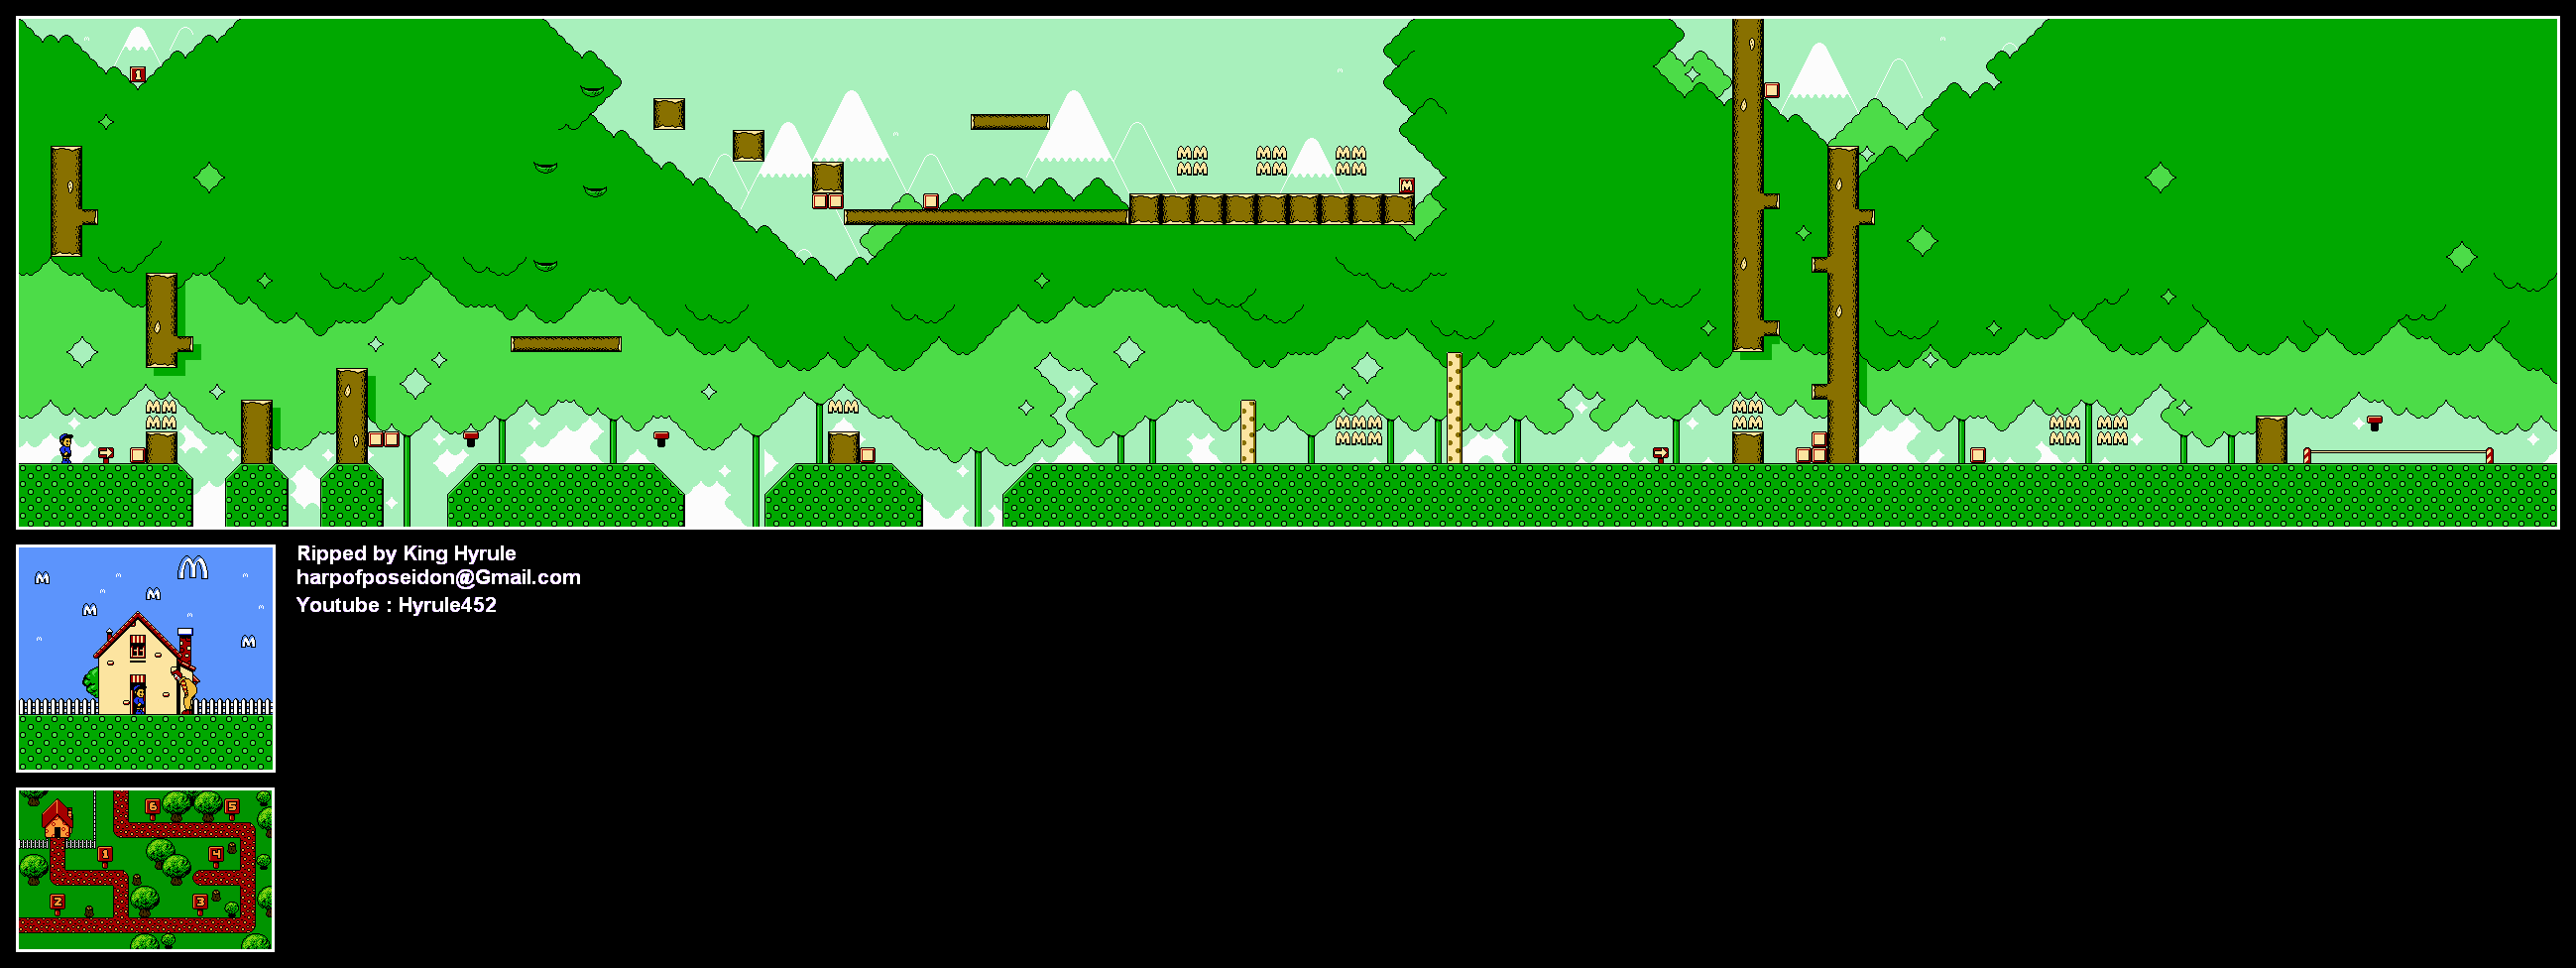
Level 1: The Garden


Cards: Ronald's Clubhouse

Left and Right let you move left and right, Down lets you duck, and A lets you jump. B lets you grab and throw things. B by itself will allow you to grab a block in front of you, but standing on a block and holding Down while pressing B allows you to pick it up from above, a la Super Mario Bros. 2. When you hold Left or Right, you'll gradually get faster, much like in Sonic the Hedgehog or Psycho Fox or Kid Kool, and this will allow you to make longer jumps. Start lets you pause, and if you've completed a level, you can press Select to exit the level. Pressing Select while the game is unpaused causes you to abort the level and lose a life in exchange, in case you soft lock yourself or something.

There's a lot to learn in this level. The dotted line block that is moving around won't be solid until you grab a solid block that looks like the dotted line outline and place it in the outline. You don't have to throw the block; you just have to put it in the outline. If it's a solid block with a plain face, it can be used to defeat enemies, but if it has the smaller square inside of it with the diagonal lines that represent some sloped surfaces, you can put it in the dotted line outline that is moving around.

The trampolines will allow you to jump up to higher areas. If you're holding a block, you'll get even more height due to your weight causing the trampoline to move further down before springing back up. This is especially true of the larger trampolines.

The things that look like gears with four teeth will allow to go upside down if you run across them with enough speed. This can allow you to access things you could not before. Just remember that you can fall into a ceiling and die, which is true for later levels, and that you'll be on the underside of some platforms. To get back right-side up, just run across the gear again. You'll need to do this to pick up the M Block. The M Block is actually a Card, and you'll need to collect cards in order to open up more worlds. The card here is for Ronald's Clubhouse, so that's one of the four right there that you're going to need.

The McDonald's M's - also known as arches - are much like the coins in the [i]Mario[/i] games, but if you reach 100 at any given time, the M's in the upper-left corner will flash and you'll be able to enter a bonus stage when you reach the goal tape at the end. Underneath the M's in the upper-left corner is your current amount of lives as well as the amount of health you have. Health is few and far between and you'll get one heart for every 25 arches you grab, but thankfully it's pretty easy to get lives if you know what you're doing, especially in the bonus stages.

The black blocks with the arrows pointing to the left that move endlessly will carry you all the way back to the beginning of the level if you touch them, so be careful.

Some platforms will lower when you stand on them. This will make getting around in some parts of some levels a little tricky.

The posts with the tape with the M moving back and forth is the goal. Touch it to end the level and open up some more. If you grab the arch, you'll get ten arches and make it easier to get to the bonus area. Also, you need to head to the goal in order to get credit for any cards you pick up, so pressing Start to pause the game and Select to leave will not work. Also, if you die after collecting a card, you'll have to re-collect that card.

The block with the "1" on it is a 1-Up. Grab it to get an extra life.

When you reach the end, the game will tell you which worlds the cards you've collected, if any, belong to. When you come back from this stage, one of the M Blocks in the upper-right hand corner on the HUD will flip to reveal part of a picture.

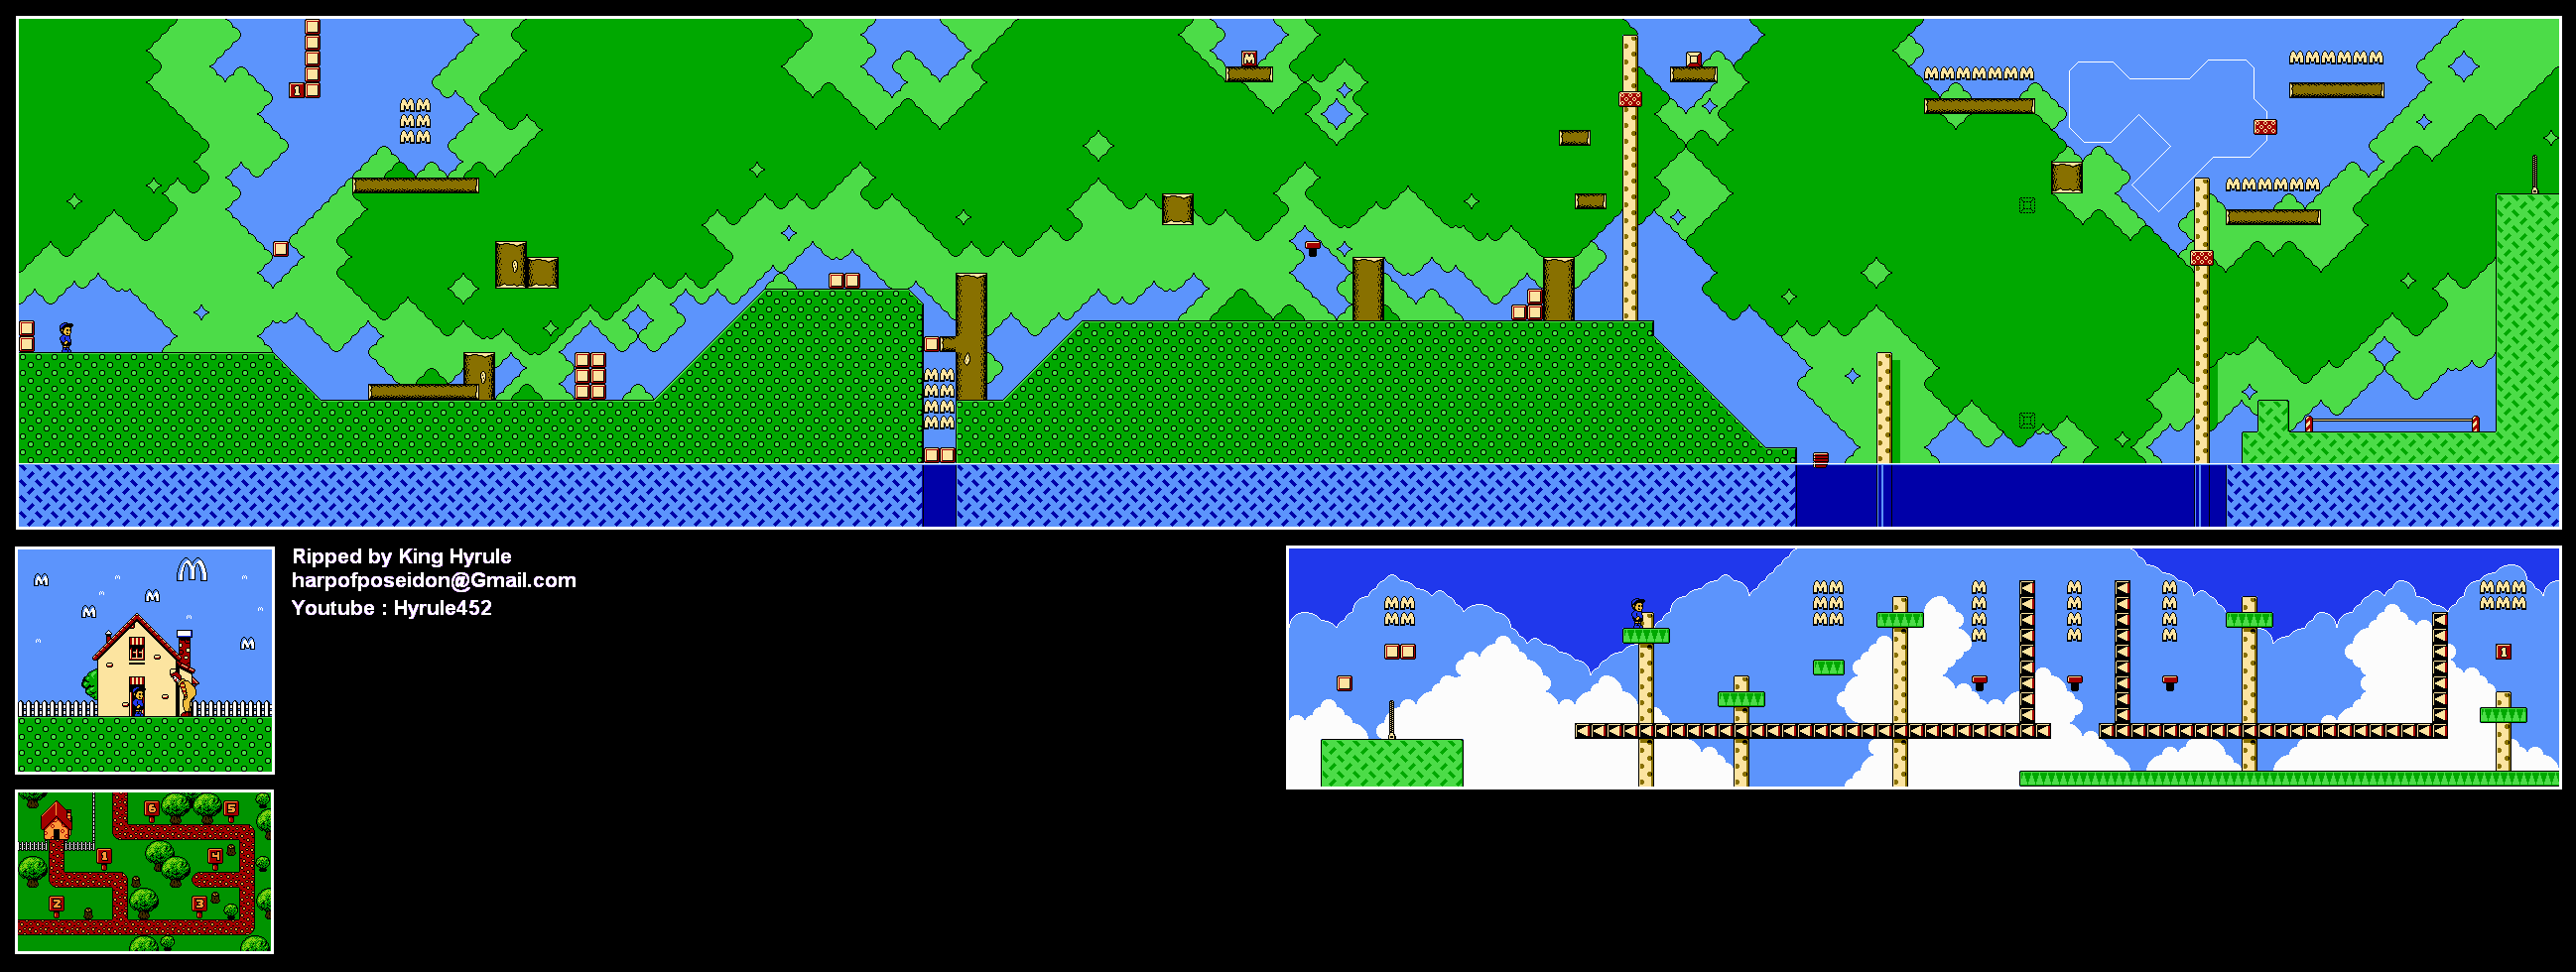
Level 2: Gopher Grove


Cards: Ronald's Clubhouse

This is where you will meet with your first enemies. You can throw blocks at the gophers that move back and forth as well as the spiders that are hanging there. Just don't run into them, as you only have so much health and it's hard to have four hit points to work with unless you play pretty well. Enemies will re-spawn if you return to previous areas after defeating them, so keep that in mind, as you can refill health by beating up enemies. Just keep in mind that the amount of blocks in a level will always be finite. 

Going up shortly after the start takes you to a 1-Up.

Don't grab the blocks above the arches shortly after the start. This is a trap, and you will have to fall into the water and die just to get out. Keep in mind that if you die, you lose some of your arches.

The lone trampoline in the level will take you to the card. 

The little bucket in the water will take you across to the other side. Just jump and land in the bucket, then use Left and Right on the D-Pad to move around in the water. Jumping will allow you to jump out of the boat. It is possible to keep jumping while on the surface of the water to stay afloat and then run to the other side while mashing A, but you won't be using that until you reach the later levels of the game. If you have a block, you can use it to protect yourself while in the boat, but just remember that you'll only have one block to work with unless you can somehow get another.

The platform that moves around in mid-air moves in a pattern. Ride it to get some arches, as well as to get to the zipper. The zippers act as doors to other areas, and you can enter them by standing in front of one and pressing Up on the D-Pad. In this area, you'll need to watch out for the triangles that take you back to the beginning, as unless you are holding Right when you get shuttled all the way to the left, you will be falling into a pit. If you can make it all the way to the right without touching any of the black arrow blocks, you'll be rewarded with a 1-Up. The zipper at the left end will allow you to go back.

In the bonus game, you'll need to jump on the block that lights up with the arrow pointing up. Doing so will allow you to move that block up and give yourself some breathing room on the way to the top, where you can get a few extra lives. If you fall to the bottom, you'll be able to exit, but you won't get anything. If the block you are on lowers before you can leap off of it, do not sweat it too much; you'll be able to jump on the next one (hopefully). When you're about one or two spaces away from the top of the sliders on the wall, you can enter one of the extra life rooms.

Level 3: Lazy Leaves


Cards: Ronald's Clubhouse

This is more of the same from Level 2. The leaf platforms will allow to reach some higher areas.

At the lone trampoline of the level, jump on it and make running jumps to the left to get the card. To the right of the trampoline is a bunch of leaf platforms that lead to a 1-Up, and if you head right from there, you can easily get to the goal.

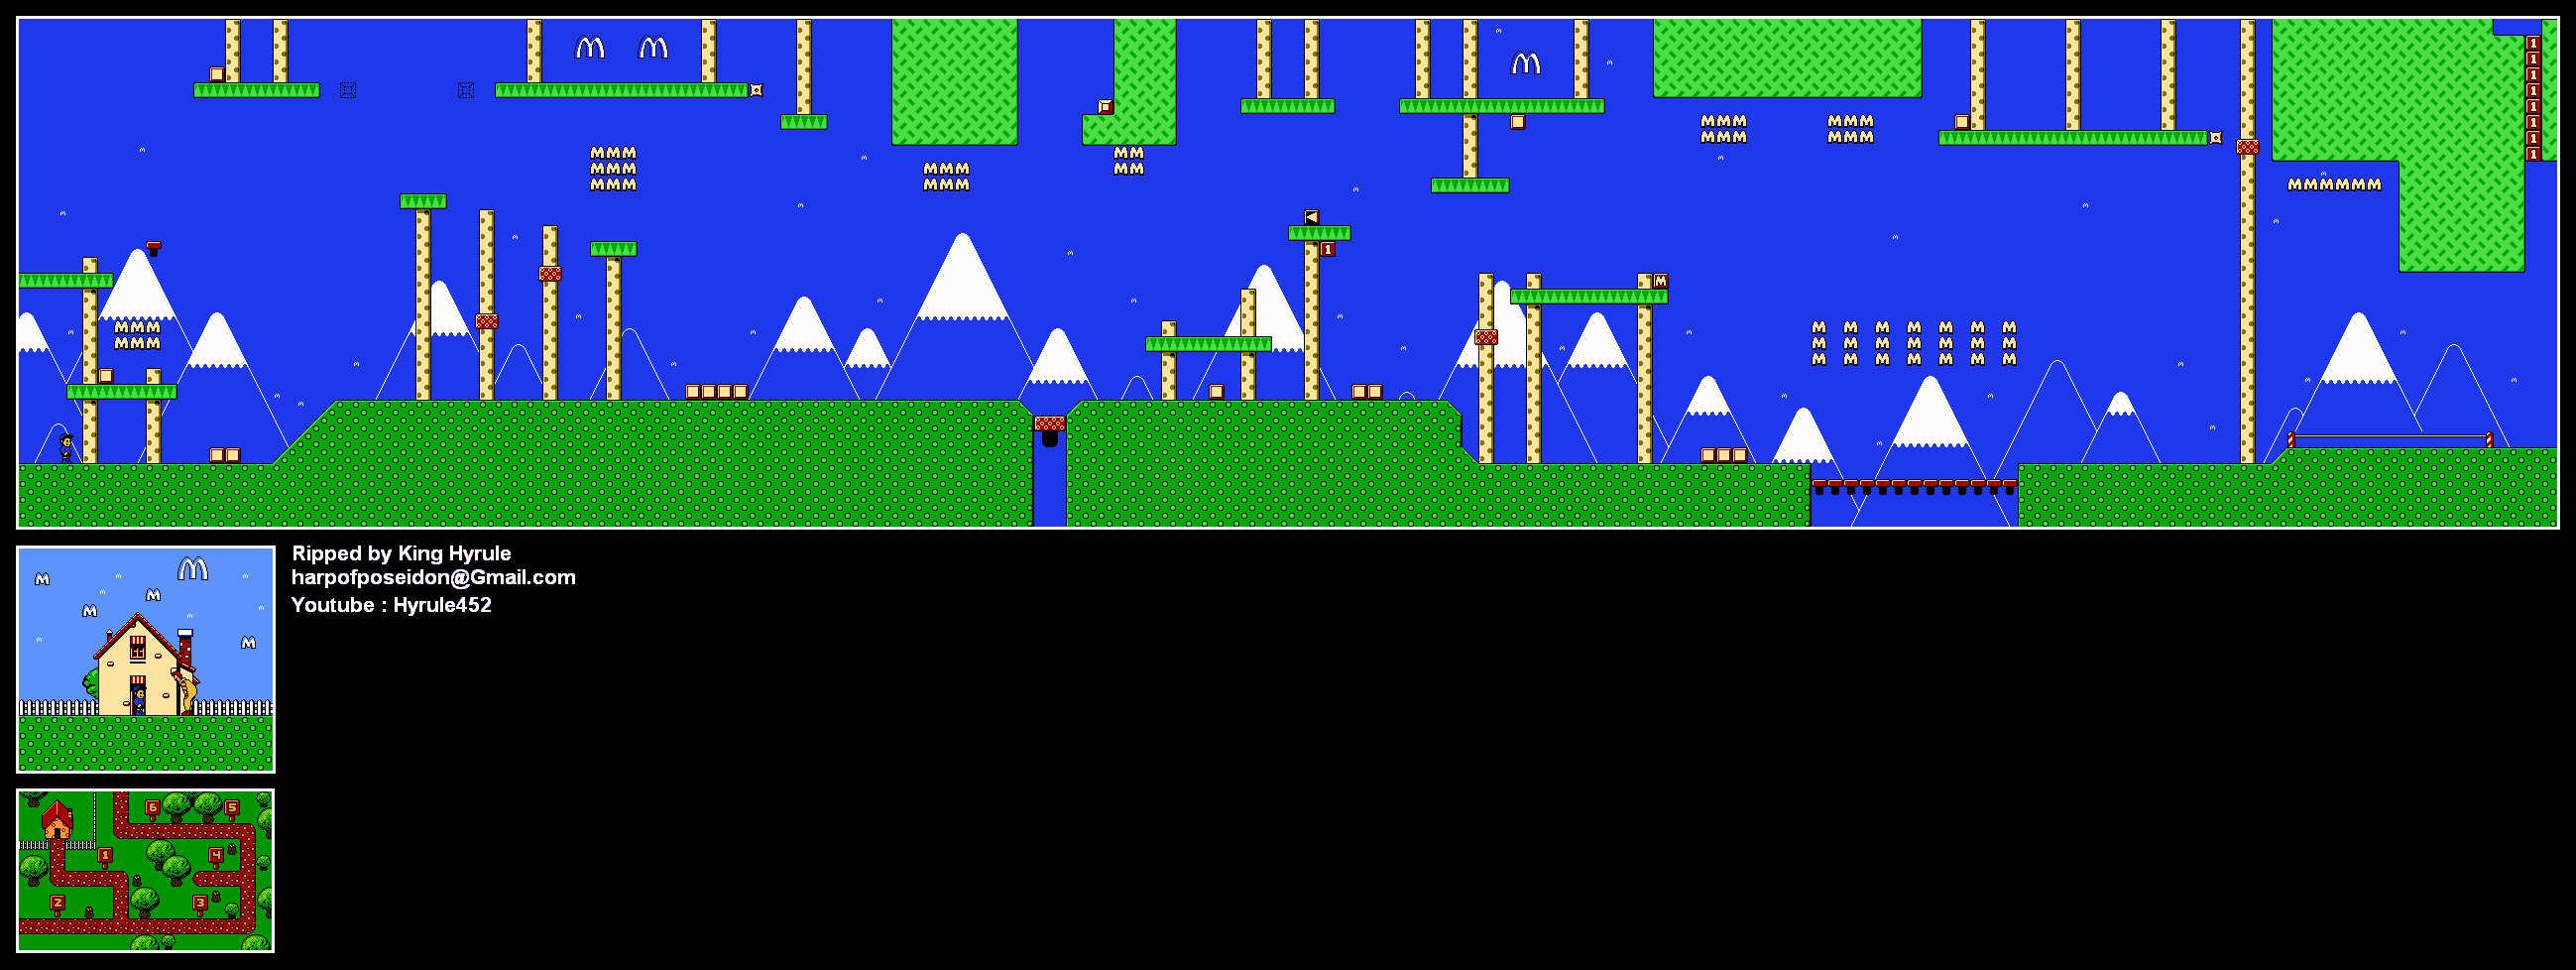
Level 4: Mountain View


Cards: Ronald's Clubhouse

If you know how to explore the place, you can get a ton of 1-Ups. Once again, you'll be able to go upside-down, but be careful not to fall into the sky and lose a life.

The card is at the end of the last right-side up platform before all of those trampolines.

Level 5: Hidden Glen


Cards: Hamburglar's Hideout

If you go up at the start, you'll be able to get an extra life. Just watch out for the gopher.

At the start, use the trampolines to get to the leaf platforms that fall from the sky. Take those upwards and head right to get the card. Interestingly, this is for Hamburglar's Hideout. Hmmmm...

Watch out for birds. They move up and down as they fly towards you, making them harder to hit.

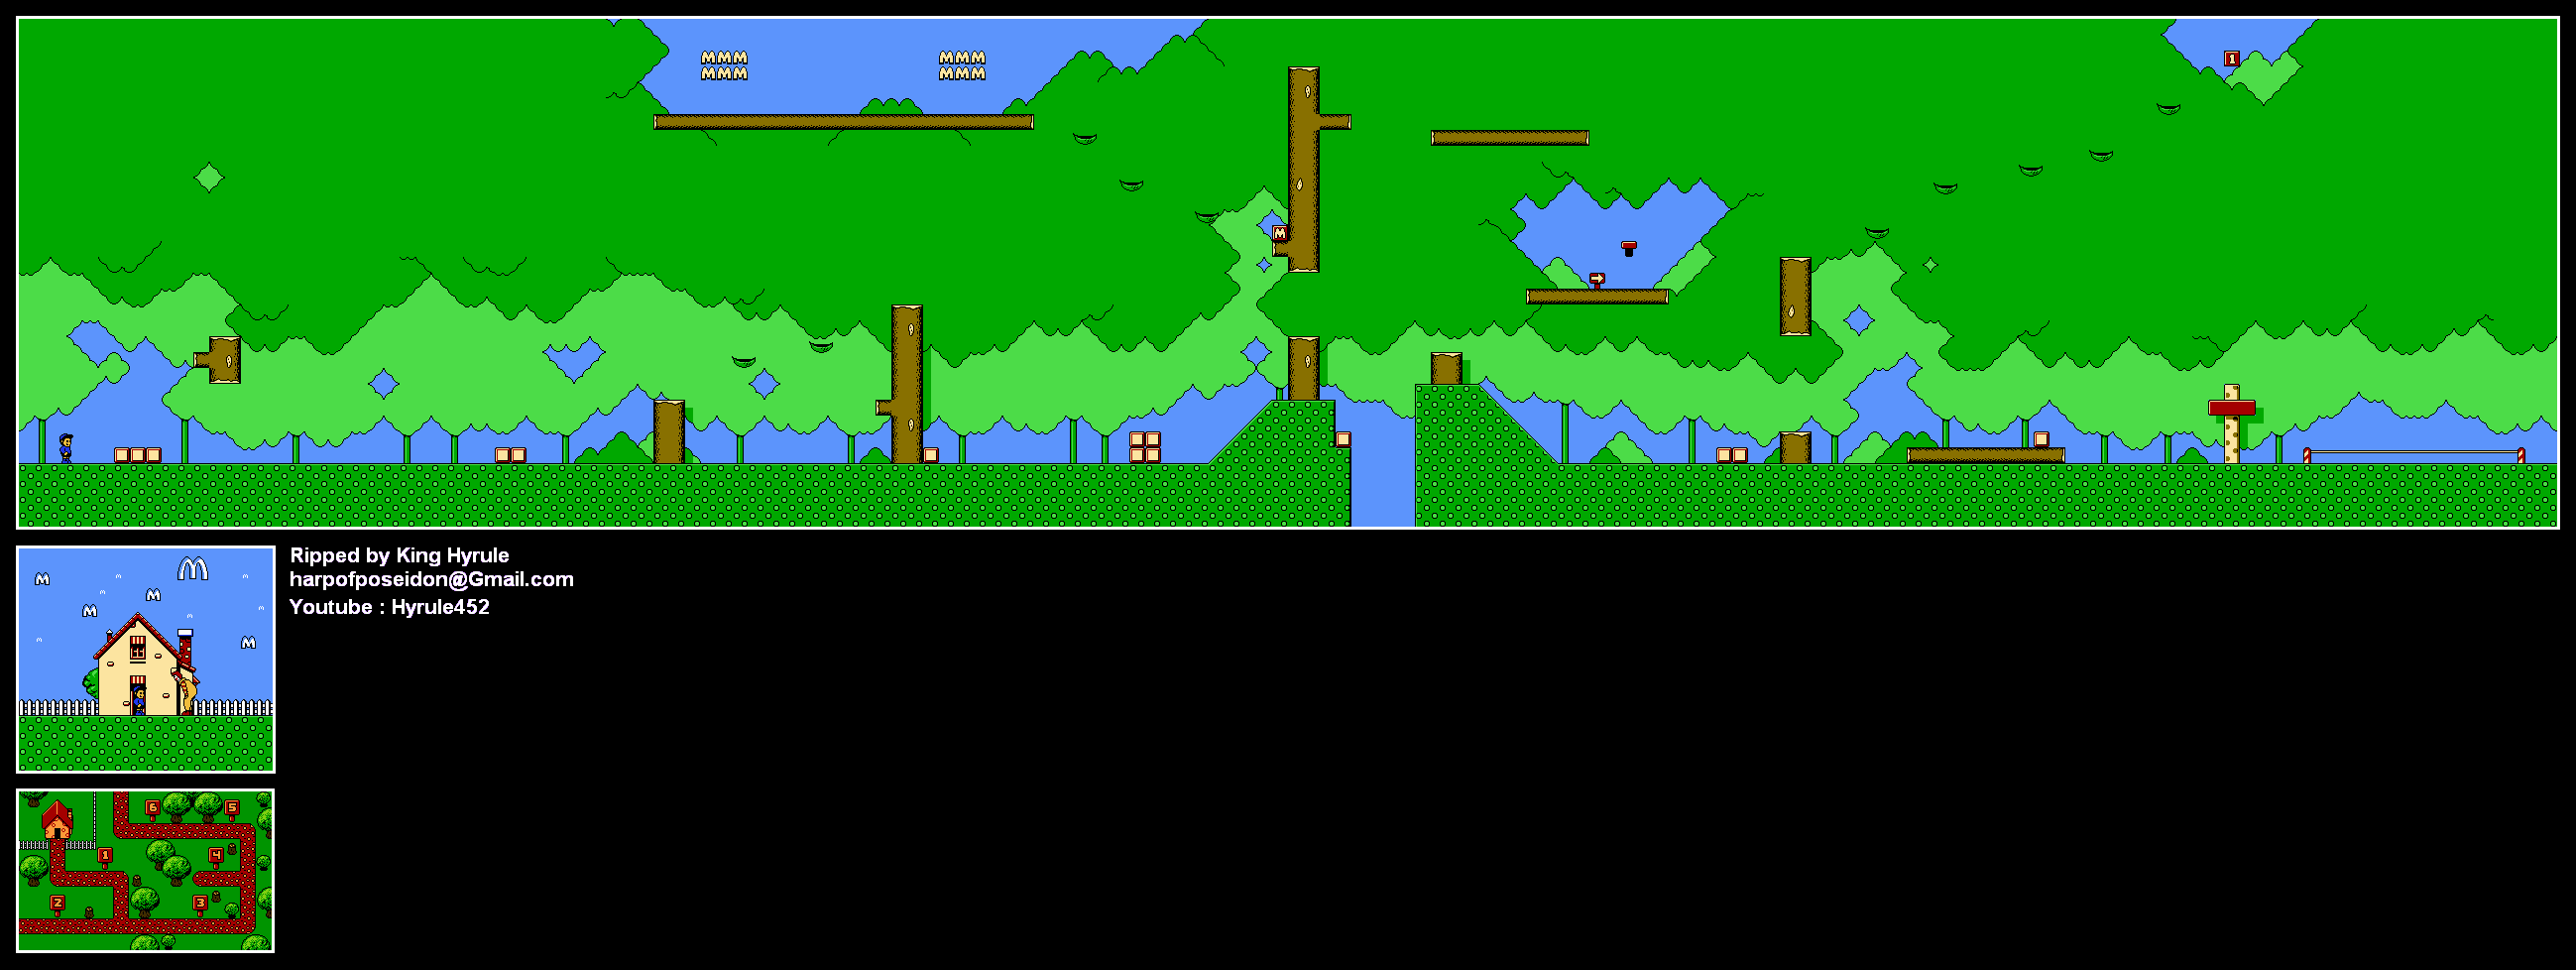
Level 6: Towering Trees


Cards: Ronald's Clubhouse, Professor's Workshop

The chicks bounce up and down, and the fact that they always try to bounce towards you will make getting rid of them with a block a must.

There are two cards here. One is just above the start, and you'll need to go up and around to get it. The other is at the top near where you need to drop down (and if you know what you're doing, jump across the trampolines to get a ton of arches).

If you've picked all of the cards so far, you'll have five for Ronald's Clubhouse, one for Hamburglar's Hideout and another for Professor's Workshop, another world that we have yet to see.

Now that you have a minimum of four cards for Ronald's Clubhouse, go back to the clubhouse to talk to Ronald. You'll be able to head to Birdie's Treehouse, but you can always back to previous worlds for lives and cards if you need to. At Birdie's Treehouse, we'll need to collect five of the cards for the world, but that will have to wait until the next video...

Sunday, January 19, 2025

PrinceWatercress plays Gumby vs. The Astrobots - Part 6 of 6


...and now, the thrilling conclusion to what is possibly the only video game based on Gumby that I've ever heard of.


Attack of the Astrobots


Chapter 1


This place is full of ramps and platforms. Use the ramps to get to the platforms, and ride the platforms to get where you need to go.

There will be snowblowers similar to the one from the battle with the Abominable Snowman around here. Just walk into the tops of them while in ball form to get launched elsewhere.

The bars in the floor limit where you can push trampolines.

There is a pit with two ice cream cones near two skull and crossbones signs, with two more ice cream cones below. Grab the top ones first, then go left. Get everything there, then use the trampoline to double back to that pit and get the lower ice cream cones. From there, you'll want to double jump left to the snow blower. You'll need to do all that to get all the ice creams without losing a life.

The springs raise floor platforms, and those platforms will only be raised for a short time before you have to jump on the springs again. 

Near the end of the chapter, there will be a lot of skull and crossbones signs. Be ready to jump on trampolines as well as on the heads of Astrobots to get to the other side.

Chapter 2


You'll meet the Blockheads. When you chase them, you'll find that they have taken control of the Astrobot King. You'll need to defeat the Astrobot King to beat the game.

Hit the lever, then push the ball that comes down down the slope into the Astrobot King to damage him. You'll then need to head to the other side of the room while dealing with all the Astrobots in the way, hit the lever there, and repeat the process. The Astrobot King will keep throwing projectiles at you while you're pushing the ball, and you'll have to go into the process of moving back and forth to push the ball towards the slope while simultaneously avoiding the projectiles. At least there is plenty of pie pieces to pick up in case you need the health.

When you beat the Astrobot King, the King will come to his senses and make remote controls illegal on Planet Astrobot. You'll then head home and continue to have that picnic with family and friends...but it becomes obvious that Gumby forgot Professor Kapp! Nevertheless, you've completed this game! Congratulations!

As for all those ice cream cones? You get absolutely nothing for collecting them all. Oh, well...


Saturday, January 18, 2025

PrinceWatercress plays Gumby vs. The Astrobots - Part 5 of 6


This place has quite a few twists and turns, and you're going to have to explore them all if you want to get everything!


The Magic Castle


Chapter 1


You're going to be doing a lot of jumping around not just to get everywhere and get everything. There will be a lot of purple and yellow Astrobots to bounce off of and quite a bit of ramp launching and wall jumping to do around here.

At this point, don't be surprised if you use the ball form attack to take care of some of the Astrobots out of safety.

If you see a catapult, just walk into it and you'll be launched over to the other side.

Chapter 2


Once again, you'll want to take a good look around to find all of the ice cream cones. You should have 50 cones by the time you meet the wizard, who has kidnapped Gumby's mom and dad to experiment on them. To get rid of the wizard, you'll have to walk into the yellow levers in order to pull out the floor from under him. Once you get the wizard to drop three times, you'll be done with him. The hardest part about the boss section is not the wizard, as he is really easy. It's the jumps and double jumps off the hovering yellow Astrobots that you will have to make. Make sure you can clear the huge gaps as you jump from one Astrobot to another, watch where you're going while in the air, and use that double jump!

Friday, January 17, 2025

PrinceWatercress plays Gumby vs. The Astrobots - Part 4 of 6


This is easily the quickest level to get through...and not a wild animal in sight!


African Safari


Chapter 1


There are plenty of places to look for ice cream cones, so take a good look around. Also, the purple bouncing Astrobots are back with a vengeance.

To use the curved ramps, get in ball form, then use L or R (depending on which direction you're going) to rocket up the ramp for some big air.

Chapter 2


Here, you'll find Minga. Thankfully, there is no boss. Just jump up the tree from one branch to another to rescue her. That's all there is to it. When you get to her, she will mention that the Blockheads are behind Professor Kapp's kidnapping, the theft of the remote and the sudden change in the Astrobots' attitude, as she ran past them while trying to seek safety. Now that Gumby knows what is going on, it's time to get serious.

Thursday, January 16, 2025

PrinceWatercress plays Gumby vs. The Astrobots - Part 3 of 6


The third level of the game gets a little interesting with the ability to wall jump.


Transylvania Tales


Chapter 1


Time to save Goo. As soon as you head to the right, you'll find another lollipop which will give you the ability to stick to walls in ball form. Jump towards the wall to stick to it, then hold the D-Pad up and left or up and right (depending on what the opposite direction is) and jump. This will allow you to wall jump your way to higher areas. You can also use Left or Right to switch walls without ascending.

To use the ziplines, just walk into them. You'll stop whenever you either reach the end of the zipline or if you jump off partway through. At the fourth and last zipline of the level, jump off and drop left as soon as you get on for a big ice cream.

Chapter 2


In Chapter 2, you'll meet Goo as soon as you show up. Goo will almost tell Gumby about the Blockheads kidnapping Professor Kapp and taking his remote control when Count Dracula suddenly shows up...and his singing voice is absolutely horrific. Gumby will turn into a flying platform for Goo to stand on and drop bombs from.

The D-Pad lets you fly in eight directions while A drops bombs. You'll need to use the bombs to destroy the notes that Count Dracula sends at you. Dracula will not only send notes at you, but he will also send pie pieces at you, and while you can grab those pie pieces, you can also accidentally destroy them with the bombs. Also, while there are thirty ice cream cones to grab here, you'll have to go up and down the entire level just to find them all, and getting them all was a pain to do. Eventually, you'll reach the end of the area, and when you do, you'll evade Dracula and head back to the library. 

Next up is African Safari...

Wednesday, January 15, 2025

PrinceWatercress plays Gumby vs. The Astrobots - Part 2 of 6


Now that Pokey has been rescued, let's go save Prickle!


Tales of North Pole


Chapter 1


As soon as you start the level, Pokey will leave due to the cold.

The lollipop at the start of the level will teach you a new move: the roll attack. While in ball form, you can press L or R to perform a ball charge. L charges to the left, while R charges to the right, and if you are moving when you press either of the shoulder buttons, you'll charge even further. The charge not only speeds you up briefly, but lets you smash through the enemy in front of you.

The brown Astrobot is on wheels and can slide down slopes. The yellow Astrobots hover, and they sometimes move around in patterns in mid-air.

There are plenty of moving platforms in this level, so pay attention to where you are you going when on one.

The big ice cream is worth ten ice cream cones.

When in icy cave areas, watch out for icicles. They will shake and fall if you get in front of them, and they hurt regardless of whether they are falling or not if you run into them.

Chapter 2


At the start of the chapter, you'll find another lollipop. This will give you the ability to double jump by pressing A in mid-air. Instead of being a traditional double jump, pressing and holding A in mid-air allows Gumby to turn his feet into a propellor and hover.

The purple Astrobots bounce up and down with the springs on the bottom of their bodies. You'll need to jump from one to another and then double jump to get a big ice cream cone.

Chapter 3


When you find Prickle, you'll find out that he is being held against his will by an abominable snowman. To beat the abominable snowman, take the platform upwards, then head right and jump into the cannon to shoot yourself into the abominable snowman. All the while, you'll want to watch out for icicles as you make your way to the cannon, as they will show up in droves. After three hits, the abominable snowman will be defeated. Up next is Transylvania Tales on the second floor...

Tuesday, January 14, 2025

PrinceWatercress plays Gumby vs. The Astrobots - Part 1 of 6


Of all the kids' characters I've known in my lifetime...Gumby is the last one I would ever have expected to receive a platformer.


The game begins with Professor Kapp creating a remote control that allows him to control his Astrobots. As he realizes that this remote control should not be in the wrong hands, he is rolled into some sort of metallic closet and locked into it by those no-good Blockheads, who then run off the remote.

Meanwhile, Gumby is having a picnic with family and friends, with Prickle using his flame breath to toast some bread. As Pokey and Gumby wish something exciting would happen for once, Goo shows up and tells everyone that Professor Kapp has been kidnapped and that he and his remote control are missing. Not long after this, the Astrobots show up and chase everyone into the nearby books, with Pokey running into the Wild West book. This will be the first stage you will enter.

Left and Right let you move around, and A lets you jump. You'll be using this to explore the hub world, but the only place you can go is into the Wild West book.

Wild West


Chapter 1


When you start the first chapter, you'll end up in the Wild West, where the game gives you a tutorial as you head to the right.

Trampolines help you reach high places. You can move them by walking into them, and jumping on them allows you to bounce higher. Thankfully, you don't have to hold A to increase your jump height.

Jump on Astrobots' heads twice to defeat them. One hit will merely stun them, and if left unchecked, they will get back up from being stunned. The ones here just move back and forth, but there will be other types of Astrobots that you will encounter later.

Every chapter has a certain amount of ice cream cones. Collecting them all nets you nothing but bragging rights, but at least you'll know that you've been everywhere in the level. However, it is worth noting that if you get enough in a chapter, you'll get an extra life.

Green lollipops unlock special moves. The one here allows you to turn into a ball. To do that, press B. B will let you go in and out of ball form, and while in ball form, you can roll down narrow corridors.

The book in the upper-right corner shows how many lives you have left, and collecting more books gets you move lives. The pie plate shows how many hits you have out of four, and if you get hit without any pie, you will lose a life and get sent back to the beginning of the chapter. However, if you find a green flag, you'll get a checkpoint that takes you to the midway point of the current section, so you won't get sent back as far.

To refill health, look for a piece of pie. Here's a fun thing to note: if you find one, move back a bit once you grab it and then go back to where you found the pie. The pie will return. This is useful if you need health badly. Just keep in mind that you'll have to go back a little bit and not just move the location of where the pie was off-screen to get the pie to re-spawn.

Up and Down on the D-Pad allow you to look up and down, respectively. 

If you see a sign with a skull and crossbones, be careful in the area where you are, as there will be a bottomless pit that you will not want to fall into. Falling into it leads to the instant loss of a life and being sent back in the level. 

There are moving platforms, but they move slowly. This is the first level, after all.

If you see any raised planks on the floor, you will not be able to move trampolines past them.

Chapter 2


There is a dead end where you can re-create the "echo" scene with Gumby if you go to it.

You'll soon find out where Pokey is: cornered by a cowboy named Ricochet Pete, who wants to make Pokey a steed against his will so he does not have to ride a mine cart. This leads to Pete wagering Pokey's free will in a race to the end of the mine shaft where the winner gets Pokey. 

You'll then control Pokey in a mine cart racing against Pete. A lets you jump, and L and R lets you perform a charge attack to get past the green Astrobots that are floating around. It also gives you a speed boost, which should keep Ricochet Pete at bay. You can also press Right to perform the speed boost, but the shoulder buttons are better.

Be ready to jump over pits and off the heads of Astrobots to get to higher places, as there are still ice cream cones to pick up in this area.

Be mindful of signs. The X signs tell you not to jump, and the skull and crossbones signs will warn you of bottomless pits.

Chapter 3


This is more or less another racing section, much like Chapter 2. As long as you take this are aslowly while still staying ahead of Ricochet Pete, you should not have much trouble getting some of the ice cream cones that are tricky to get.

When you reach the end, you'll be flying right out of the book and back in the hub world.