Showing posts with label part 66. Show all posts

Sunday, March 22, 2026

PrinceWatercress plays Super Mario Odyssey - Part 66 of 92


It's time to take on the Wooded Kingdom again. There is where getting the post-game Power Moons starts getting hard.


It's time to return to the Wooded Kingdom. The Moon Rock is near the Odyssey and near the wall; activating it will increase the amount of moons here from 54 to 76.

From this point forward, I do randomized costumes just to spice things up. It's not too hard; just go to the wardrobe inside the Odyssey and press Y for something random. You also get the added bonus of wearing something different every time you die, too.

51. Swing Around Secret Flower Field - Near the Secret Flower Field entrance, there is a pole you can climb. Go up it and travel across the top of the wall, then drop to the crumbling walkway and swing across the poles. There will be a key and a P Switch on top of a bunch of bricks; grab the key and hit the P Switch, then go across the road that the switch creates to get to this Power Moon.

52. Jammin' in the Wooded Kingdom - There is a waterfall near the Summit Path checkpoint. A Jammin' Toad will be there, and he will ask for music that fits the theme of "Sky-high coins a plenty." You'll need to play Track 75, "Above the Clouds," to get the Power Moon. You'll also unlock "Honeylune Ridge: Escape (8-Bit)" in the Music List.

53. Wooded Kingdom Regular Cup - Koopa Freeracing will be located near the Forest Charging Station checkpoint. To win this race, you'll need to go down where the vine is, then go up all the moving platforms and use the Uproot to get through the maze. You'll need to get out of the Uproot before the drop to the exit, then long jump to the goal. You'll get the Power Moon for placing first.

54. Peach in the Wooded Kingdom - Peach and Tiara will be at the Observation Deck; talk to them for a Power Moon.

55. High Up in the Cave - This Power Moon is in the small cave between the Odyssey area and the bottom of the mountain. You can use an Uproot (I don't even know why I didn't think to do that), or you can do what I did: backflip, throw your cap toward the Power Moon and do the dive jump.

56. Lost in the Tall Trees - There is a crate on a platform in a tall tree in the woods at the east side of the kingdom, and the only way to reach it is with Glydon from the Observation Deck. Take control of Glydon and glide to the crate, then get out, break the block, and get to the nearby pole to get the Power Moon that comes out.

67. Taking Notes: On Top of the Wall - On top of the wall surrounding the Odyssey area, there will be a treble clef. You'll need to grab it, turn around, and continuously roll in order to grab all of the notes without falling off and before the timer runs out. Doing this will net you a Power Moon, and it is easier said than done due to how the path gets narrower the further you get.

Sunday, November 3, 2024

PrinceWatercress plays Chrono Trigger (Super NES) - Part 66 of 70


Now that we've beaten Azala, it's time for another ending.


As mentioned earlier in the Let's Play, Black Tyrano has a Power Tab and Azala has a Magic Tab. Also, I just now found out while making this entry that Azala is female, and while it is made clear in the original Japanese version and every version of the game from Nintendo DS onward (which uses a translation closer to the original Japanese and doesn't contain any Woolseyisms), it is not made known at all in the original American Super Nintendo release.

For the next ending, you'll need to beat Lavos after beating Azala, but before Schala opens the sealed door in Zeal Palace. This time around, I have Ayla back in the party, which means that more raw, destructive power is about to ensue.

When you beat Lavos at this point in New Game Plus, you'll see Magus back in 12,000 B.C. as the Prophet, heading to Ocean Palace without the interference of Crono and company taking place. Whether or not he actually beats Lavos is another matter entirely.

Thursday, May 30, 2019

HCBailly plays Final Fantasy IV (Super Famicom) - Part 66 of 70


The last battle is finally at hand...


The Gysahl's Flute summons the Fat Chocobo anywhere in the game when you use it. At least you don't have to be in the Magic Ship anymore.

To beat Phase, equip Edge with the Thunder Claw and attack him with it. Phase will cast Reflect on itself and bounces spells off itself and onto your party. Have Kain repeatedly Jump, and have Rydia cast Quake. Cast Reflect on someone, then cast Holy on that person to bounce it onto Phase to do 9,999 damage per turn. This shouldn't take long.

Rydia will learn Meteo at Level 60, but Bahamut is a lot more reliable and cost-effective.

The Zemus Breth has a lot of HP. You're better off running away. Also run away from the Zemus Mind, who will try to kill your party off as quickly as possible.

At the end of this area, you'll finally catch up with Golbez, FuSoYa and Zemus. Golbez and FuSoYa will fight Zemus, and both of them cast Meteo at the same time is enough to destroy him...almost. Zemus' soul comes back to try to destroy everyone... 

Tuesday, June 19, 2018

HCBailly plays Terranigma - Part 66 of 75


We have all the Starstones. What happens now...?

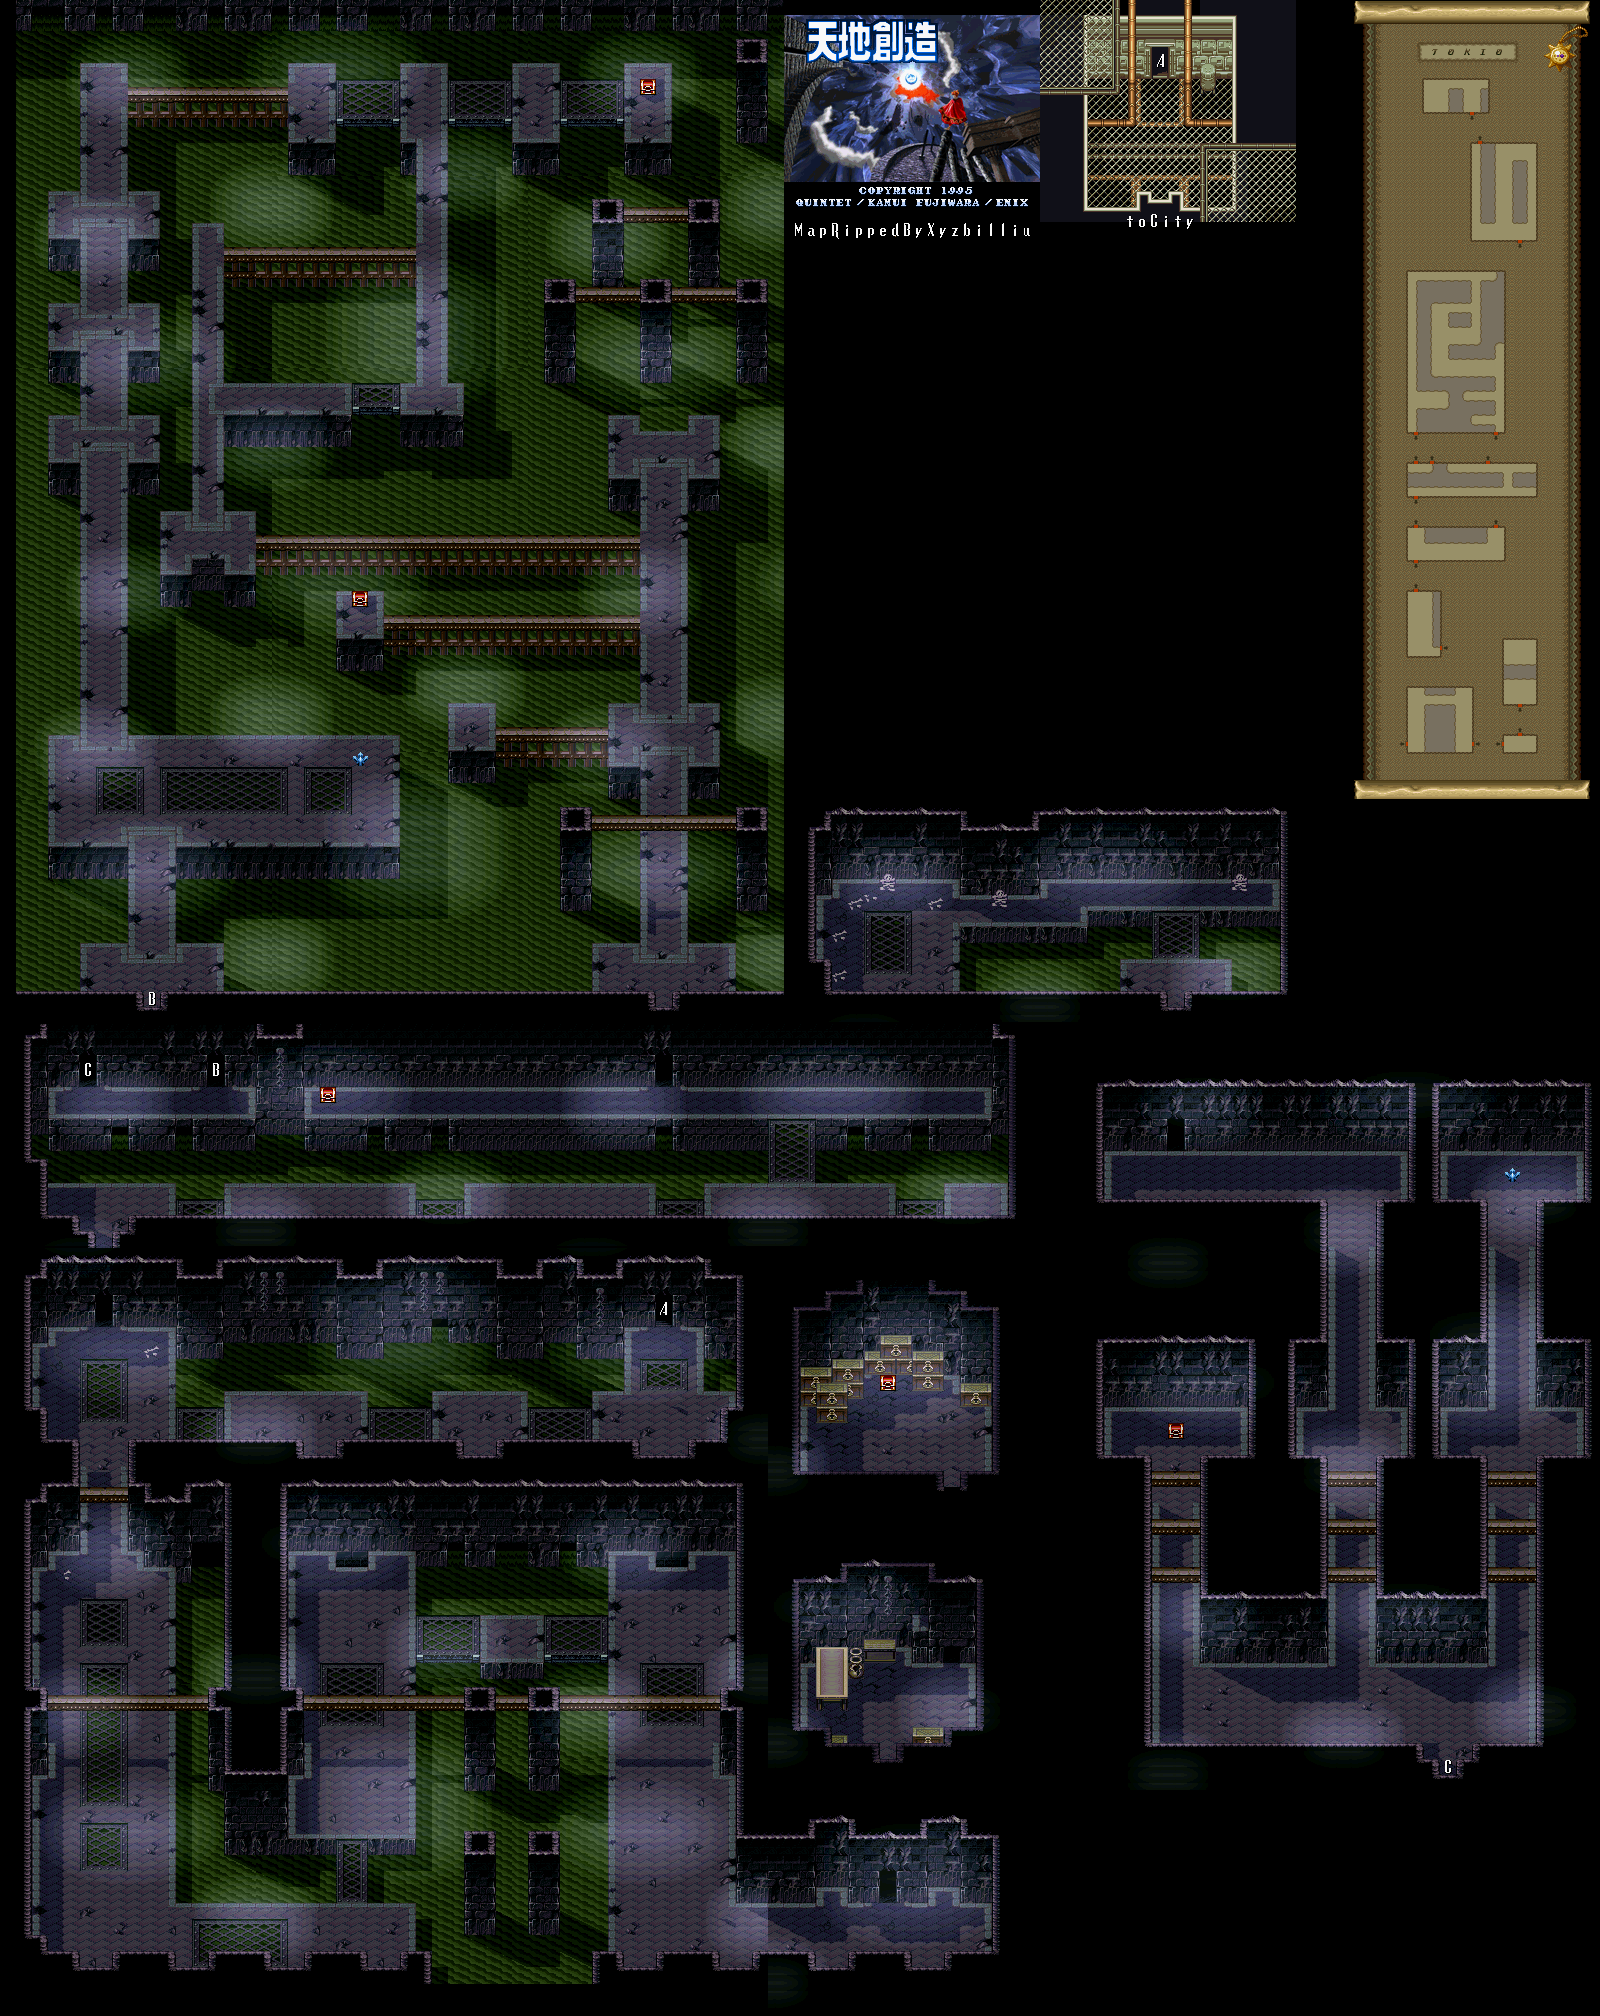
World map by Tropicon. Sewers map by xyzbilliu.

Sewers


Believe it or not, the EnbuPike actually does more damage to the floating spinning enemies and the mechanical enemies here.

In the second maze, you'll know you're going the right way when you make it to the upper-left corner of the maze. Don't forget to go right and collect Magirock #86 before you leave.

In the next section, there are three places you can go. Go to the left to find a chest that contains the KingArmr. Go to the right to get Magirock #87. Watch out for the mechs that shoot at you on the paths, as they can get you from a fair distance. The middle path lets you continue on to the dead end when you'll meet the girl and the lion. Head to them, and Ark will confront the lion. Yomi will show up and tell you that the lion is Leim, who has grown up since the last time we saw him. Talk to the girl, and she'll tell you that people just suddenly vanished, and that her parents disappeared right in front of her eyes. She tells you that a strange voice from her pendant talks to her, and that it cheered her up by saying light will shine if I live on. She gives you the pendant, which is the fifth and final Starstone.

You'll hear another message from the transceiver. It's from Freedom's research team. Ark will contact them, telling them where Liam and the girl are.

Leave Neotokio. You're done here.


From Neotokio, you have to head to Antarctica aka the S. Pole. There is a desert area surrounded by grass at the southern coast. Thankfully, you can move your ship there and walk into it. This is Dryvale, the edge of the world. Among all the tombstones are skulls. Equip the Starstones and use them on the skulls.

When you place them all, a soul appears to the north that sounds exactly like Ark. The soul commends you for coming this far and says it was possible because you are the legendary hero. The soul then changes into a shadow version of Ark and says that he represents the Lightside. He explains that you represent the Darkside. He says people are said to meet someone identical to them once in a lifetime, and that there are two Arks in the internal and external worlds. The re-emergence of Beruga has disturbed the balance, and the world has come to doomsday, which must not exist. He tells you to close your eyes and think deeply about the world, then kills you. This ends Chapter 3.

Saturday, March 17, 2018

skorch82 plays Brave Fencer Musashi - Part 66 of 70


It's time for more Soda Fountain surface destruction!

Believe it or not, you can destroy the fountains if you want. The fountain at the top of the next section will turn into an elevator which sends some blue walkers at you. They're basically the same as the red ones, but they can shoot fire slightly further.

When you're done with the enemies at the end of the garden, take the elevator down. You'll enter the inside of Soda Fountain. Watch out for the steam coming out of the platform when crossing the pit here.

The door at the other end shoots a 7-way shot that moves towards and spreads out. Attack the panels where the cannons are to get some health and BP pick-ups and continue on.

Tuesday, December 17, 2013

brickroadbrickroad and SovanJedi play Secret of Evermore - Part 66 of 88


We take down the Timberdrake, fight black raptors, and...die. Again.

All maps by Grizzly.

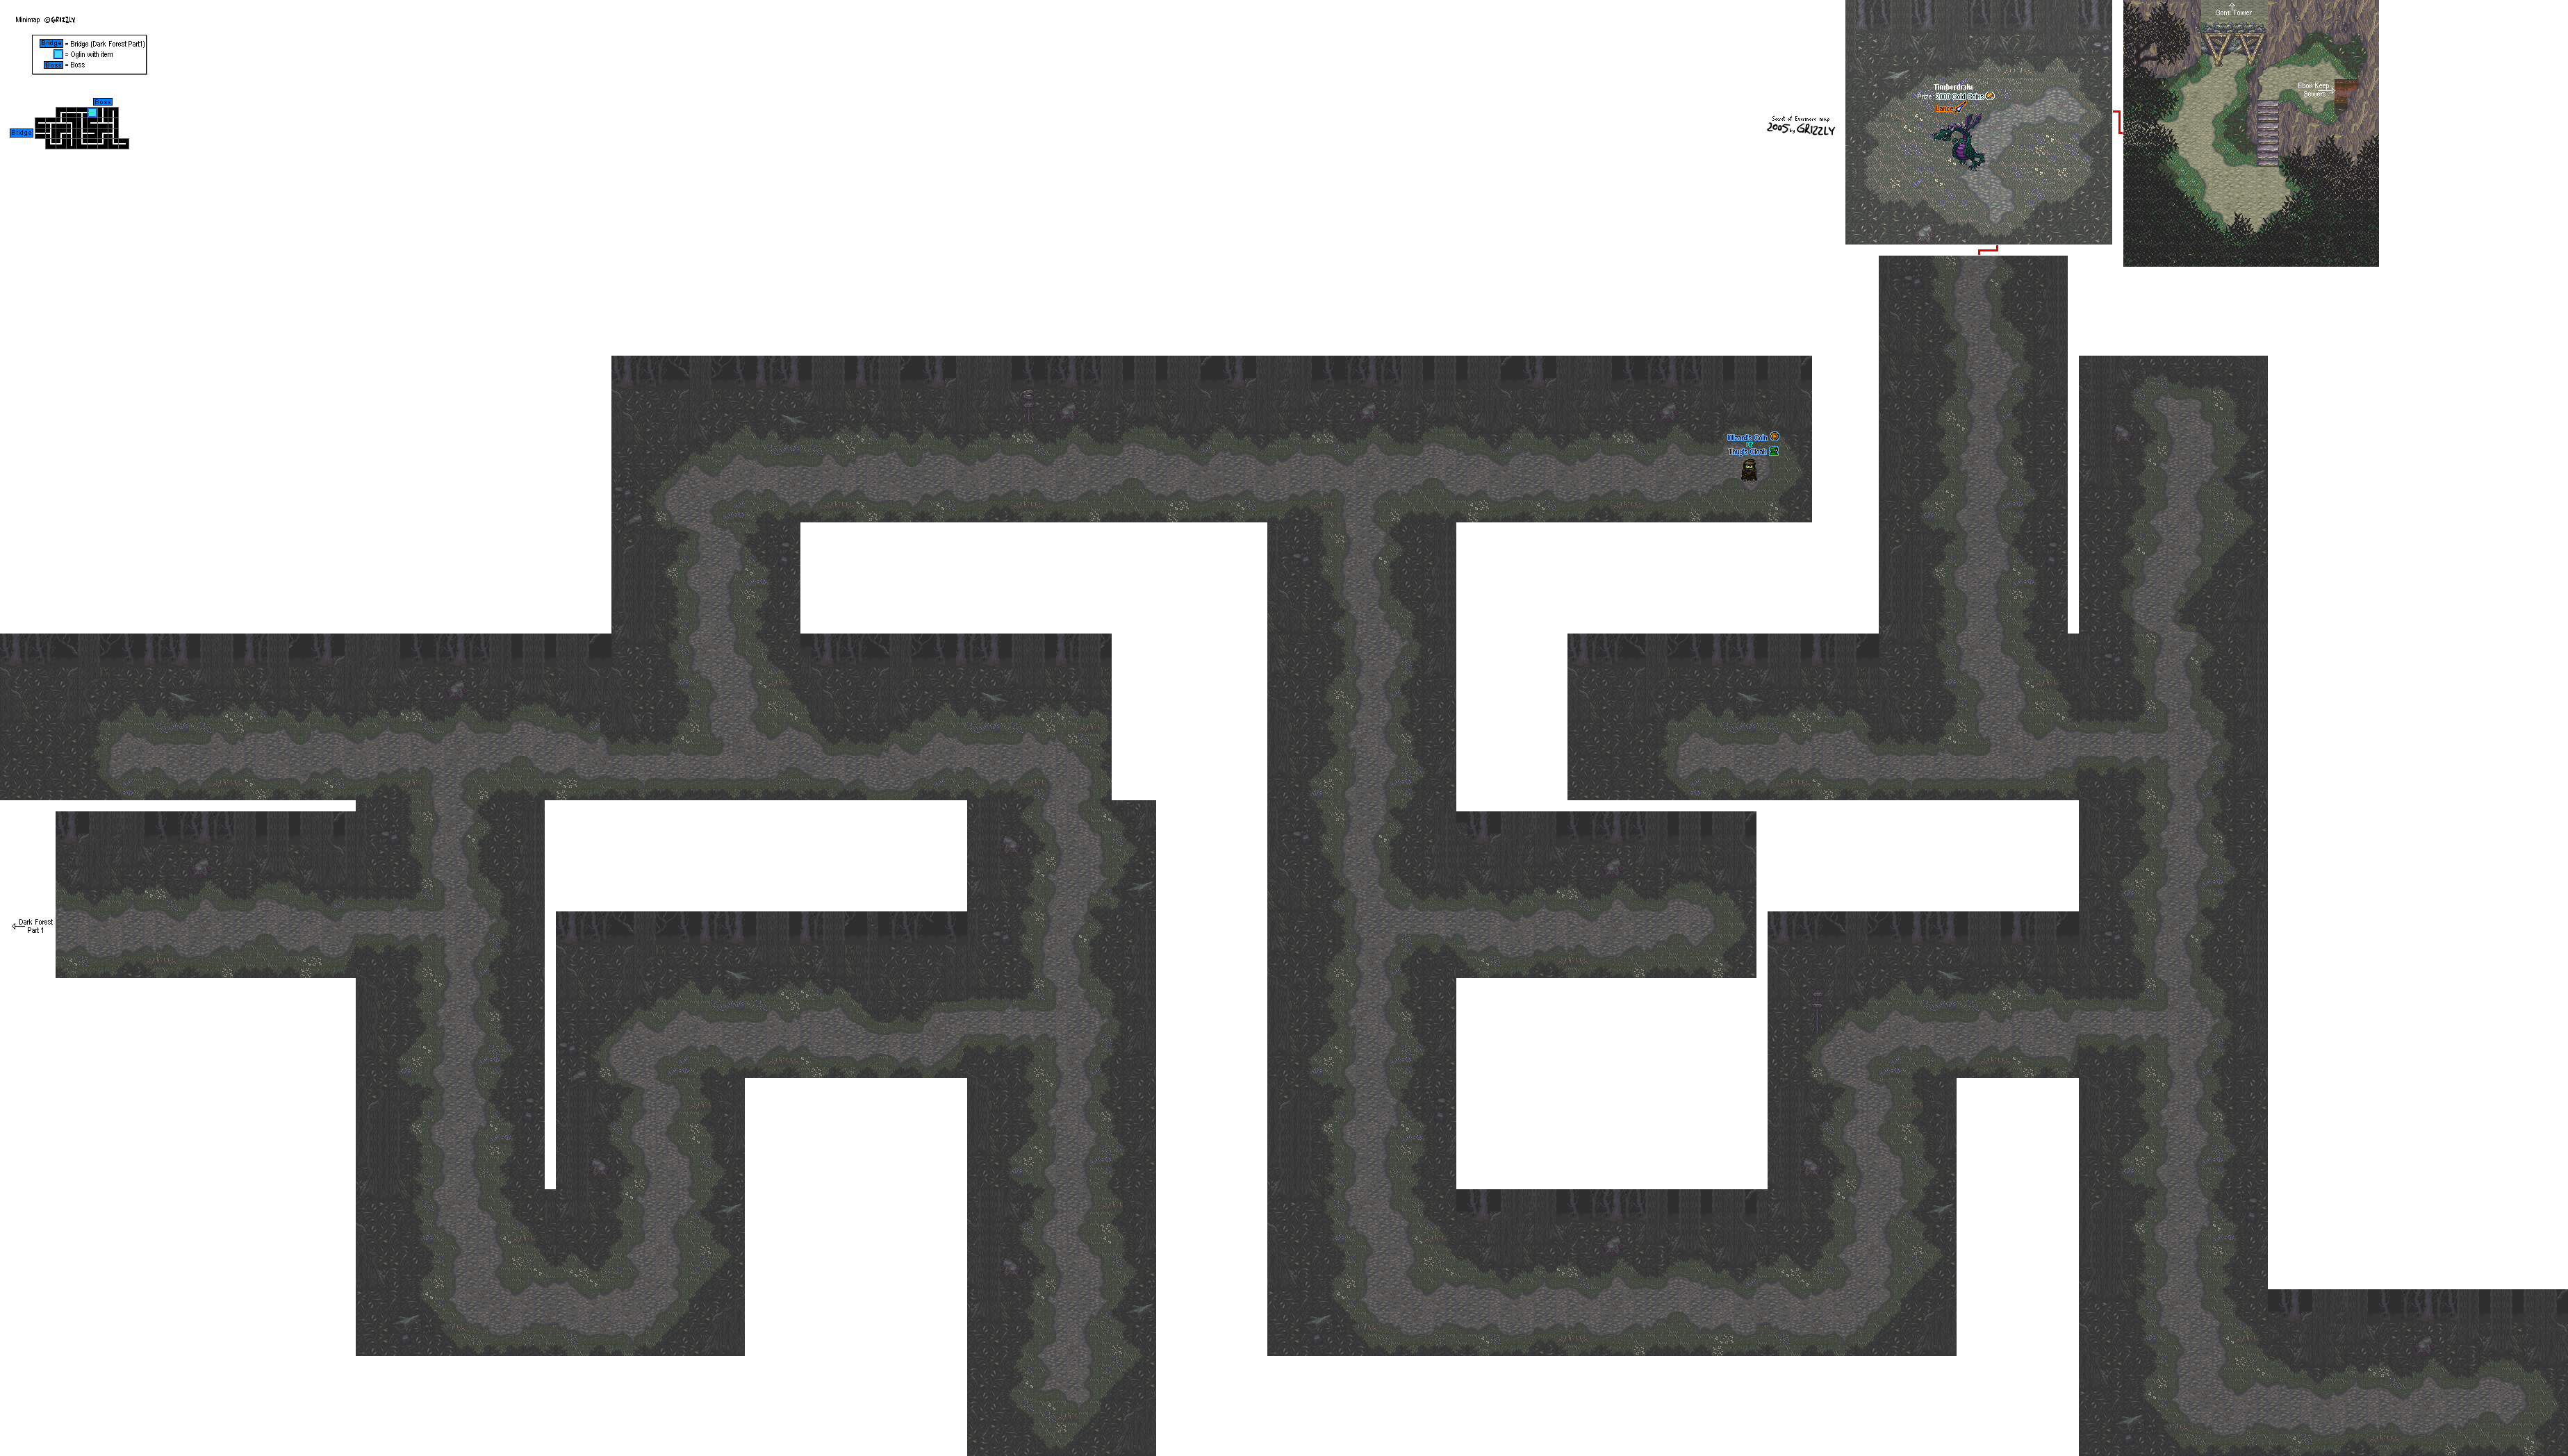
Dark Forest


Map 2

When you reach the end, you'll fight the Timberdrake dragon.

Boss: Timberdrake


Timberdrake can cast Fireball, but yours is a lot more powerful than his is, if you've leveled it up enough. 300+ damage after a few levels? imokaywiththis.jpg

He'll also ram into you, but it doesn't do that much damage. Timberdrake is a joke as long as you keep The Boy alive.

When you beat him, you'll get 2000 Gold Coins. You'll also get the Lance. Go power this sucker up, because you're definitely gonna need it for the challenges ahead.

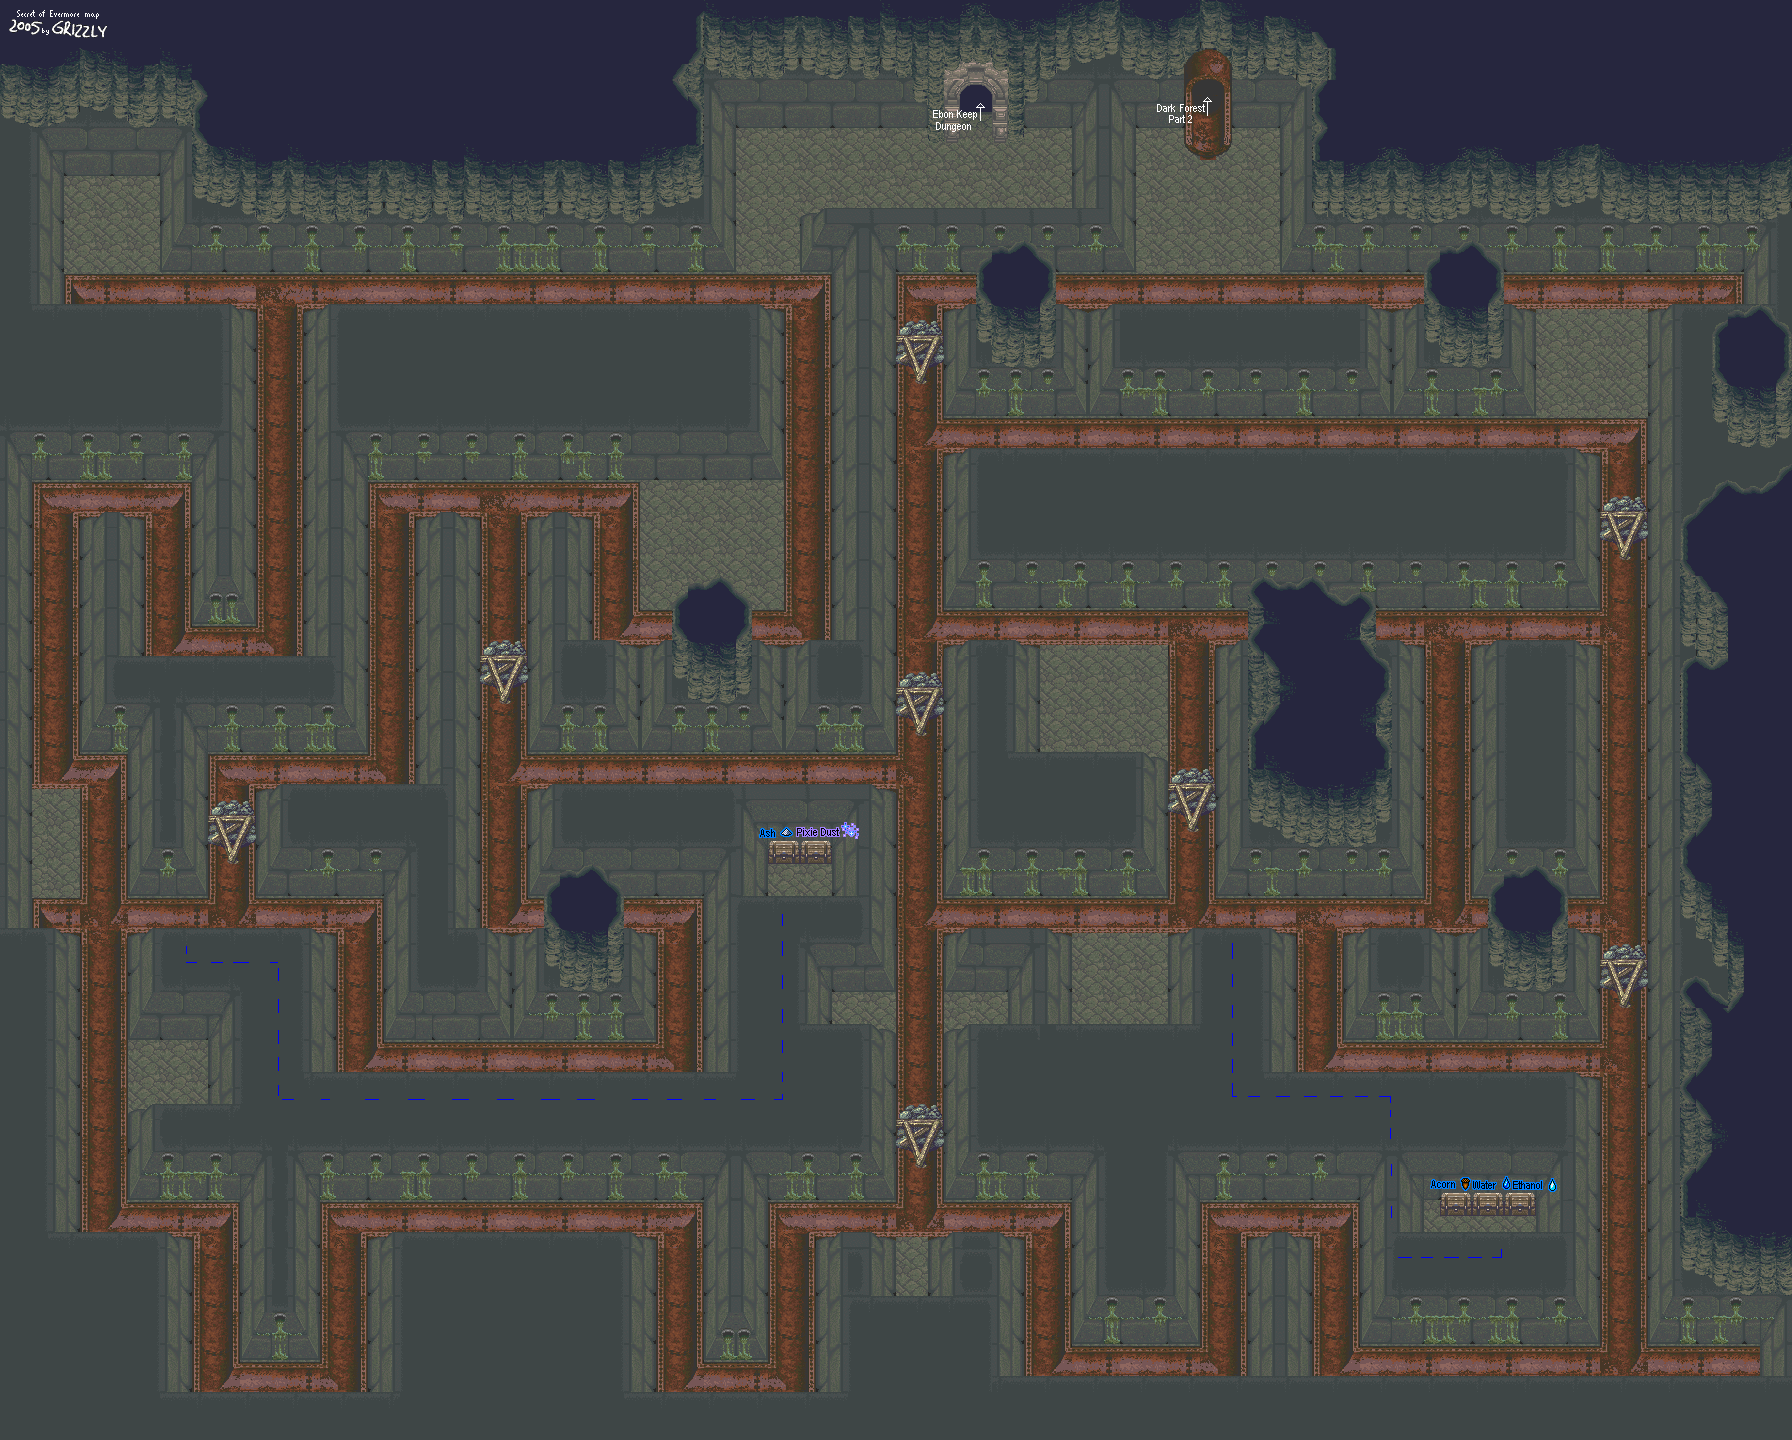
When you go right from here, you won't be able to go north...yet. Go east into the pipe and you'll enter the sewers of Ebon Keep.

Ebon Keep Sewers


Make your way around the maze as well as the barriers. Once again, just like Ivor Tower's sewers, there are secret passages that lead you to hidden treasure.

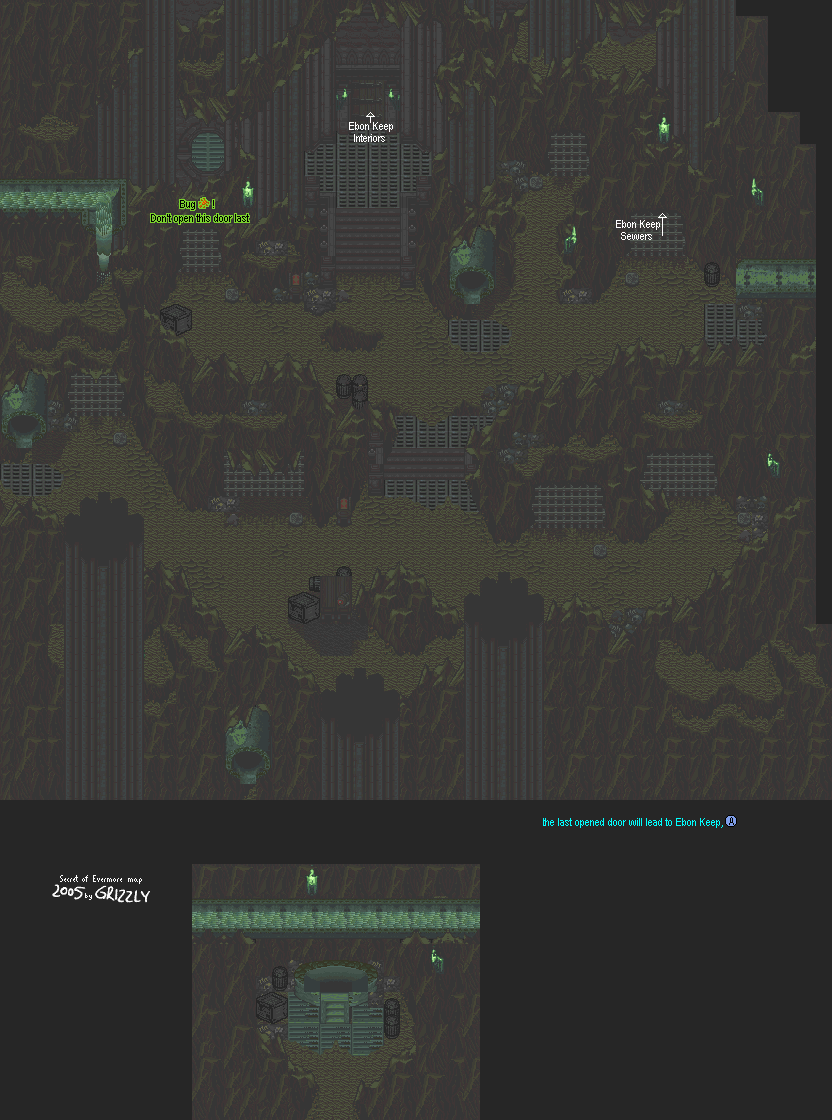
When you reach the exit, you'll be in the Ebon Keep dungeon.

Ebon Keep Dungeon


First things first...don't open the door directly to the left of the exit to the interiors (which you won't be able to open at this point) last. Otherwise, you won't be able to leave the Dungeons and you'll be stuck here until you either turn off the power or reset the game. Derp.

Anyway, go ahead and attack the enemies in the cells. Love how the black raptor looks, by the way. Shame this is the only place in the game where you see him.