It's now time to take on the second world and break down how to get everything in Riverside Race!
All maps by Tropicon.
.gif)
Now that we're done with Lake Orangatanga, it's time to leave the area and go north to Kremwood Forest.
Barrel Shield Bust-Up
Bonus areas: Two (2)
You'll meet a new enemy here: Minkey. Minkeys will be in packs, throwing nuts at you while hanging from the wall. There will be barrel shields that will protect you from some of them, but you'll have to time your movements carefully to avoid the projectiles thrown by some of them.
To climb ropes, just hold the Control Pad towards them while jumping into them. Use Up and Down to climb, and Left and Right to switch sides. Hold Y while moving to speed up and press B in conjunction with Left or Right on the Control Pad to jump off. Holding Down and pressing B at the bottom of the rope will allow you to drop down from the rope.
When the stage begins, the barrel shields will be stationary; as you go further into the level, the barrel shields will move up and down the ropes that you will be climbing. You'll have to be on the move to stay behind the moving barrel shields.
Shortly after the start, you will see a hole in the floor after getting past two green Buzzes moving around in a circle. If you get in and float to the left with Dixie, you'll enter the Warp Barrel. The second bonus area is here, but you can still get to it even if you don't use the Warp Barrel. At the end of the stage, there is a TNT barrel. Take it and blow up the wall to the left of where you found it. Climb up, then use Dixie's Helicopter Spin to get through the holes to the right with the bonus area. Here, you'll be collecting 15 green bananas in 35 seconds, all while avoiding the Minkeys. If you can somehow time your movements right, you can get fifteen without getting hit so you can get the Bonus Coin. Thankfully, the bananas only show up in four locations. Also, hold Down and press B to drop down the rope after you climb to the bottom, so you don't hit any of the Minkeys' projectiles.
When you climb the rope above where the Warp Barrel is, you'll find the Bonus Area that is earlier in the stage. Grab the TNT barrel and run it into the wall to the left. You'll find the Bonus Barrel. Here, you'll have to hunt the Bonus Coin down. Time your movements so you can get past all the Minkeys. You also have no barrel shields to work with, so be careful as you make your way from Point A to Point B. When you get through the area, you'll land at the Star Barrel. From here on out, the barrel shields move.
If you have no barrel shield and you have to avoid a group of five Minkeys, wait for the second Minkey from the bottom to throw something before moving all the way up.
When you reach the N. you will want to go to the right of the DK Barrel and tag throw Dixie up and to the right to the platform above it. This will take you to Koin. Grab the steel keg and throw it to the left from where you found it. You'll whack Koin in the side and get the DK Coin. From here, you can ram the nearby TNT barrel to the wall to the immediate right.
The spiders with the wooden planks on their heads are called Nids. The pink ones are stationary and will not jump until you stand on them, but there are also yellow ones that are always in motion. While they are not exactly enemies per se, they can send you into Buzzes if you're not careful in later levels.
From here, you'll reach the end, where the second bonus area will be. Thankfully, this was mentioned earlier.
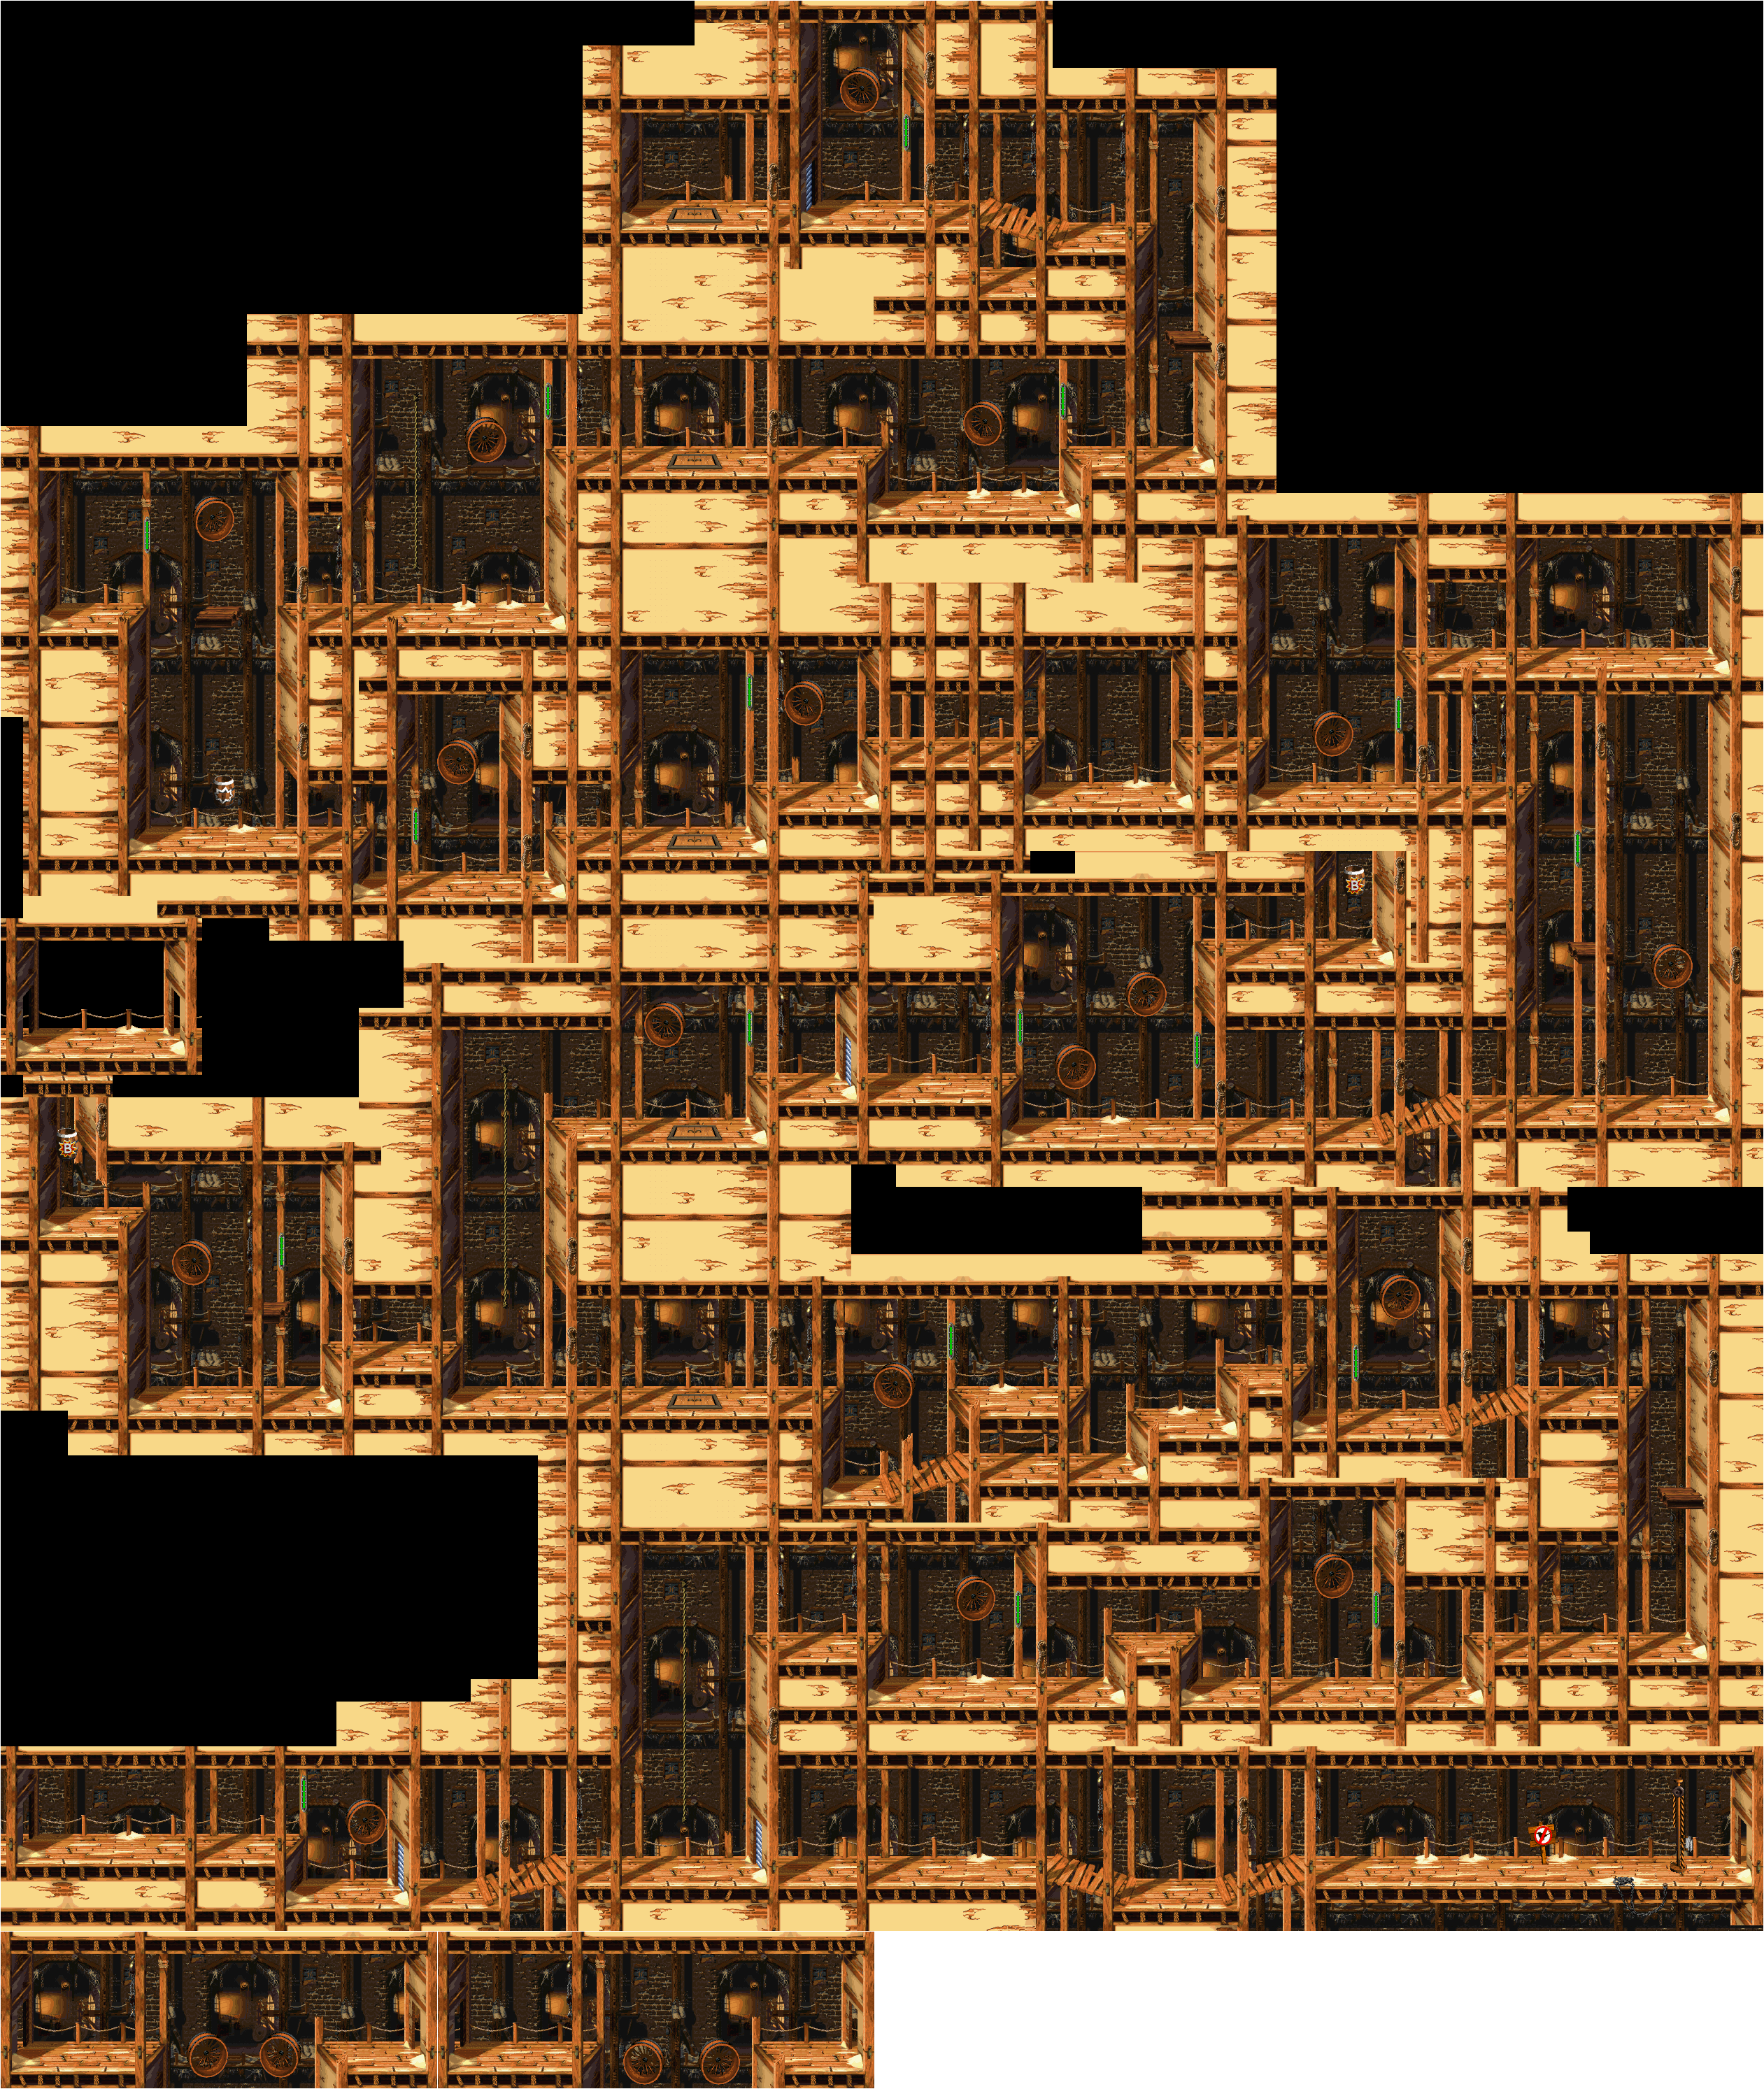
Riverside Race
Bonus areas: Two (2)
Here, it's you against the clock. The clock will be in the lower-right corner. There, you'll see the best time for the level as well as your current time. If you can beat the best time, you'll get a surprise!
The Warp Barrel is just above the first pond in the level. You'll have to tag throw Dixie up above the center of the pond where the Warp Barrel is, and you'll have to do it from the left side of the pond while avoiding a swarm of bugs that will home in on. You can use it to finish the level, but beware: if you try to use it to beat Brash's time, you will automatically get a time of 9:59.90 on your timer as the game's way of accusing you of cheating.
Speaking of the swarm of bugs, a swarm of bugs will more often than not be chasing after you while you are on dry land. You can't destroy them, so your best bet is to outrun them.
For large bodies of water, you will have to use Kiddy's Water Skip to get through them in record time. Run and roll off the left edge with Y, then press B as you are about to hit the surface of the water. Again, you can do this up to two times before dropping down into the water. This will allow you to reach both bonus areas.
The first bonus area has you grabbing fifteen green bananas over a pond with a single Coco in it. Stay on the move, and jump out of the water when a banana appears. This might take a few tries, but you'll get the hang of it and get that first Bonus Coin in no time. Be sure to hold Up as well as whatever direction you're going for best results.
The second bonus area has you defeating four Rekoils to get the second Bonus Coin to appear. Be careful when taking them out, since it can be easier to get by one of the Rekoils than you think. You can use the Water Skip to get here, but you can also swim all the way to the left of the pond before you get there to hit an ! Barrel for temporarily invincibility that will allow you to jump on all three of the nearby red Buzzes to get there more easily.
If you water skip right after the tunnel with the Star Barrel, you can jump on two Nik-Naks to get a 1-Up.
There are some instances where you do not want to use the Water Skip. The first is shortly after the first bonus barrel, the second is in the large pond after the N and the second bonus area, and the third is just before the G.
Koin is just after the G. For this, you'll want to go to the end of the stage to get the bees to disappear, then head back here and use Kiddy's Water Skip to reach Koin. From here, throw the steel keg off the left wall and into Koin's back to get the DK Coin.
Squeals on Wheels
Bonus areas: Two (2)
The main thing you will be dealing with here is the Sneeks on wheels. You will have to destroy them with the steel kegs that are scattered about the level; there is no other way to defeat them. The stage has you destroying one to open the nearby door; later on you'll be defeating two or more to progress. Watch out for those Rekoils!
There is a steel door blocking your way at the beginning that cannot be opened by normal means. Remember that for later...
The Warp Barrel is above the DK Barrel at the beginning of the stage.
The trap doors in the stage are padlocked. You won't be able to enter one until a bit later on.
The first bonus area is to the left of the O. Throw the steel keg at the Sneek in the wooden wheel, then enter the nearby door to get to the first bonus area. Here, you will have to watch where you're jumping - and Helicopter Spinning - to grab all the stars and get the Bonus Coin to appear.
You can stand on the wheels even when they are running. This is especially true after the Star Barrel; you can go up them to reach the second Bonus Area. The second bonus area is the same as the first, but this time you are collecting fifteen green bananas. Be careful with Dixie's Helicopter Spin and remember that the bananas can only span in four locations.
There is a wheel surrounded by two green Buzzes flying around it. Take care of all the enemies, then get on the wheel and jump to the right. Grab the steel keg and throw it into the wall so it hits Koin in the back so you can get the DK Coin.
When you reach the top, you can finally jump into a trap door. You'll go all the way back down to the start of the stage, but this time, the door that you could not open will finally be opened. You'll meet a new animal buddy here: Parry the Parallel Bird. Parry flies above you, follows you around, cannot be ridden on, cannot attack at all and will disappear forever after one hit. However, if you can take Parry to a "No Parry" sign, you can get some nice rewards. In this case, you'll get a 3-Up. Make sure Parry does not hit the red Buzz on the path to the end so you can get it!
No comments:
Post a Comment