Monday, October 7, 2019

PrinceWatercress plays Bonk's Adventure - Part 2 of 5


This world is a lot longer than the previous one...and so is this video.

2-1


Avoid the cacti; you can't destroy them. You can, however, stun them briefly if you're angry.

The blue pterodactyls can easily be defeated with an aerial headbutt.

Sometimes you can find hidden bonus areas. The first stone hut you see contains a bonus area where you can collect a lot of bonus points if you stay airborne, and all you need to do to go in there is walk up to the doorway and press Up. Use the aerial spin to move from one yellow plant to another.

The hut to the right of that contains the volcano mini-game. Stand directly in front of the second plant, then alternate between headbutting and jump upwards to hit as many rocks that erupt from the volcano as possible.

If you enter a bonus area while invincible, the invincibility restarts once you're back in the main stage.

The small red triceratops will move back and forth fairly quickly to avoid getting hit.

There is a third bonus area where you jump off a cliff and spin as much as possible. You also want to land on your feet to get some bonus points; landing on your head gives you nothing. You lose. Good day, sir.

Take care on the quicksand, as failing to jump on it on often will cause you to fall on some spikes at the bottom and lose a little bit of health.

Headbutting the trees on the quicksand will allow you to make them move back and forth, acting as a free, safe ride across the quicksand. Both branches as well as the top of the tree act as platforms. Stay on top of the tree here for some smiley faces.

2-2


When the dragonflies stop in front of you, be ready to headbutt them when they advance.

Electric eels will jump in and out of the top of the waterfalls. You can stand on the waterfalls, but much like the quicksand, you will drop to the bottom if you fail to keep jumping. If that happens, though, you can jump up and climb the waterfall much like you can a wall.

Watch out around small plants; tiny Compsognathus dinosaurs will pop out of them and run at you fast.

You'll eventually have to go underwater when you see a huge wall. Here, you'll fight off some eels as well as some slow-moving trilobites that stick to the ground.

2-3


There will be slugs on the floors and ceilings, and there will also be red smiley faces in bubbles that move across floors, walls and ceilings. When the smiley faces come your way, headbutt them. If they run into you, the smiley faces reveal themselves to be eggs and hatch, and you'll have to destroy the little monster that comes out and jumps around after the egg hatches.

If you lose all your health, press Run to wake him up and use one of your lives.

The green ooze makes the screen flash red if you step on it, and if that happens, the ooze will be slowly sapping your health.

The small green weeds that shoot out pollen from the ceiling can be hit by jumping into them from underneath.

2-4


In this stage, you'll see a castle in the distance.

The purple pterodactyls usually fly around its babies on the ground, and you can easily destroy them all with either headbutts or with invincibility.

There's another quicksand area with plants and trees that you can use as platforms; using the trees will net you more smiley faces.

The dragonflies will drop rolling mollusk enemies that roll at you near the end.

2-5


This section takes place in a dark forest.

Jump into the green part of the vine to start swinging, and wait for the vine to swing where you want to go before jumping off so you get launched in that direction.

Enemies include frogs that hop up and down and mosquitoes that fly forward in a zig-zag pattern. Also, avoid the brown water at the bottom; it saps your health slowly much like the green ooze in 2-3.

The blue dinosaur acts as a series of platforms that move up and down as you trek across the nasty brown swamp water. The heads of the dinosaurs also shoot a geyser upwards, which can allow you to grab some food in the treetops.

2-6


Here, you'll be climbing some trees. Press Left or Right on the Control Pad will allow you to switch sides on tree branches, allowing you to explore quite a few areas here.

The purple egg-head enemies will throw their axes. The grasshoppers move back and forth and will also fly forward, and they can be hard to hit sometimes, especially in mid-air.

2-7


There are no pits here, but you can bounce off the clouds.

You'll also see bird enemies that swoop down at you. The blue ones give you nothing save for the occasional smiley face, but the pink ones will drop either big hearts that recover all your health or big pieces of meat for instant invincibility.

The green plant provides a dark blue heart, and if you pick it up, it will increase your maximum health by one heart, making it much easier to survive. If you die, however, you'll only get three hearts refilled instead of all of them. If you lose all your lives and have to continue (which you can do as many times as you want), you lose those health extensions.

Near the skull elevator, there is a plant that swoops down, and if you jump into it, it turns into a pink flower that contains a 1-Up.

The boss here is some nerdy dinosaur with glasses. This boss splits in two and throws shurikens, and you'll have to dive into the head of the real one with a headbutt to deal damage. If you hit the real one, both copies disappear. After enough hits, the boss stops with this strategy and just jumps around and throws shurikens. Thankfully, the shurikens are destroyable.

After enough hits, the boss just teleports in and out while throwing shurikens. Wait for the boss to show up next to you, then hit the helmet on his head with an aerial headbutt. Once you destroy the helmet, you'll free the boss from mind control and you'll head to Round 3.

PrinceWatercress plays Bonk's Adventure - Part 1 of 5


As fun as this game is, I feel like I did not do this one justice. This will stay up for posterity, but I will re-play this game in the near future before playing any more Bonk games.

The evil King Drool has kidnapped Princess Za! The strong caveman Bonk must fight off dinosaurs and other creatures to get to Drool and save the Princess!

Left and Right let you move, Button I lets you jump and Button II lets you attack in form of a tough caveman headbutt. If you headbutt in the air, Bonk will dive head-first into the ground to headbutt enemies from above.

1-1


If you go all the way to the left, jump up into the air and headbutt the ground, you can get an extra life. By headbutting the ground, you reveal a small flower. Move into it to pick it up, then a bigger flower will blow by from the right. Jump into it and you'll get a pink flower that you can jump on to get your free life.

By headbutting enemies, you can knock them into the air, and if you can bounce them back into the air by jumping up into them from underneath like they're a volleyball or a California Games foot bag, you'll get more points. Getting points will earn you extra lives, with each one being awarded every 10,000...so go out there and kick some butt.

By collecting smiley faces, you can heal any damage you have taken at the end of a round.

By jumping on the yellow flowers and pressing Button I at the right time, you can bounce off of them higher than usual. This allows you to pick up the food, which not only gives you points but also slivers of health in case you have taken damage.

The pink flowers give you power-ups, but make sure they're moving first. If one isn't, it turns into a monster when you jump on it. Thankfully, you can take it down for some points.

The orange flowers will give you meat. Eating meat makes Bonk angrier and stronger, and if you eat enough meat, Bonk will flash green. When that happens, he moves much faster, glows green and can stun enemies by headbutting the ground from mid-air. There are three levels of anger for Bonk, and they gradually dissipate before Bonk becomes his cheerful, usual self. Small meat will gradually build up that anger, but a big piece of meat will make Bonk an invincible badass.

1-2


By jumping into a tall wall and holding the Control Pad towards it, Bonk can grab on to the wall. If you keep pressing Button I, Bonk will climb the wall with his teeth like a man possessed.

Volcanoes will sprout of the ground; watch out for those and the rocks that they spit out. As long as Bonk is angry, though, they won't hurt him. Also, the burnt brown parts of the ground lower to reveal lava when you land on them, so be ready to move!

By pressing Button II repeatedly in mid-air, you can make Bonk spin around. This will let you glide across pits, which explains why I'm doing this here.

1-3


Watch out for the slugs as well as the orange Stegosaurus spikes that pop out of the dinosaur's back. When you reach the dinosaur's head, do not air head-butt the hat; instead, go further to the right and jump on the pink flower for some extra food.

Inside the dinosaur, you will be swimming. Use the Control Pad to swim and press II to headbutt. Pressing I allows you to perform a vertical headbutt to hit enemies from underneath. Be mindful of the uvulas that move back and forth,

Press Up in front of the horned dinosaur skull to enter it and head down into an underground area. If ou leap on top of the skull when it opens, spin into the green area and move Bonk further to the right, you'll be able to find a hidden 1-Up.

Inside the underground area, you will face the first boss: a dinsoaur with a flashing helmet. Get on top of him and keep headbutting in mid-air multiple times. You'll keep bouncing off the boss while knocking the horns off and avoiding the bubbles he spits out. You'll be beating this guy in no time and moving on to Round 2 while getting a health refill based on all the smiley faces you picked up from enemies along the way.

A spinning heart will recover a whole heart's worth of damage.

Sunday, October 6, 2019

THE OWENS FIRES THE SHANE


WE ALL KNEW THIS WOULD HAPPEN

PrinceWatercress plays King's Quest V for NES - Part 7 of 7


Will King Graham save his family? Find out in this blog entry!


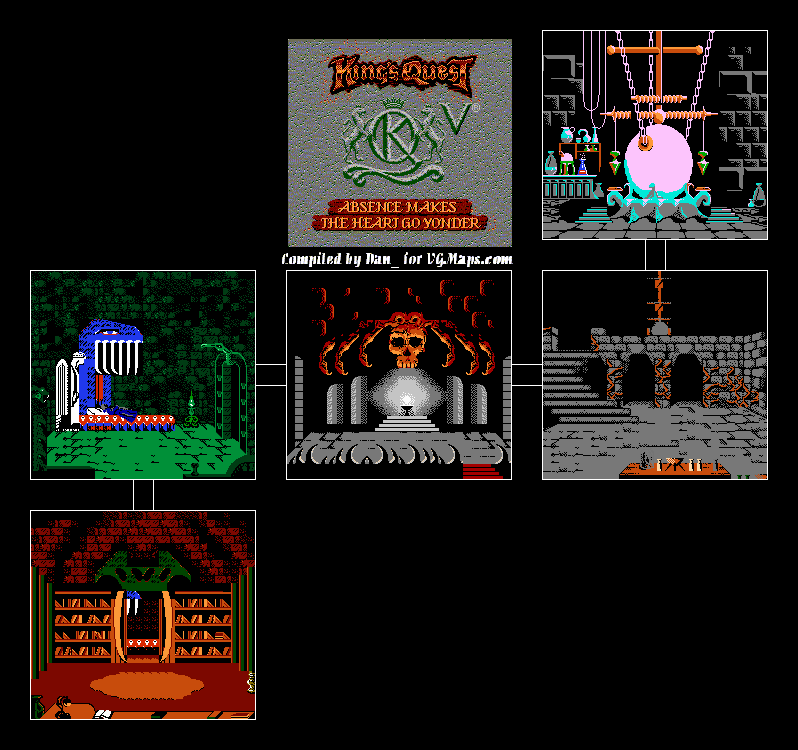
Wait around in the library until Mordack appears. When he does, he'll retire to his bed and sleep. Go into the room and grab his wand (it's near the bed), then go right and get out. Go right again, and go up the stairs. You'll see a machine. Put the wand on the right tray and Mordack's wand on the left one. Toss the cheese into the machine's liquid. The power from Mordack's wand goes into Crispin's wand. Take Crispin's wand again, then you'll go downstairs again. Mordack will pop up, and he's not too happy. He'll try to zap you, but Cedric (who comes to you with great news only to show up at the wrong place at the wrong time) gets hit instead, turning to stone and falling to the ground. Mordack is really ticked off that you messed up his wand, and turns into a wyvern so he can kill you. Use the wand on Graham...quickly!

It's those four icons again! Choose the lower-right icon to change Graham into a tiger. He'll automatically give Mordack a hard time. Mordack will then change into a giant dragon, similar to what you saw at the beginning of your trip into Mordack's domain. Use the wand on yourself again, and this time select the upper-right icon. You'll turn into a rabbit. You can now dodge the fireballs.

After several failed attempts to fry you and make you his dinner, Mordack will turn into a poisonous snake. Use the wand again, and choose the upper-left icon. You'll become a lizard (mongoose?) and fight Mordack off once again. Mordack will then set himself ablaze in a last-ditch effort to kill you. Use the wand and choose the lower-left icon. You'll change back into King Graham and summon rainwater to come and wash Mordack away. Good riddance.

Cassima and Crispin will show up. Crispin will de-miniaturize the castle and your family, de-stone Cedric, and sends everyone (including Cassima) back to their rightful homes.

You won! And with all 260 points!


Saturday, October 5, 2019

PrinceWatercress plays King's Quest V for NES - Part 6 of 7


Now it's time to go through that stupid maze.


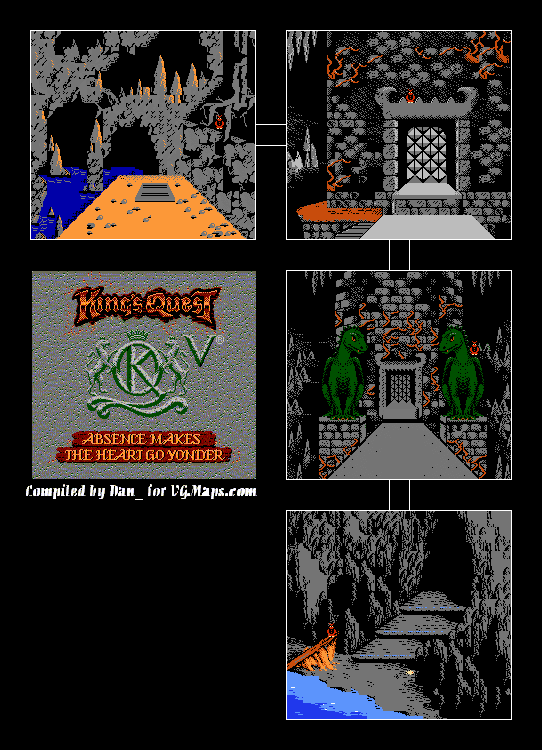
Once you go inside, use the crystal shard on one of the statues after you go inside to reflect their magic back at them.

Go around the front door by taking the path to the left. Don't fall! You'll come across an iron grate. Open it with the iron bar, then go inside it by using the hand on it. Next time...maze time!

The arrow at the bottom of the screen shows which direction you're facing. If you're looking at Graham's back and the arrow isn't pointing up, you're not facing north.

Instead of using compass directions, I'll use normal directions like I've been doing the entire guide. Here is where to go:

Up, right, up, up, up, left, up, left, up, left, right, right, left, left, right, left, right, right.

You'll meet a beast. Use the tambourine on it and it'll run away, dropping something on its way out. It's a hairpin. Take it, because you're going to need it for what's happening next.

Down, left, left, right, left, right, right, left, left, right, up, right, up, up, up, up, right, left, left.

You'll come across a door. Unlock the door with the hairpin.

You'll now be in the evil wizard's house. Go to the left shelf and grab the bag of dried peas, then go up and into the next room. Give her the locket. She'll introduce herself as Princess Cassima of the Green Isles.

[quote]My name is Princess Cassima from the Land of the Green Isles. My father, the king, employs a horrible vizier who befriended Mordack. When Mordace saw me he immediately wished to marry me and bring me here.[/quote]

Why am I mentioning this snippet of dialogue? Well...SERIES-WIDE SPOILER ALERT! (Yes, I'm going to mention what's going on, but also the other canonical events in the series that tie this together.)

Prince Alexander (or "Gwydion," as he is called by Manannan until he finds out who he really is) casting a spell that changes into a cat happened back in King's Quest III: To Heir Is Human. When he returns to Daventry, he saves his sister Rosella from a dragon. From this point on, elements of past games play in the storylines of future entries even further than they already did.

You play as Rosella in King's Quest IV: The Perils of Rosella. There, she meets a man named Edgar during her travels in Tamir and helps him out. Princess Cassima appears in King's Quest VI: Heir Today, Gone Tomorrow, which is the next game in the series after KQ V. In this one, Prince Alexander sees her in the magic mirror and goes out to find her. He (luckily) crash lands in the Green Isles, where she returned to after Crispin teleports everyone back to their home at the end of King's Quest V. Alexander saves her from the evil vizier Abdul Alhazred (who has killed Cassima's mother and father - the king and queen of the Green Isles - in a plot to force Cassima to marry him and rule the Green Isles himself; he is named after the author of the fictional Necronomicon in the stories of H. P. Lovecraft) at the end and marries her. It is also revealed in this game that Mordack and the Vizier were further tied together by the membership in a secret organization known as the Society of the Black Cloak.

In the next game, King's Quest VII: The Princeless Bride, Rosella meets Edgar near the end of the game. He had been changed into King Otar and could be told apart from the real one by his purple eyes (King's Otar's were green). She changes him back and finds out he is the prince of Eldritch, where the entire game takes place. She later saves him with an extra life given to her by a black cat earlier in her adventures, and saves him from death. Rosella, who initially refused to marry at the beginning of the game, marries Edgar with his parents' blessing.

Hope that big wall of text helps.

Anyway, her father sent her there anyway and forced her to work as a scullery girl until she does marry Mordack. Graham promises to save her when he rescue his family. Go right.

While you're here in Mordack's castle, don't stand around for too long. Otherwise, Mordack will find you and kill you. If you save your game every time you enter a new room, you won't have the problem of getting killed again while you retrace your steps.

In this room, you might meet a black cat. This is Manannan; he will send Mordack out if he sees you or you walk onto its tail, killing you. Leave and re-enter until it isn't there, then go right to the next room. Go through the other door on the left (it's below the one you came in here in) then get out when you see a large blue beast. Let it grab you; it'll throw you in a dungeon. Use the eye on the mousehole and you'll find a piece of cheese inside. Use the fishhook on the mousehole to get it.

Since you found Cassima's locket and gave it back to her, she'll open up a secret compartment in the wall. Use the hand on the opening. You're in the labyrinth again. Go down, then follow Cassima. You'll reach the door again. Retrace your steps and you just might see the blue beast again before you're right back where you started from. Use the bag of dried peas to trip it up and make it disappear.

If you see Manannan the cat when you have the now-empty pea sack. throw the fish at him to distract him (he won't be able to help himself) then use the brown sack that the peas were in to trap him. That cat won't be screwing with you again.

From the organ room (do not play the organ!), go east, wrap around to the left, then go up the stairs. Go left, and you'll find Mordack's bedroom. Gee, I guess he sleeps very well at night.

Go down and you'll find the library. Use the hand on the open book on the bottom of the screen, and the game shows you four symbols. Failure to do so makes the game unwinnable! What do they mean? Stay tuned for the conclusion!

PrinceWatercress plays King's Quest V for NES - Part 5 of 7


We're now on the beach. Now to explore...


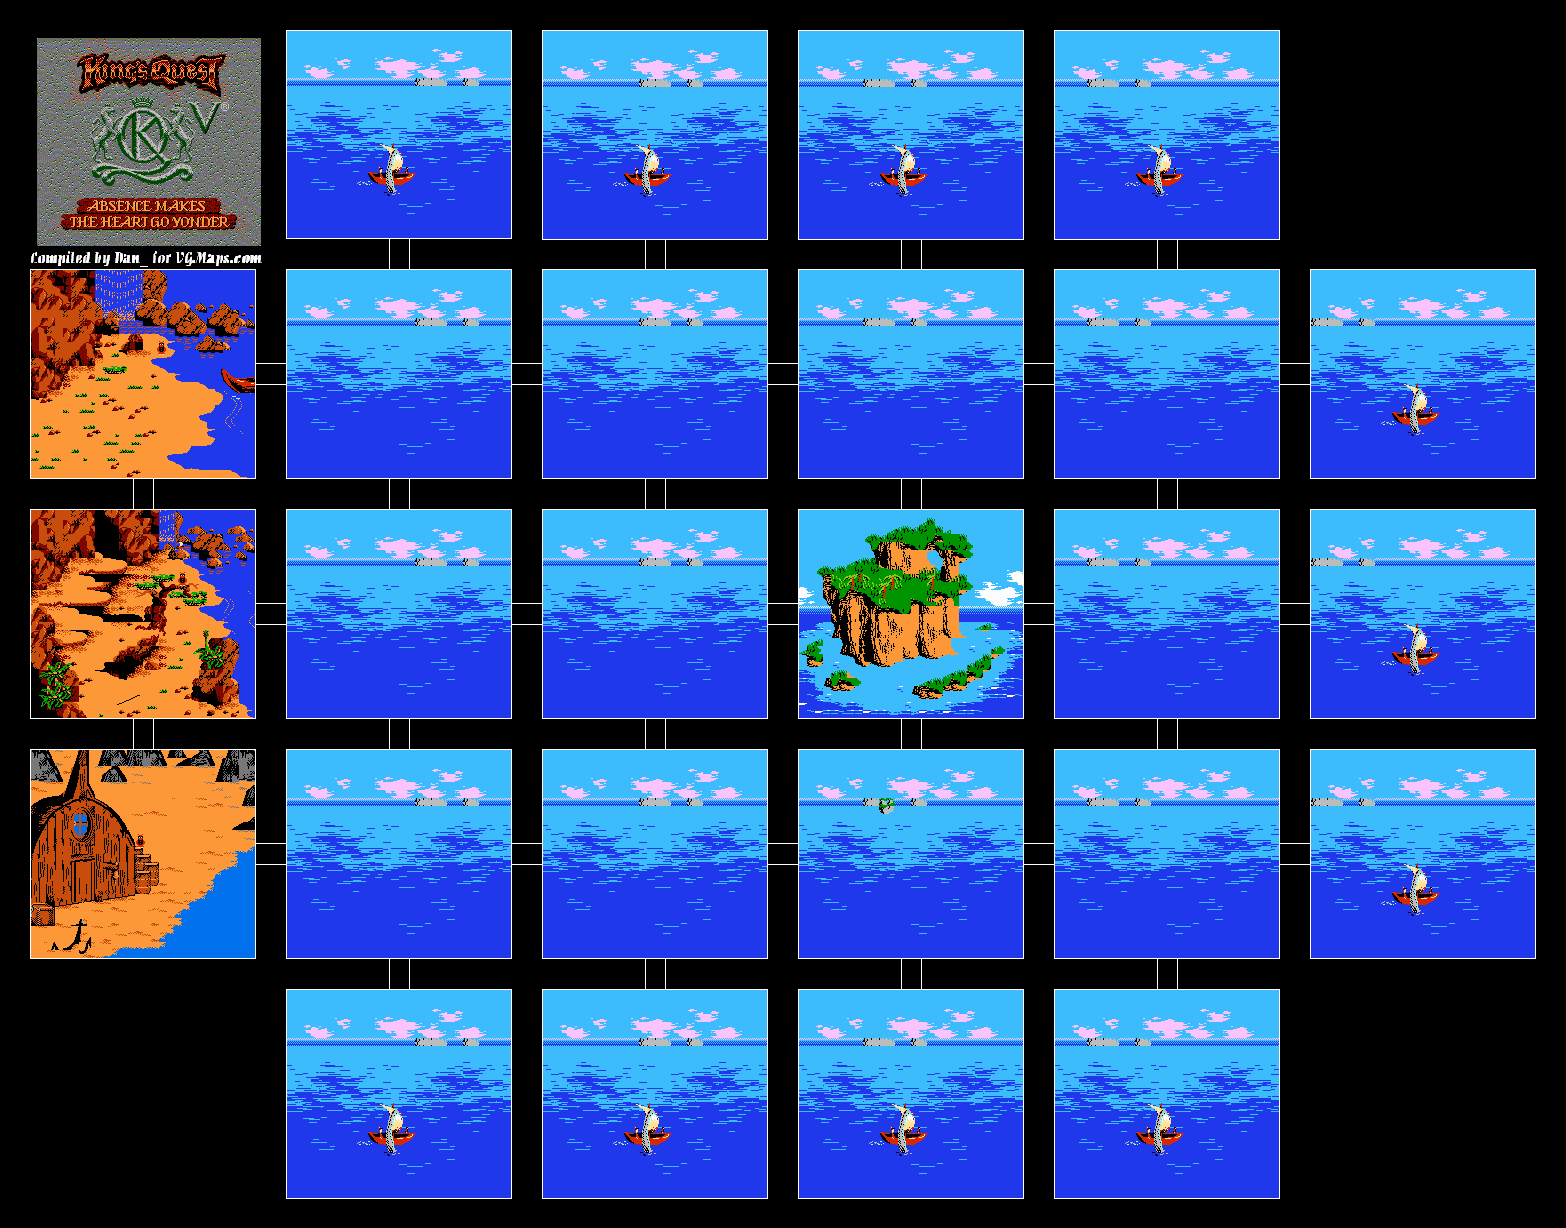
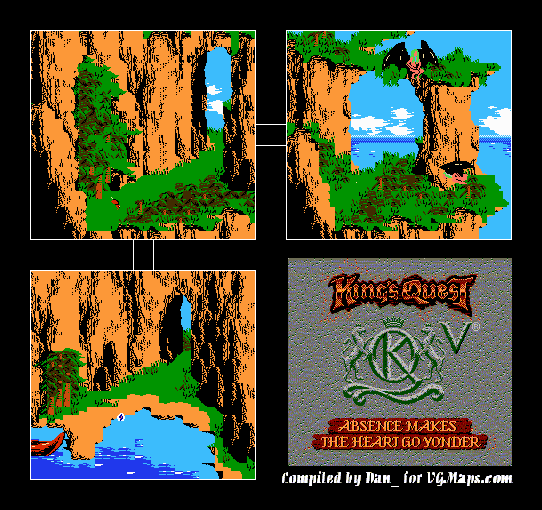
Anyway, pick up the iron bar. Failing to take it makes the game unwinnable later on. Then go down, and then ring the bell at the house that looks like the fore of a half-buried ship. (Hey, don't look at me, that's what it looks like it's converted from.) It turns out the old man in the house is hard of hearing. Go back up, and head towards the shore on the right side of the screen. The boat has a hole in it, so plug it up with the beeswax before you get in or else you will die.


When you're finally sailing the seas, go down one screen and right three. Going anywhere else will kill you via giant squid. (Nice way to tell me I'm going the wrong way by having a giant squid grab my boat and drag it down underwater with me, game.) Before you can do anything, a harpy carries you and Cedric off to her sister. They introduce themselves as Minotta (the one who got you) and Cruleena (her sister). Quickly use the harp and you'll distract them - Minotta will take the harp and Cruleena will chase after her. Once they're gone, grab the shiny object next to King Graham - it's a fishhook. Go left, and pick up Cedric or else the game will become unwinnable. Graham will take him to the boat. Before you leave, pick up that flashing object. It's a shell! Failing to take the fishhook, failing to take the shell or failing to pick up Cedric - or any combination of any of the three - will make the game unwinnable later on.

Get back on the boat and keep going west. You'll end up back at the old man's house. Ring the bell and give him the shell. (o hay that rhymes) Now that the old man can finally hear you, he'll let you bring Cedric into the house and heal him with a few poultices. Then, he'll call out a mermaid named Pearl who will lead you to Mordack's island.


The ship, sadly, will crash once you're there, so once you're here, you won't be able to go back. Once you're there, pick up that yellow object near the wall before going in. It's a fish.

Friday, October 4, 2019

King Graham gets DESTROYED by a bear (by bstat55)


Video by bstat55.

Sounds accurate concerning that bear.


Edit (10/12/2019): Oh, hey, this was later used for his introduction to Monkey Island! You can check out that video here:


The fun part is at 4:02, but the whole video is worth a look.