Part nostalgia-bomb, part note-taking and part FAQ, what started in GameTrailers as a video game blog is now on Blogger. This blog is a look back at video games, both popular and obscure, from the video game industry's infancy all the way to the previous console generation.
Unlike the NES game, you're on the train the entire time.
The flying helmeted robots drop missiles out from their missile pods. They drop three before flying away.
The train Mettaurs are exclusive to this stage. When they see you, they stop before opening their eyes and shooting at you with a three-way shot, then charging at you. When their eyes are open, they've vulnerable to any weapon you have at your disposal.
The chicken robot creates robot chicks out of the hole in its torso. Shoot down the head to get rid of it.
After the third section on the top of the train, you can use Rush Coil to go left and get an Energy Tank.
The Y will be in plain sight just before the last rooftop segment. Jump to get it.
You can use Power Stone to beat Charge Man. There's just one problem: using Power Stone to hit him is more of a science than he should be, especially when he follows you around and shoots fireballs from the steampipe on the top of his head that drop down on you. Instead, use the Mega Buster and hit him with fully charged shots. Whenever he dashes towards you, he's invulnerable to any attacks you throw at him until he stops. You'll need to shoot him when he is not flashing, which is whether he is standing still or walking around.
Beating Charge Man gives you the Charge Kick. To use this attack, you'll have to slide. Your slide will have attack properties when this weapon is equipped. Of course, it's kinda weak.
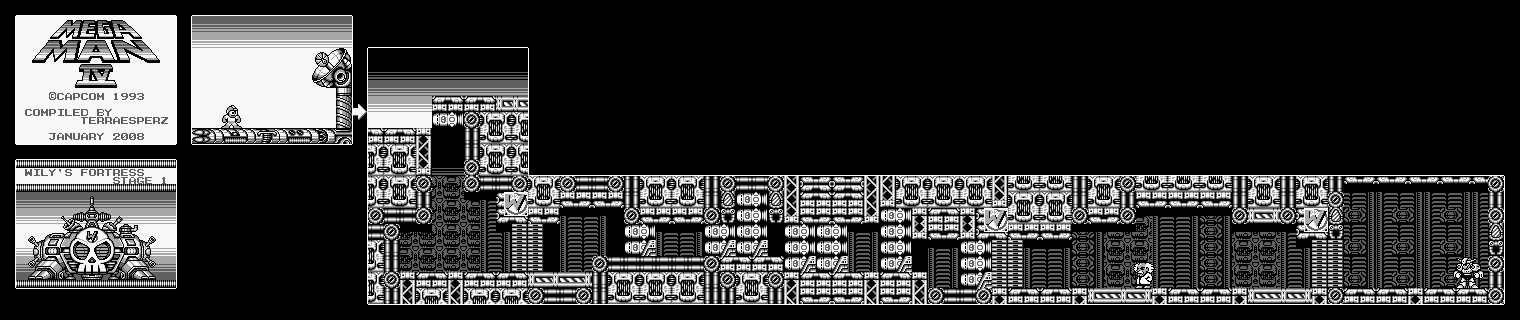
This stage isn't long. Since you have the four Wily medals, you should be able to go in. If not, go get them and come back here. Go get an S-Tank, which allows you to refill your weapon as well as all of your weapons.
You'll get some weapons pick-ups and an E-Tank prior to fighting Ballade. Shoot down the magnets so they don't hurt you.
Ballade powers up this time around. He moves around like he usually does, but he'll lay the bombs down in addition to shooting them. He's still easy to beat with the Mega Buster.
Beating Ballade will give you the Ballade Cracker. It's a bomb you can toss in four directions. Before you can celebrate, you'll have to avoid the destruction of the fortress that's right behind you. Use the Ballade Cracker to destroy all the missiles that are in your path.
Wait for the rocks to explode before dropping down.
The tiger robots pounce around when they see you, and can be easily rid of with a charged shot.
At the ladder where the tiger is, go to the right and extinguish the flames with Rain Flush. Go up the ladder and you'll meet Proto Man, who will give you an Energy Tank to go alongside the one behind him.
The spike drills can be easily destroyed with charged shots. They can also be used as platforms as well as a way to break down seemingly impenetrable rock walls. Just be careful near them, as they can kill you in one hit.
The Mettaur turrets are pretty weak and can be destroyed by fully-charged Mega Buster shots.
Watch out with the missiles. When you shoot one down, it splits into four pieces of shrapnel that all travel diagonally.
While getting the I medal, remember that the platforms will save you from getting burned by the fire.
The jumping robots shoot balls out of their heads that fall directly onto you like ammo out of a mortar cannon. Avoid the balls and their explosions (which have a short radius that comes off as an annoyance) and shoot the robot.
The missiles that pop out of the pits when you get close enough to them slowly make their way down after they show up. Looks like you'll have to be careful near pits in this game, too.
At one point, you'll have to outrun the exploding blocks. Each series will explode faster which each set you tackle, and they keep exploding until you reach the end of the block bridges.
Napalm Man will jump around and fire grenades at you. You can do the most damage by firing the Crystal Eye at him, but using the rebounding shrapnel properties of this weapons works as well, since you can bean him from behind if you know and where to fire the missile from. When a Crystal Eye hits the wall, one piece of shrapnel will stay perfectly horizontal while the other two go up and down much like the diagonal bullets in a three-way shot, bouncing off walls and ceilings at 45-degree angles. If the diagonal shots don't hit Napalm Man, you can stand on the ground and wait for the third one to blast him in the back after he lands, which makes concentrating on dodging easier.
When you shoot the Mettaurs down here, they'll split into three smaller ones that bounce around before they explode into tiny fireballs.
The platforms with the two flaps will switch direction when you stand on them. Be ready to jump soon after they shake a little bit.
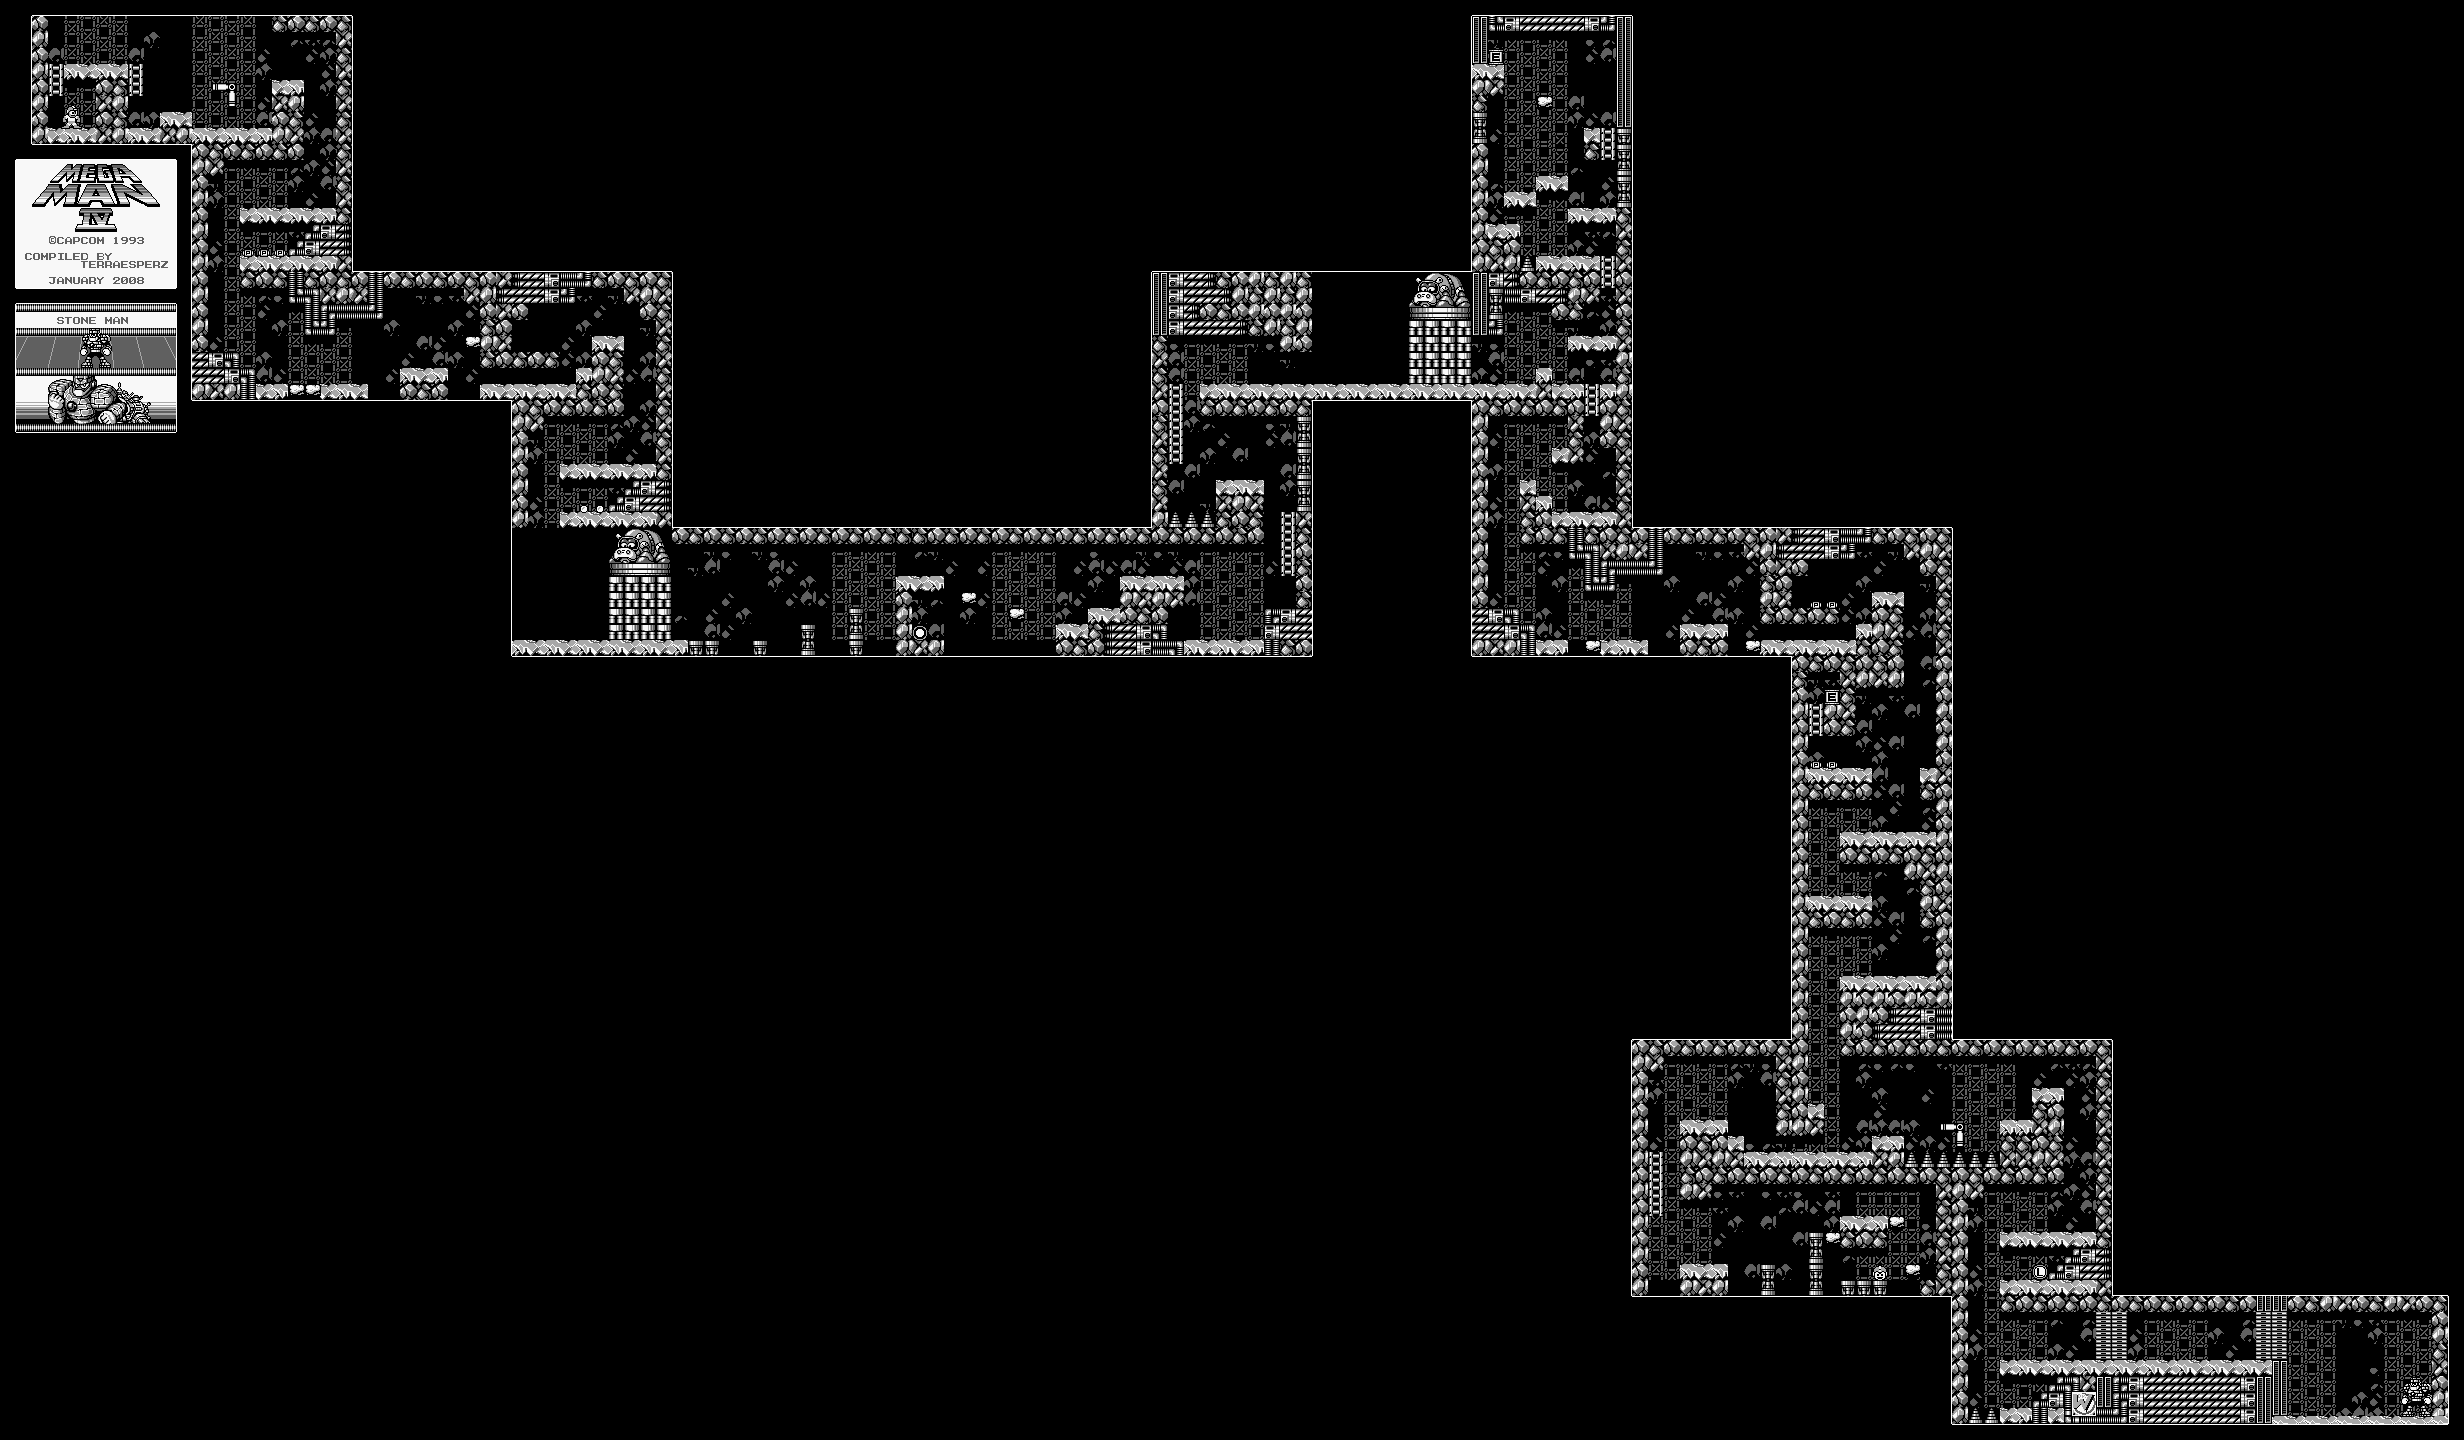
The hippos on platforms from Ring Man's NES stage are in Stone Man's GB stage. Shoot down the bricks holding up the platform, then hit the hippo with everything you've got while avoiding its missiles, which have homing capabilities. The platform will start coming back up, so alternate between shooting the column and the hippo every so often.
Of course, you can also use Beat. That works, too.
Wait for the shield turret robots to raise their shields up and shoot at you before damaging them. Believe it or not, a fully-charged shot will hit them from underneath whether the shields are up or not.
The bats here are pretty easy to kill. Just wait for them to fly towards you, then hit him.
After the second hippo, you have a choice between going up and down. If you have Rush Jet, you'll be able to go up, and you'll be able to get an Energy Tank. There is one on the way down as well, but you'll need Rush Jet for both either way.
Near the end, you can slide through a narrow corridor leading to the left. If you can follow it all the way to the end, you can get an extra life. Of course, getting out of that area can be a bit difficult, so I usually skip that extra life.
The robots that shot the explosive balls out of their heads shoot rocks in this stage. At least the rocks don't explode.
The L medal is just before the door leading to Stone Man. It's pretty easy to spot and pick up if you can wrap yourself around to the platform.
The Napalm Bomb works best on Napalm Man. He'll jump around and shake the ground, and he also collapses into a pile of rubble every so often to make himself invulnerable to your attacks. Hit him while he's in the air with the Napalm Bomb to ensure that you damage him. His jumps don't go very far, and he doesn't do much, making him one of the easiest Robot Masters in the game to beat with the Mega Buster. He does have a shield of stones that encircles him, but he doesn't seem to do it all that often and it has a limited range.
Beating Stone Man gives you the Power Stone. It's a shield weapon, but the stones extend towards the edges of the screen in a spiral-like pattern.
After beating the first four Robot Masters, you'll go after Dr. Wily...whose Wily Castle rises in the forest and fires missiles at Mega Man. After a few well placed shots, Mega Man takes on a satellite on the castle.
Avoid the ball and its attacks, especially the ring shot that rotates to the left side of the screen. When the ball opens its eye, hit it with Ring Boomerang or fully-charged shots from the Mega Buster.
Destroy the missiles to get them out of your way. Just don't stand too close so you won't get hit by the explosions.
You'll meet Dr. Wily. When you chase after him, you'll be attacked by Ballade, the fourth and last of the Mega Man Killers. Slide under him when he jumps and jump over him when he runs at you. He'll toss bombs at you, but you can easily destroy them with the Mega Buster.
When you bring him down to one hit left, he escapes. It's time to take on the Robot Masters from the fifth game.
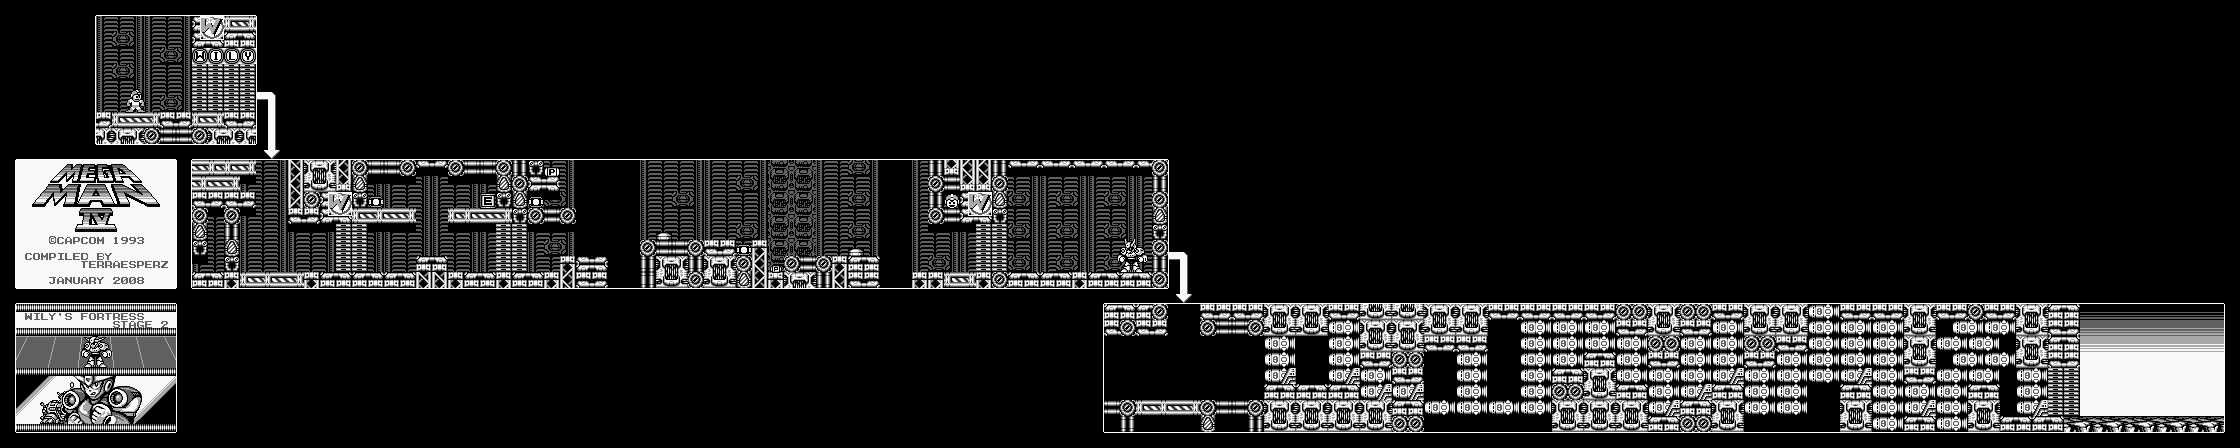
The next four stages take place in more of a Wily's Castle-like setting, now that you've managed to make your way in.
To get the Energy Tank fragment at the beginning, jump up and shoot the nearby platform with a fully-charged Mega Buster shot, then quickly use Rush Coil to jump onto it and grab the fragment. You'll be seeing this platform again, and you'll need it in order to get over a spike pit.
The Crystal Joes are only vulnerable when they shoot their crystals. Avoid their attack and hit them with charged shots.
The flying robots drop skull bombs when you're directly under them (or over them). Use the slide to avoid the bombs.
You'll see ball robots being propelled by cans on legs. Destroy the ball to get rid of this enemy completely; otherwise the ball will start bouncing around like crazy and careen into you.
The cones with the flashing lights fold down and move in for the kill when you get close enough. Thankfully, they go down in one hit and a charged shot will get rid of a whole line of them.
On the first drop down, go right on the third screen to get the W medal. The medals in this and the next three stages spell out "WILY," and you'll have to collect them before you can take on the rest of the castle or else you can't continue.
The street sweeping robot moves back and forth and shoots a three-way shot into the air. As long as you're not jumping around and have your Mega Buster fully charged, you should be fine.
Shortly after getting the W medal, you'll have a fork in the road. If you take the lower path, you'll have to deal with both the floor and the ceilings crushing you. Slide where necessary and don't stop for anything! At the pit, you'll have to wait for the floor to rise. From there, quickly make your way to the ladder.
The best time to jump over the pits with the crystals coming down from directly above is usually right after one comes down. Unlike the fifth game on NES, the crystals drop in a steady pattern and not randomly.
If you take the upper path by using Rush Coil to go over the wall, you'll have an easier time...almost. You'll have a lot of enemies to face and some platforms shaped like upside-down L's. When you land on those platforms, be ready to jump to the right so you land back on the platform when it moves around.
Near the end, you'll be having to do some waiting so the pillars can move around and make it easier to continue. Unlike the moving columns from the lower road, you'll have no choice but to deal with these.
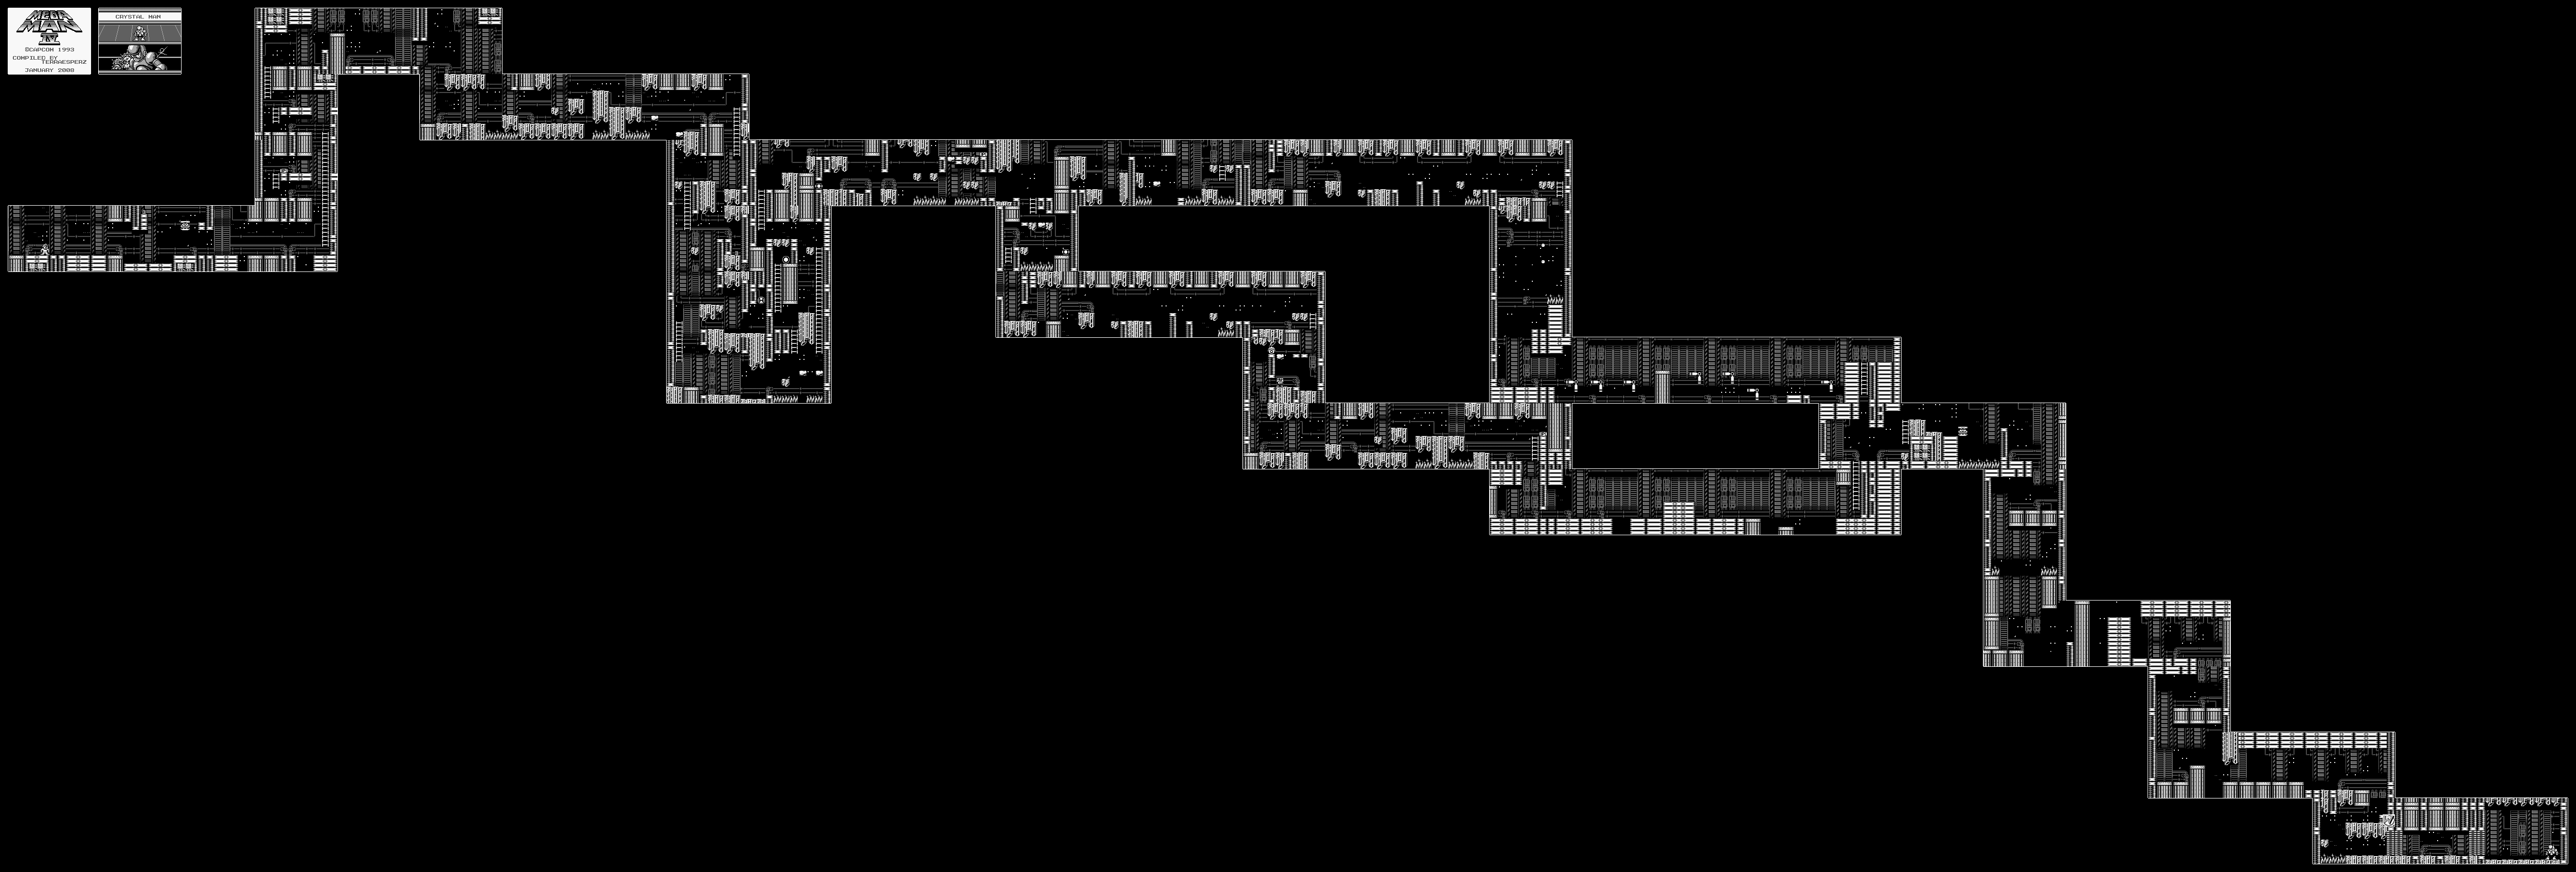
Crystal Man bounces around and shoot a crystal orb at you. When this orb hits the wall, it will split into four smaller orbs that bounce off the walls and ceilings for a little while before they disappear. Thankfully, they're not impossible to dodge. He also has a blaster that complements this weapon, but he only uses it if the crystals are still on the screen. Since you can't get the Gyro Attack in this game, use the Ring Boomerang on him instead.
Beating Crystal Man gives you the Crystal Eye, which works much the same way as Crystal Man's weapon does. The only difference is that this version splits into three orbs instead of four.
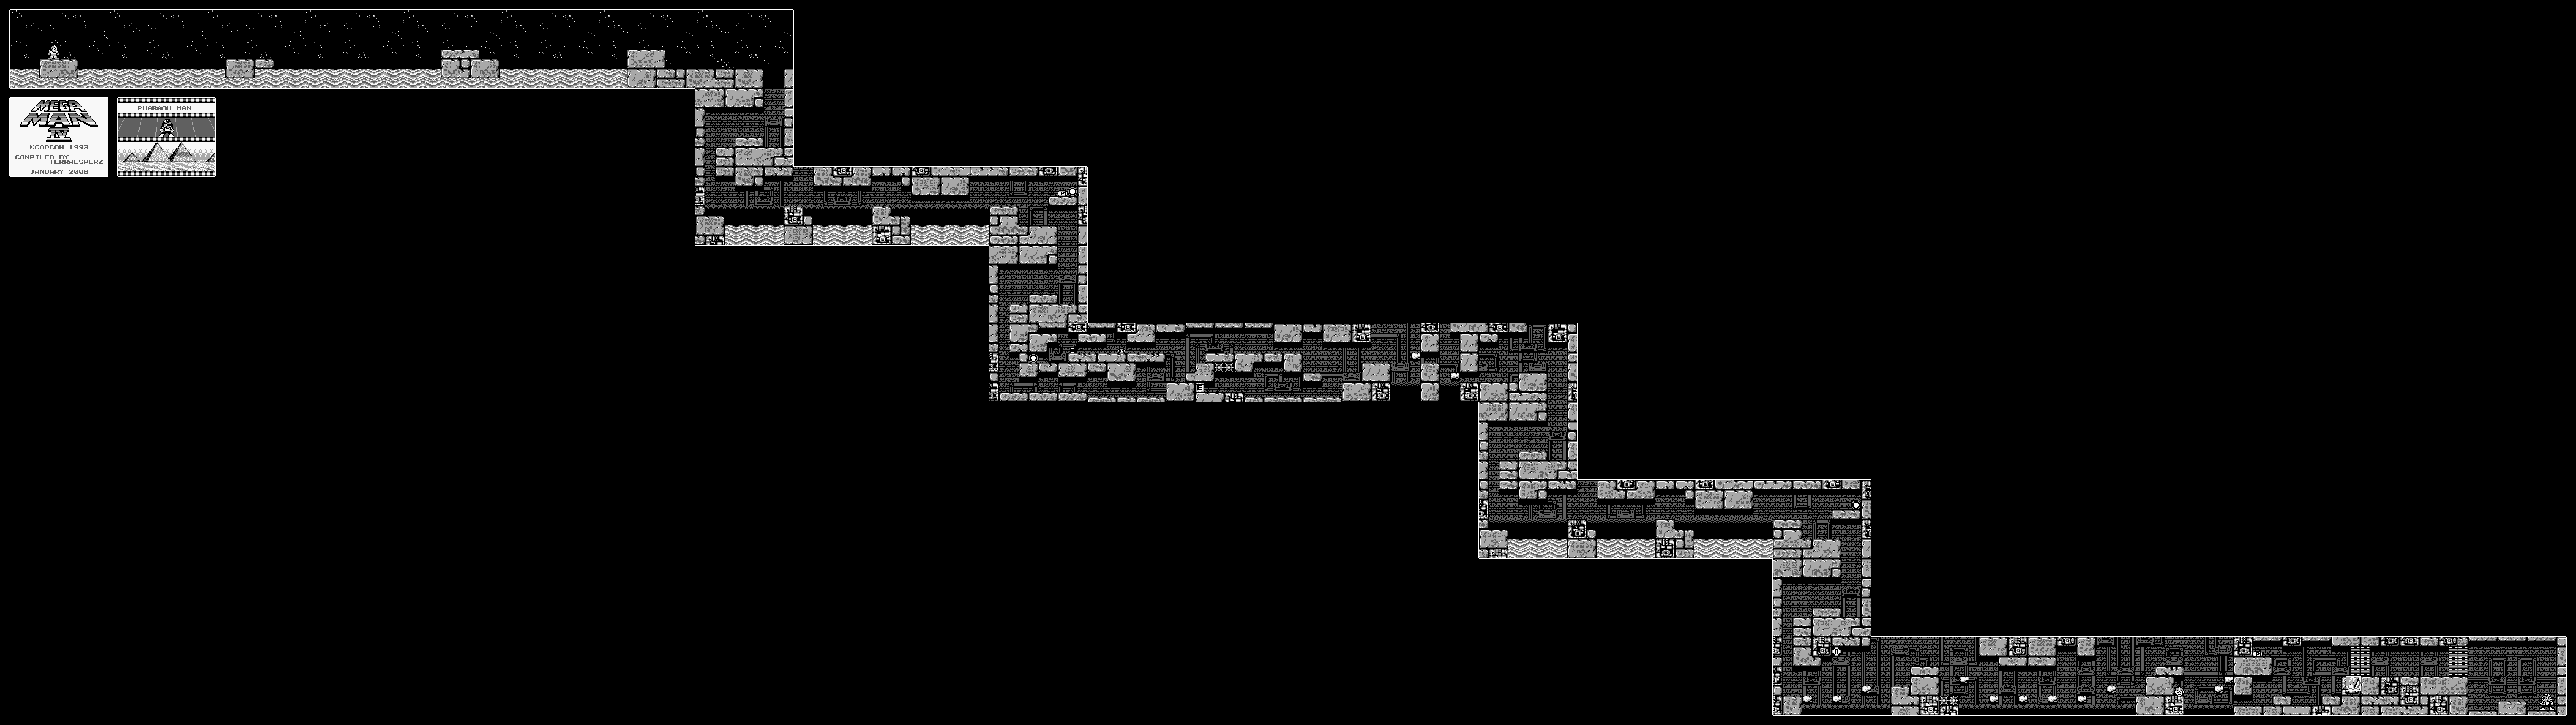
Ooh, boy. Pharaoh Man is one of the better Robot Master designs in the series, in my opinion, and the music for his stage shows how far the series has come to this point.
The flying bugs here at the beginning fly around and shoot bullets down at you, which can be pretty easy to avoid if you're paying attention. The scorpion robots move in at you, and dive in and out of the quicksand. The quicksand will definitely drag you down, but you should still be able to move around fairly quickly if you just keep jumping.
Once you get into the pyramid, you'll start dealing with mummy robots that pop in and out of their walls and launch their heads at you as part of their attack. They can easily be dealt with with a charged shot. The energy can near the beginning of the whole pyramid area is really easy to get with Rush Coil.
The platforms that take you over the spike pits also shoot bullets in two directions, so be careful when you get close so you don't get shot at.
Watch out with the rock platforms, as they lower the longer you stand on it. You'll need to use Rush Coil to get the A medal.
If you have the Flash Stopper, Pharaoh Man is easy, as he leaps around very quickly and throws the Pharaoh Shot at you constantly. He has a charged version that also goes left and right across the room, too. Just activate the Flash Stopper, then keep blasting him with the Mega Buster until he falls. Just keep pressing the B button and you'll keep activating the Flash Stopper when necessary, as it last for about five seconds.
Beating Pharaoh Man gives you the Pharaoh Shot. Remember, you can charge the Pharaoh Shot up by holding the B button, and as long as you have it held down you'll have a huge Pharaoh Shot above your head that can also damage anything that touches it, which proves to be rather interesting. If anything hits it, you'll be able to create another huge projectile over your head without using any energy (you only use energy when you throw it) as long as you're holding B after enemy contact with the projectile.
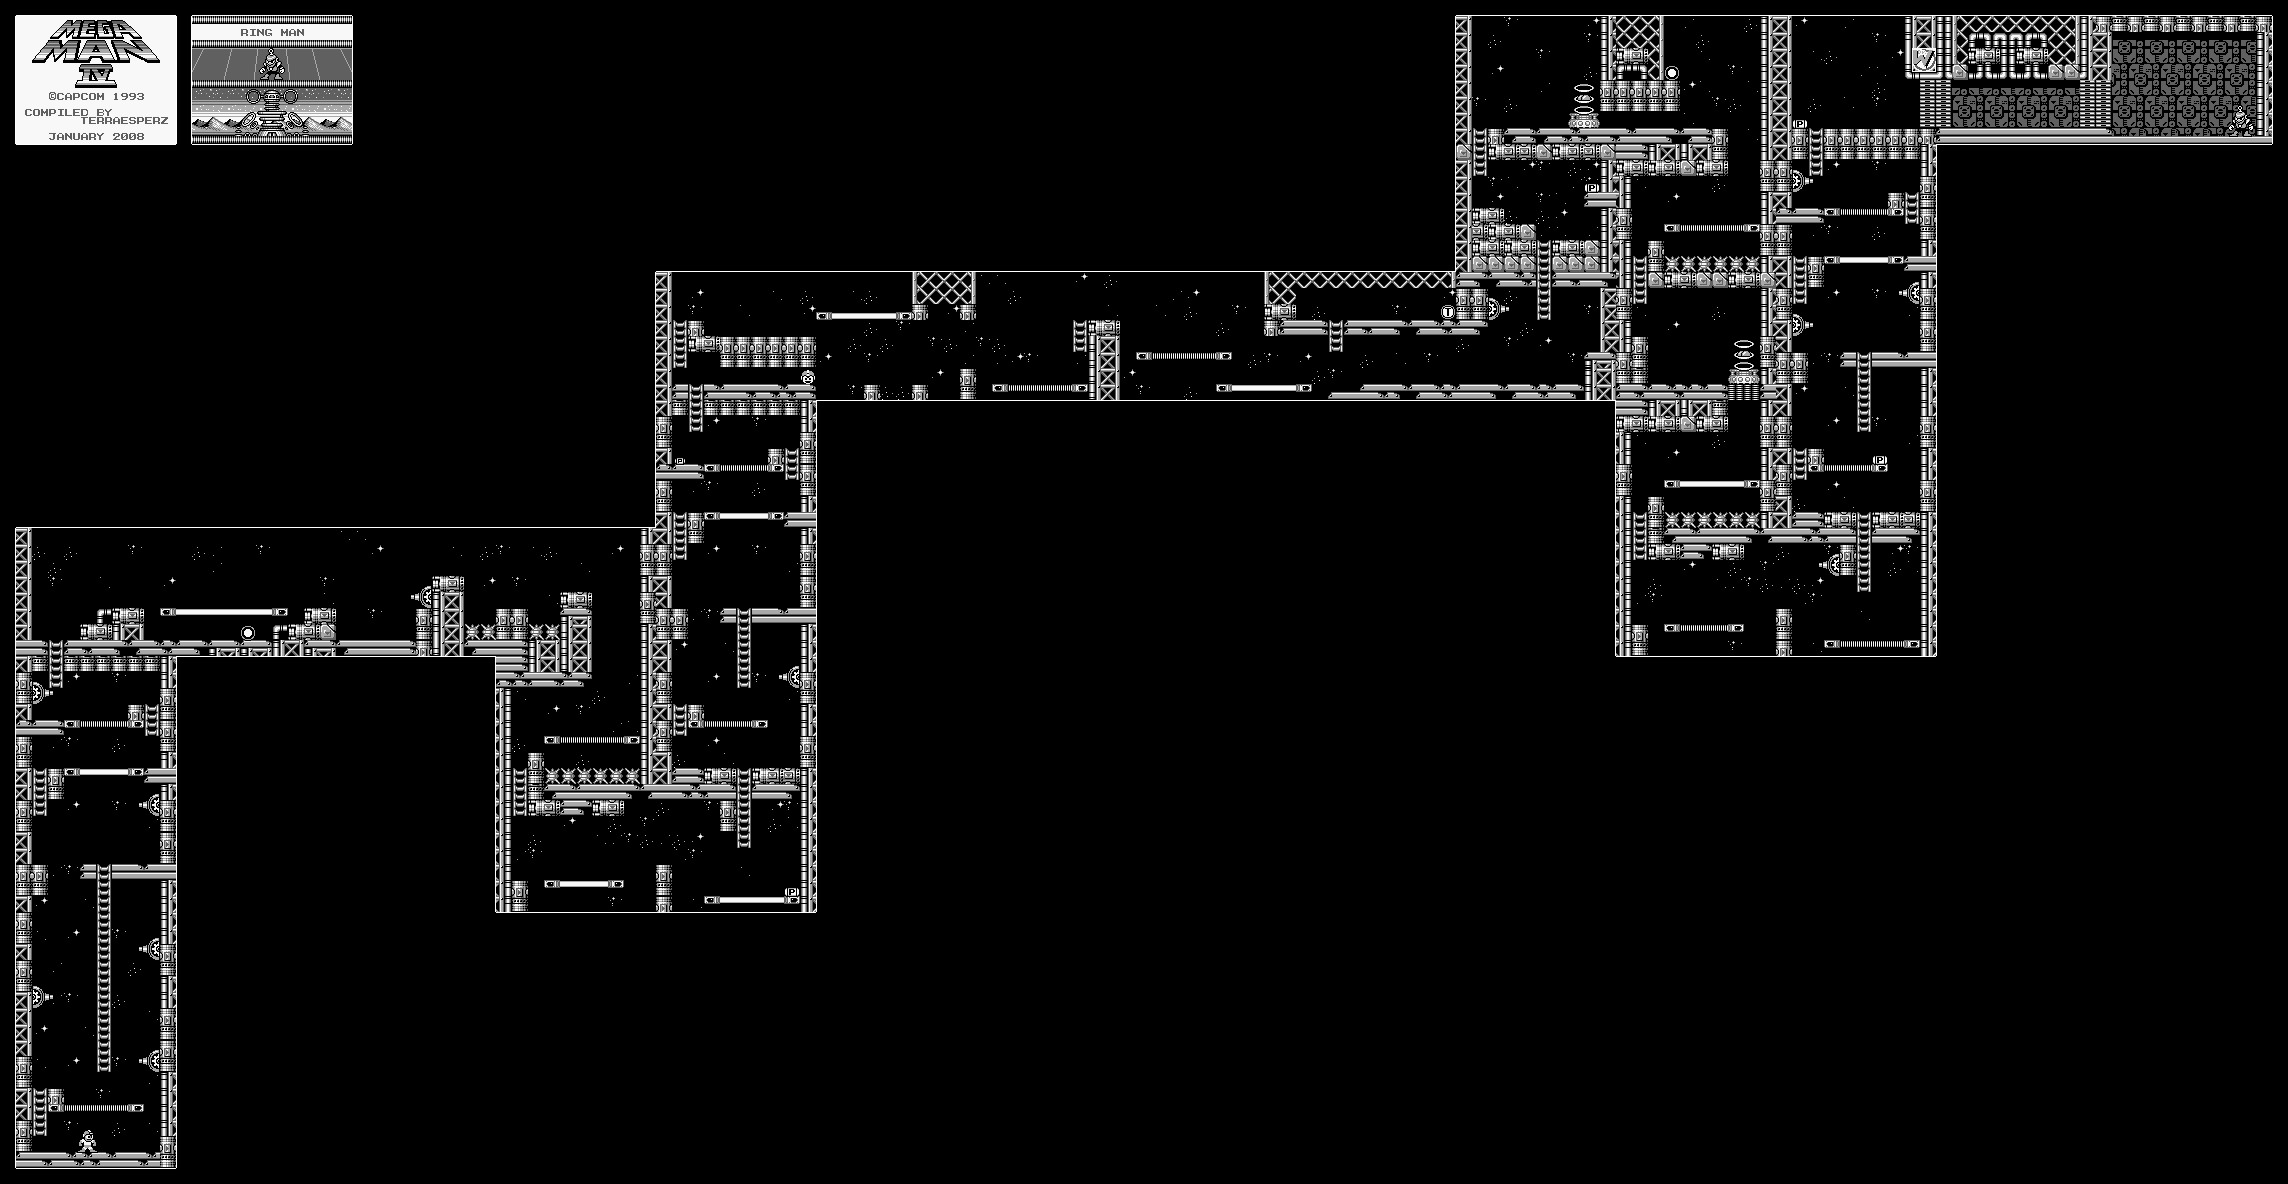
Not only will you have turrets sticking to the walls tracking your every move and shooting at you, you'll also have platforms that disappear from one end to the other once you step foot on them. The solid white platforms disappear from left to right, while the striped ones disappear from right to left. When in doubt, walk far enough off the edge to get the platform to disappear, then jump to the middle when it's back and then jump to the other side.
The robot with the saw blade is the usual "moving from left-to-right and speeding up when you're on its level" enemy of the game. Either avoid it or hit it with the special weapon that will destroy it.
Thankfully, the T medal is extremely easy to get to.
The ring monster that blocks your path exposes its defenses when it shoots its six rings out in an asterisk-shaped pattern. Hit they eyes when they're exposed with charged Mega Buster shots.
Ring Man throws a Ring Boomerang, then waits for it to return to him before jumping up and throwing another one. When he hits the ground, he runs to the right and starts the attack pattern over, and he'll run to the left after the second time. He'll then alternate between running right and running left. This is yet another easy attack pattern, which adds to the haphazard "level is harder than the boss" pattern that the game seems to have.
You can destroy him with charged-up Pharaoh Shots, but you can just as easily beat him with the Mega Buster.
Beating Ring Man gives you Ring Boomerang. This works much like Ring Man's version of the weapon and shoot a ring-shaped boomerang that can also grab items from a distance.
At the beginning of the game, Dr. Light will tell you about the P Chips. He's made a new machine that allows for the creation of items in exchange for P Chips. Think of this as a precursor to the Bolts in Mega Man 7 onward, because that's exactly what it is.
I suggest starting here, since he's the easiest boss in the game (and probably the entire Original/Classic saga, depending on what you want to call it) to beat with the regular arm cannon.
The rain in this area pushes you back, so you'd better be on the very edge of a platform when you jump to another one.
This is the first Game Boy entry to use the Mega Buster and not the Proto Buster, meaning that you can charge the arm buster now. Whenever you shoot off a fully-charged shot, however, you'll be pushed back slightly (unlike the fourth NES game, where this never happened). Be careful when you use it.
The circles with the flashing cores are the health pick-ups, and the rectangles with the flashing cores are weapons pick-ups. The big ones give you more than the small ones. Mega Man heads are extra lives. The pick-ups with the flashing P's are P Chips; small ones are worth two and big ones are worth five.
The floodgates start rushing in as soon as you reach the second screen. The water on the ground from the waterfalls will push you around according to where they're moving. If they're moving left, you're moving left. 'Nuff said.
The bird robots have three smaller clones behind them that home in on you when you're close enough. This is the best introduction to the charge shot in my opinion, as firing one at the big bird takes out the three behind it as well. Sheesh, this thing would have made the second and third games easy as anything.
The robots that come down on parasols can also be taken down rather easily with a charged shot. Same thing with the robot rats as well as the little bubble robots that can stick to both the floor and ceiling as they chase after you. Once again...best introduction to a new feature ever by having you finding out that using it makes the whole stage really easy except for the jumps.
The medallion with the B is for Beat. Beat finally makes his Game Boy debut here, and once you collect all four medals, you'll be able to send him after enemies.
The mouse robot moves back and forth, while the fish swim back and forth in the water, diving out of the water and right at you if you're close enough.
Shoot the snails in the eyes when they're open, and dodge the shots that it shoots at you like a catapult. Charged shots make this easier, as there's a chance that you won't even have to deal with its second attack - the snail's eyes coming right at your present location.
Toad Man is really, really easy. He is the easier to beat with the Mega Buster. Keep hitting him with the Mega Buster as he jumps around, and he'll keep jumping around. You can still hit him out of his Rain Flush attack just before he executes it.
Beating Toad Man will give you Rain Flash and Rush Coil. Rain Flash damages everything on screen, while Rush Coil is just what you expect - Rush acting as a springboard to higher platforms.
When you beat a Robot Master, you can either go back to the stage select screen or to Dr. Light's Lab. At Dr. Light's Lab, you can buy items with the P chips you've found.
If you need to go to Dr. Light's lab at anytime, press Select on the stage select screen. From there, press Right to exit or Left to talk to Dr. Light. With the right amount of P-Chips, you can buy extra lives, Energy Tanks, Weapon Tanks to refill weapon energy, Super Tanks to refill all health and energy, immediate refills for all your weapons (as the game does not refill your weapons automatically upon entering a new stage, unlike past games) and the Energy Balancer, which automatically gives weapon energy you pick up to the weapon with the lowest amount of energy if you have the Mega Buster equipped.
The short stout guys that walk around shoot out fireworks that light up the room, while the red robots with the light underneath them that fire a shot that splits into five projectiles that fan out. Destroying a flying robot will darken the room, since they're red light bulb robots. Destroying a green guy afterward lights up the area again.
The robots that hang on the ceiling and come down at you before spinning around like a top in your direction can be easily rid of with a charged shot.
The small squares with the "E" on them are Energy Tank fragments. Collect four of them to get an Energy Tank.
By flipping the switch, you'll turn off the lights and cause platforms to drop down. Take them across and hit the switch on the other side so you can see again.
The robot head platform lowers as you ride it. You'll have to jump on it repeatedly to bring it back up and to avoid being lowered down a bottomless pit.
The robot that shoots pellets at you can be taken out by both inching your way towards it (avoiding the pellets at the same time) as you fire at it. A fully charged shot also helps if you're an adept dodger.
The totem poles just spit projectiles at you from the second totem, while the robot crickets act as platforms that help you ride across the massive spike pits. Just stand on them and they'll start moving.
The platforms on the tracks are back. This time around, they just go back and forth. None of the platforms will fall off when they hit the other end of the track. One of them will have the E medal above it, so be ready to jump at the top ends of the path.
The only thing that Bright Man does (aside from the Flash Stopper, which freezes you in place) is jump around trying to land on you, while shooting bullets at you that goes in three directions at times. His attack pattern is a bit random. You could beat him with the Mega Buster (he's not that much trouble), but Rain Flush makes it that much easier since you can just launch it into the air and hit him regardless of where you are, which makes it easier to concentrate on dodging his attacks.
Beating Bright Man gives you the Flash Stopper, which freezes all on-screen enemies for a few minutes and allows you to shoot them uncharged Mega Buster shots while they are frozen.
To lower the platforms that Gnasty Gnorc stands on and shoots at you with magical lasers from beyond your reach, you'll have to look around and chase after thieves. Every time you flame a thief (they're pretty fast), you'll get a key.
Of course, the first key isn't going to unlock the platform where Gnasty is standing. Instead, it opens a door. Open the door and you'll immediately find another thief. Get him and you'll get the key to the platform. Turns out it's a wall that acts as a stair when you use the key there. From there, charge after Gnasty, and flame him as soon as he turns around. After that first hit, you'll be chasing after him again.
This time around, you'll be gliding. Your gliding skills are going to be put to the ultimate test. Don't bother keeping up with him. Instead, just focus on jumping from one platform to the other, which all slowly move into the walls, and don't stop for even a moment. If they sink into the walls, you're boned. When you meet him one more time, flame him again. Gnasty Gnorc is gone in just a mere two hits.
Whatever you do, don't lose a life. Otherwise, you're starting this whole level over again. Once you beat Gnasty Gnorc, you'll get the credits.
Gnorc Gnexus
After beating Gnasty Gnorc, you'll return to Gnorc Gnexus. You'll find out that there is another trapped dragon in the center. Free him, and you'll find out that you'll have to have 100% in order to enter the final level. Of course, if you've collected everything up until this point, talking to him actually gives you 100%.
Anyway, it's time to show this sucker off.
Gnasty's Loot
At first, it may look like you're stuck. But when you glide into the pool at the beginning of the level to kill yourself, you'll find out that Spyro can fly.
Yes. You can fly in this level.
You can only fly as high as you've gotten in the level, so use that as a hint about where you should go next.
As expected, you'll be beating up thieves in order to get the keys that open doors in this level. Some of them will be in planes that you will have to flame down in order to get the key. The second plane will take a little bit of work and some keen flying, but he can be taken down. Just keep flying, and he'll eventually mess up and make it easier for you to hit him.
Once you unlock the last door and collect the gem on the other side, you can fly anywhere in the level! All that's left is to look around the top of the level and flame all the firecrackers to open up the impenetrable metal chests! From there, find the exit and follow the path of gems to find the second half of all the treasure! Once you've found all 2000 gems, you've finally done it! You've beaten the game! Congratulations!
The first enemies you'll see are Gnorcs with machine guns. As soon as they cock their guns when you get too close, you'd better be charging or flaming them, because that gun can pack a punch! Same for the guys with the knives, as they can throw grenades. Both of these guys have deadly accuracy! Wait for them to attack before getting close and hitting them, but you'll have a better chance against the guys with the shotguns as they reload before shooting.
There are bigger versions of the Gnorc soldiers. The Gnorc commandos wear a beret, attack like the soldiers, and can only be flamed. You'll need to approach from the side before attacking.
Go left after the whirlwind at the start for some treasure that is very easy to miss.
Flame the crank-switches as you go by, and you'll turn the bridge into a pair of ramps. You'll need to do this with the first bridge so you can use the Supercharge power-up to continue on. From there, you can lower the bridge again, use the Supercharge ramp and break down that impenetrable metal chest you saw just before the bridge.
Keep to the right on the final stretch before the exit so you don't get knocked into the water.
