Sunday, January 7, 2024

PrinceWatercress plays Ballistic (GBC) - Part 2 of 7


Well, I tried with the puzzles in this video. Next time, I'll be a little better prepared.


Stage 16


Place the moon on the outer end between the square and the star. Eliminate the squares. From there, you can eliminate the stars, then the triangles.

Stage 17


Place the star on the outer end. Make a combo with the notes. Place the triangle on the outer end. Eliminate the stars. Eliminate the triangles.

Stage 18


Aim the note to the left so it stands between the triangles before the inner part of the spiral can move into place and automatically mess it up. Eliminate the moons. Place the note with the note. Eliminate the hearts. Eliminate the notes.

Stage 19


Place the square on the inner end. Eliminate the stars. Eliminate the triangles. Eliminate the hearts. That gets rid of everything else.

Stage 20


Eliminate the stars, then quickly put the square between the moons next to where the stars were before the two parts of the spiral become one. If you have three moons left, you did it right. Eliminate the notes. Eliminate the hearts.

Stage 21


Place the square on the square between the notes and the hearts on the outer end, then eliminate the pair of notes there. Eliminate the hearts on the inner end. Place the square on the lone square on the outer end. Eliminate the notes. Eliminate the hearts.

Stage 22


Eliminate the squares. Place the note on the outer end. Eliminate the triangles. Eliminate the hearts. Eliminate the stars.

Stage 23


Eliminate the squares on the outer end. Eliminate the squares in the middle. Eliminate the notes in the middle. Eliminate the squares.

Stage 24


Eliminate the pair of hearts on the outer end. Place the note on the inner end. Place the square on the outer end. Eliminate the hearts on the outer end. Place the note in the pair of hearts between the notes and the squares on the outer end. Eliminate the squares.

Saturday, January 6, 2024

PrinceWatercress plays Ballistic (GBC) - Part 1 of 7


Funny how a Twitter post of a GIF of this game led to me playing this. And out of all of the puzzle-y stuff I've played, this is among the hardest.


In the options menu, you can set the difficulty to easy, medium or hard and play with the sound test. That's pretty much it for the options.

When you start the one-player mode, you'll get a short, two-screen tutorial on how to play. The game will end when the ball reaches the dead end in the center of the screen. By shooting bubbles across the screen and getting three or more in a row, you can clear the bubbles and make room for more, and if you know what you're doing, you can chain clears together for more points in addition to more room.

There are three modes: Panic, Checkmate and Time Attack. Panic is the arcade-style endless mode, Checkmate is the puzzle mode, and Time Attack is, of course, a time attack mode. We're going to start with Checkmate mode first.

Checkmate mode is the puzzle mode of the game, and there are fifty puzzles that you need to complete. If you add all of your pieces to the chain of bubbles spiraling the screen and clear the spiral of bubbles out completely, you'll get the full 2% for that stage. If you throw any pieces away by sending them into the void but still complete the puzzle completely, you'll only get 1%. Amazingly, if you clear the spiral before using all of your pieces - which is possible - you get a game over and you are forced to try again.

Left and Right on the Control Pad is used to move the dotted line that allows you to aim. You shoot this bubble with the A button. The piece in the center that you are moving is the one your are going to shoot, and the one that is dead center is the next one. The rest of your pieces will be in the upper-right corner. If you need to restart for any reason, just press B.

When you clear three levels in the same row, you'll open up the next row. If you get 2% for all of the levels, you get the credits.

With all that in mind, let's go.

Stage 1


Just get rid of the notes, followed by the triangles, followed by the stars. That's it.

Stage 2


Clear the moons to the right, then put the star with the ones at the inner end (which is near the dead end line). From here, clear the rest of the moons. You'll have two hearts between three stars. Get rid of the hearts, and you'll clear everything out from there.

Stage 3


Place the note at the lone note on the inner end. Place the star to the right of the notes at the inner end. Clear the hearts, and you'll remove everything in one big chain reaction.

Stage 4


Place the first two notes on the one in the center of the chain. You'll have two notes left, and getting rid of those is a snap.

Stage 5


Get rid of the purple squares in the center, then clear the moons. Get rid of the stars, then get rid of the triangles. You can then get rid of the squares that are left.

Stage 6


Shoot the square at the pair of notes near the inner end, then eliminate the stars. Get rid of the hearts, then get rid of the notes. This eliminates the squares and clears this.

Stage 7


Eliminate the stars at the inner end. Place the moon with the moon. Eliminate the triangles. Place the two stars that you get next at the inner end. Place the note with the one at the inner end. Eliminate the hearts at the outer end. Eliminate the moons.

Stage 8


Just place the three stars that you get inside the chain of hearts so that they are all in a row. When they go, so do the hearts. You just learned to make a chain in between three of the same type of bubble!

Stage 9


There is a note between stars in the middle of the chain. Shoot the first two notes that you get there. Eliminate the hearts on the outer end, then eliminate the hearts on the inner end. This will remove the squares and clear the stage.

Stage 10


Place the square on the inner end. Place the triangle with the one between the square and the note on the outer end. Place the note with the one on the inner end. Place the star inside the hearts. Place the triangle squarely on the outer end. Place the two stars with the one that's already on the spiral. You'll have two triangles left. Clear them out.

Stage 11


By putting the star next to the three triangles on the inner end, that whole set of bubbles will move to the other part of the spiral. Make a combo with the moons inside of the hearts to clear the stage.

Stage 12


Place the note inside the three triangles so that there are three triangles on both sides of it. Place the square with the square on the outer end. Use the two notes that you get next to eliminate the note you just placed. This clears the stage.

Stage 13


Place the square inside the three hearts. You want three hearts each on both sides of this square. Place the star on the star between the heart and the note on the inner end. Eliminate the notes. Place the square with the square on the inner end. Eliminate the triangles. You can then eliminate the squares.

Stage 14


Place the note between the two squares on the outer end. Eliminate the triangle. This completes the chain.

Stage 15


Place the note in the set of six triangles on the inner end. There should be one triangle on one side and five on the other. Eliminate the moons. Eliminate the hearts.

Friday, January 5, 2024

PrinceWatercress plays Inspector Gadget AGAIN - Stage 6 of 6


Not only does this stage have good music, but so does the credits. Anyway, we finally make it to Dr. Claw and beat him at his own game again. See you next time.


Stage 6


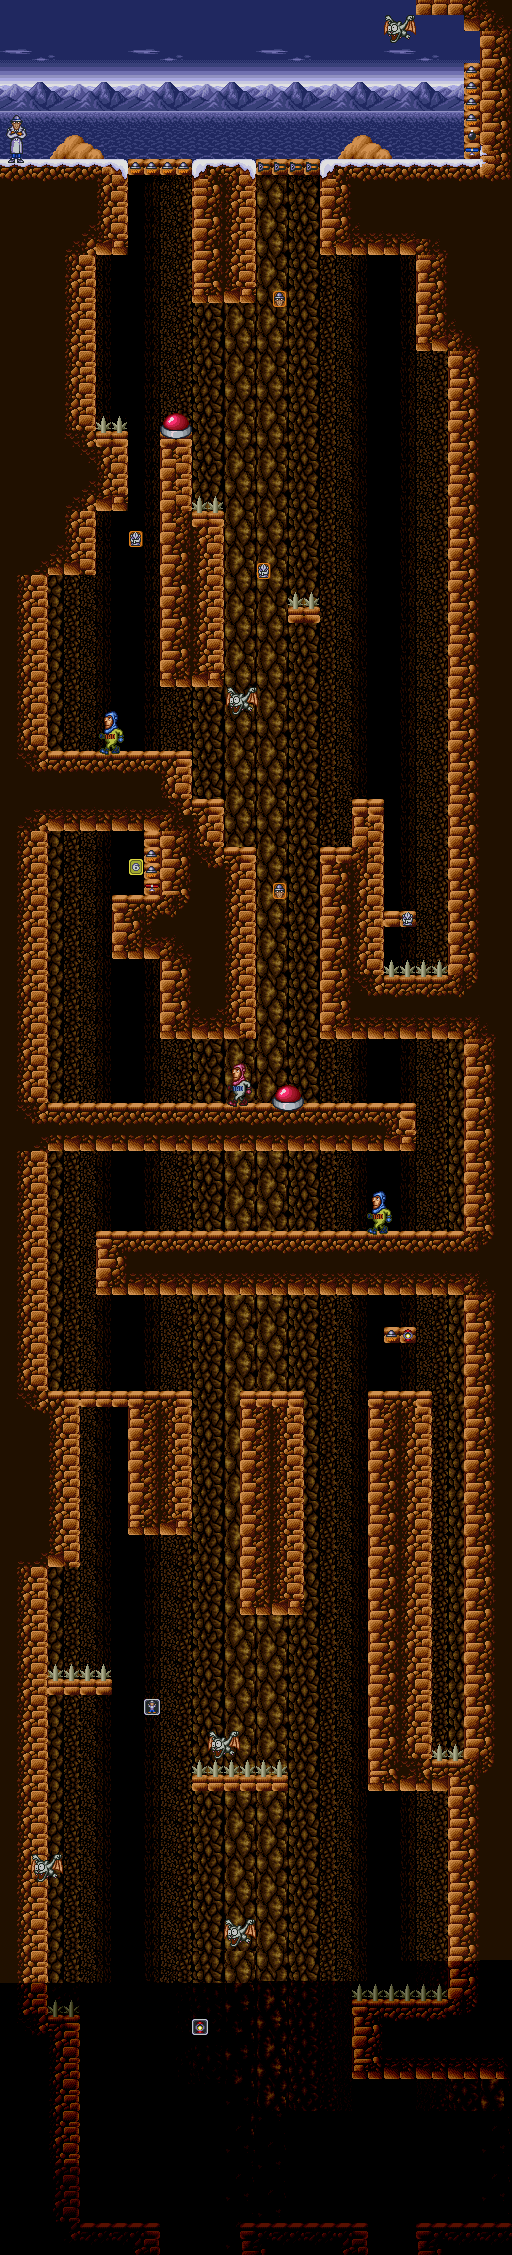
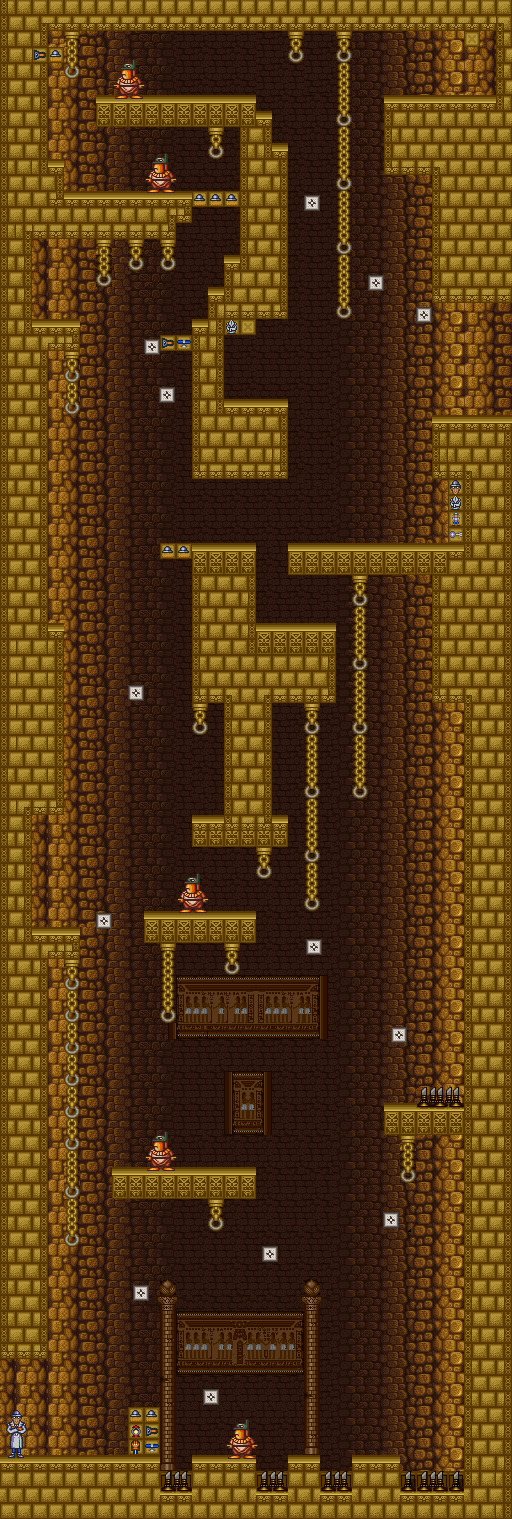
Here, you'll be dropping down into the caverns leading closer to Dr. Claw's lair. Be careful. One wrong move, and you'll have to use your plungers to dig yourself out of spike pits.

The bats will divebomb you if you're under them.

If you get to close to the MAD agents here, they'll block your attacks.


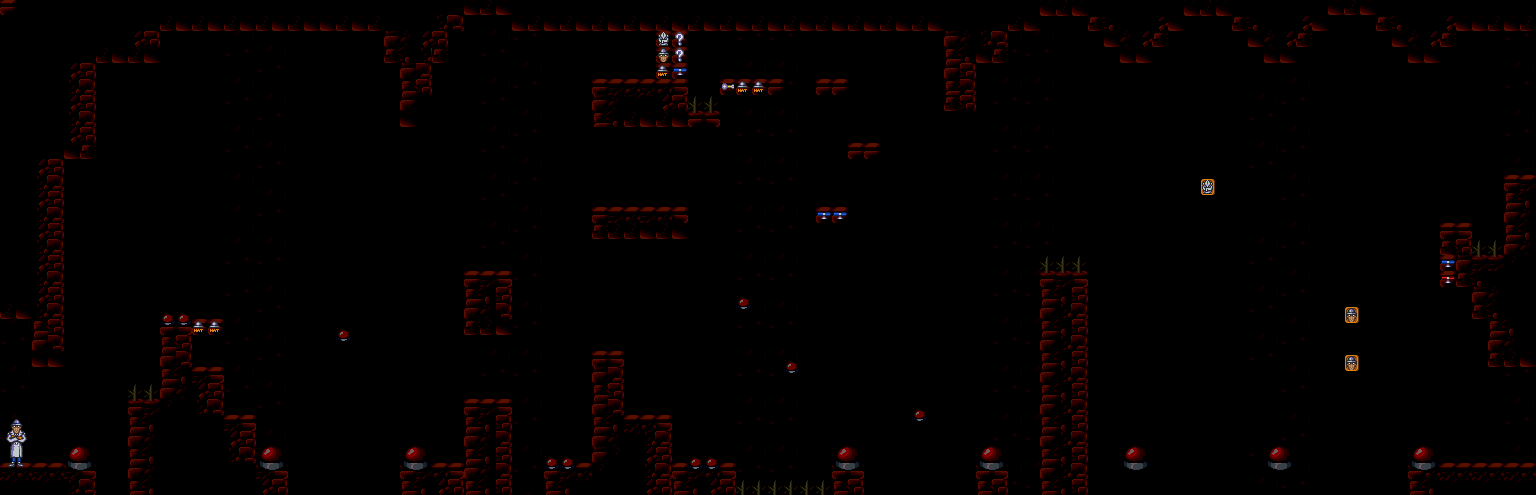
You'll be leaping from spring to spring in this darkened area. Thankfully, there's not much you can't see here, save for the invisible blocks.


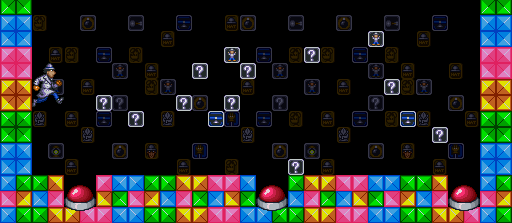
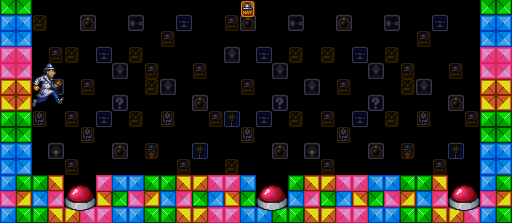
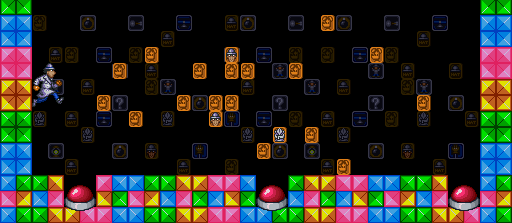
You'll finally break your way out into Dr. Claw's lair. There's a bonus level at the top-left if you need a free life.


The final section before the final battle!

You'll have to stand on top of the cable cars if you want to get anywhere. Whatever happened to just opening the door?

The MAD agents from the beginning of the stage are back, and so are those stupid robots from Stage 2 whose heads fly off after you hit them. If you get close enough, you can hit the robots without having to be right next to them.

The snow on the cables act as platforms to get from one set of cables to another.

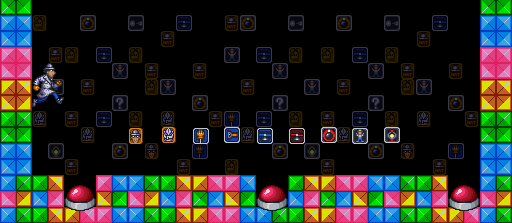
There's one last bonus area hidden in a bunch of blocks that gives you a bunch of Hats and a suit for a free hit if you need them.

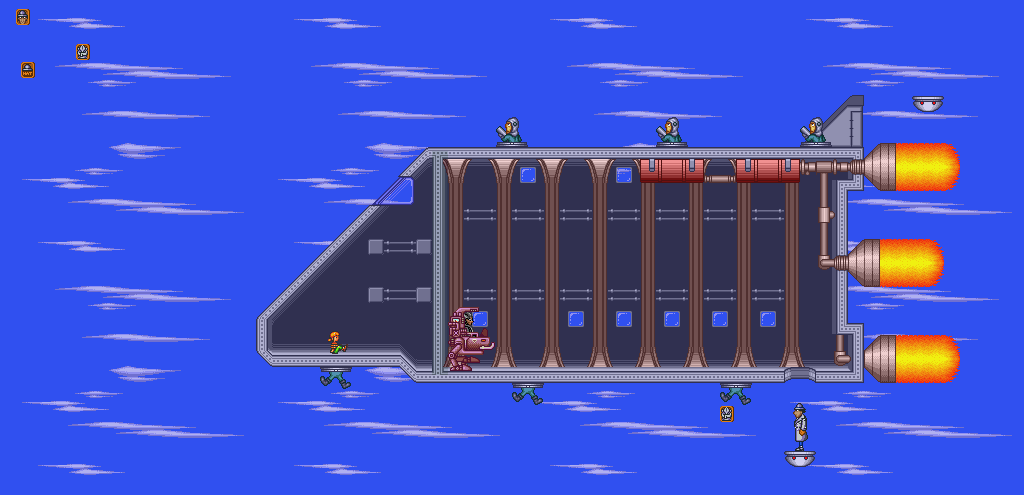
When you reach the steel platform, you'll finally take on Dr. Claw himself.


You'll finally see what Dr. Claw looks like! At last!

Keep moving to the left a little bit so you don't get blown off the platforms.

There will be a few icons flying around. You'll get a few hats, two extra hits and an extra life blowing in the wind and there's a good chance of you picking them when they fly right into you. 

Destroy the MAD agents that come out of the turrets with your regular attacks. Do the same with the afterburners at the rear of the plane. The roof of the spaceship is the easiest, since you can just let the wind move you to the right, allowing you to crouch down and kick the guys with the rocket launchers as soon as they show up.

Once everything is destroyed, the platform that moves around the plane will be able to take to the plane. Get back on it. Since the afterburners are destroyed, you won't have to worry about being blown to the right. A force field will surround the top of the platform, allowing you safe access to the inside of the ship.

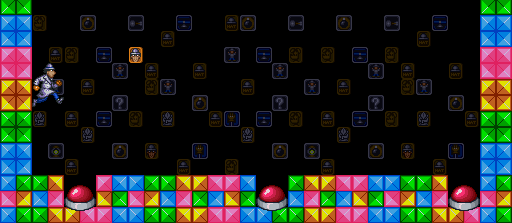
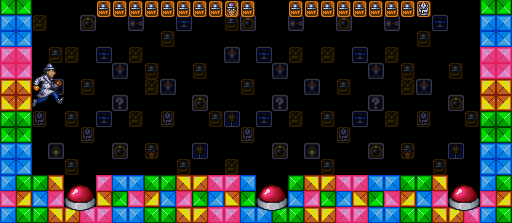
Once you get in the ship, go left to face Dr. Claw. You'll lose all your hats, so it's just you and your fists against Dr. Claw and his mech. Dr. Claw will try to jump over you, but you can duck underneath his jump and hit him from below. He also has fireballs that you can jump over as well as a ball and chain that you can easily stay away from. Just keep hitting Dr. Claw with your regular attack whenever he's standing still, and he'll go down after about a couple of hits. Once you've beaten him, go left and go after Penny. Gadget will rescue Penny and everything will be well again...until you find out Chief Quimby has been kidnapped. Not again! Sadly, there never was a sequel to this game. But hey, you've finally beaten Inspector Gadget!

Gadgets and Power-ups


Grappling Hand: Lets you grab rings and other handholds above you.

Plungers: Fires sticky mini-plungers from your hat which can stick to walls. Use these to climb walls.

Blue Copter: Lets you glide in mid-air.

Red Copter: You can't fly with this copter, but you can send it upwards to attack enemies. You can guide it with Left and Right, but Gadget will move when you do this, so be careful.

Arrow: Fire arrows at enemies.

Bomb: Drop a bomb nearby. If the explosion hits an enemy, it'll do massive damage.

Lantern: Lets you light your way through dark areas. You can even throw the lantern on the ground and damage enemies with the flames!

Mini-Gadget: Sends out miniature Inspector Gadgets which will walk towards enemies.

Question Mark: Drops an anvil.

Hats: Hats are your energy for your gadgets. Each icon gives you two hats.

Inspector Gadget Head: Extra life.

Inspector Gadget Suit: Extra hit. You can only have one extra hit at any given time.

Brain Icon: Increase the range of your regular attack. Your range goes back to the default minimum when you die.

Thursday, January 4, 2024

PrinceWatercress plays Inspector Gadget AGAIN - Stage 5 of 6


Have to admit I had a tough time here. At least I don't have to deal with mine carts again.


Stage 5


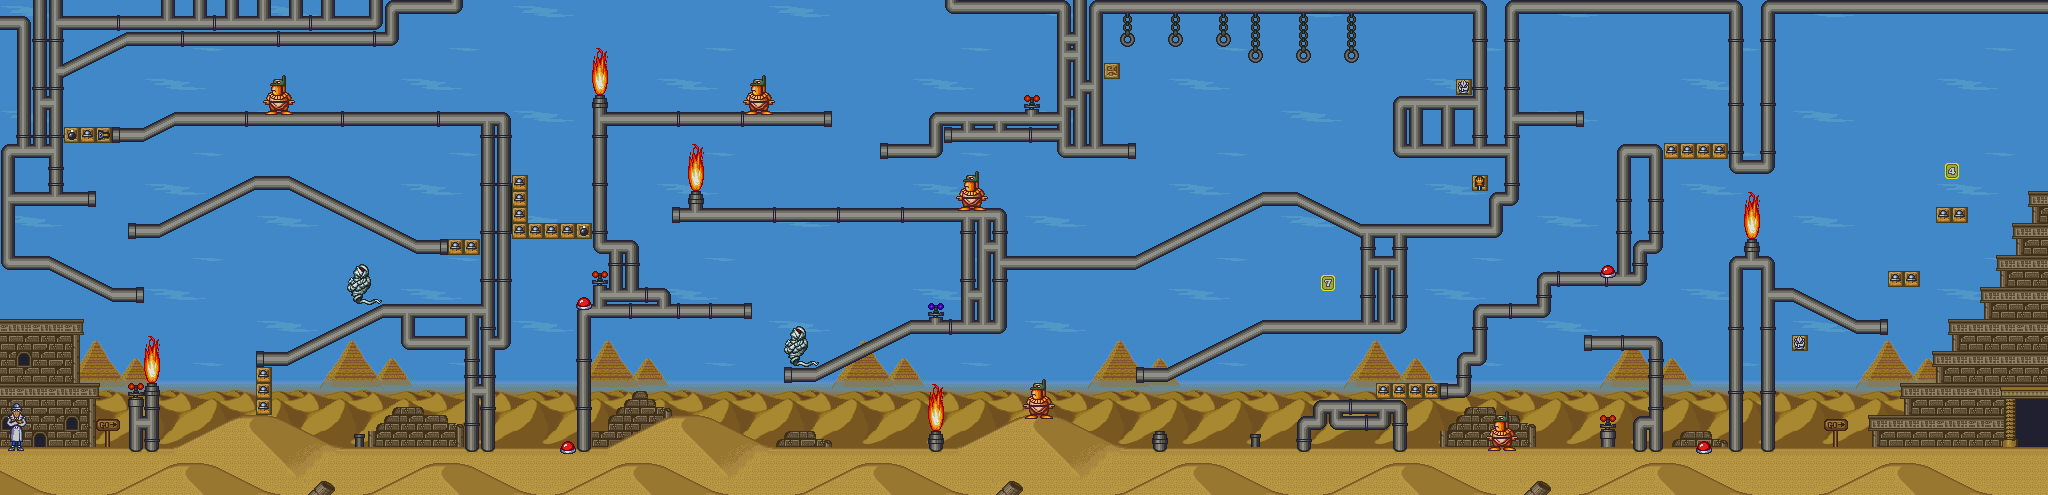
Hit the red switches with your regular attacks in order to turn off the flames that block your path.

The mummies that fly around will attack you with their bandages. The short, stout guys that jump around will send inner tubes that move across the ground after you.

There is a bit of a maze here, but thankfully it's not as bad as the mine cart sections in the last stage.

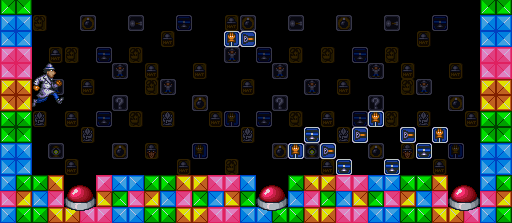
The first of the two bonus areas to access is a joke. It contains just one lousy Hat icon. The second one requires finding blocks with the Magnifying Glass, but I'm too stupid to check.


Another vertical section. You'll finally use the lantern here for the first time. You can see somewhat without it, but the lantern kills the short stout guys that are in your way in one shot if you've powered it up.


The ceiling spikes will slowly ascend and descend. At least you can duck at the bottom of the area to keep the top of your head from being impaled.

The bonus area near the start contains a lonely extra life. Better than nothing.


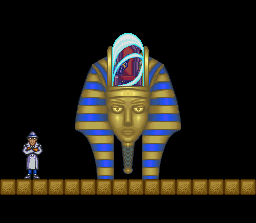
The boss is Dr. Claw riding a giant King Tutankhamun head. The Red Copter is your friend here, as you can use it to take down not only Dr. Claw but also the cat vase missiles he fires as he goes in and out of the screen. This will make it easier to jump from one moving platform to another as you take him down.

Gadgets and Power-ups


Grappling Hand: Lets you grab rings and other handholds above you.

Plungers: Fires sticky mini-plungers from your hat which can stick to walls. Use these to climb walls.

Blue Copter: Lets you glide in mid-air.

Red Copter: You can't fly with this copter, but you can send it upwards to attack enemies. You can guide it with Left and Right, but Gadget will move when you do this, so be careful.

Arrow: Fire arrows at enemies.

Bomb: Drop a bomb nearby. If the explosion hits an enemy, it'll do massive damage.

Lantern: Lets you light your way through dark areas. You can even throw the lantern on the ground and damage enemies with the flames!

Mini-Gadget: Sends out miniature Inspector Gadgets which will walk towards enemies.

Question Mark: Drops an anvil.

Hats: Hats are your energy for your gadgets. Each icon gives you two hats.

Inspector Gadget Head: Extra life.

Inspector Gadget Suit: Extra hit. You can only have one extra hit at any given time.

Brain Icon: Increase the range of your regular attack. Your range goes back to the default minimum when you die.

Wednesday, January 3, 2024

PrinceWatercress plays Inspector Gadget AGAIN - Stage 4 of 6


I STILL don't like those mine carts.


Stage 4


When you start this stage, there will be water below you. Gadget cannot swim, and if he is deep water for long enough, he will die.

The MAD agents in the safari suits will not only send out scorpions that travel across the ground, but they'll also send out butterflies that will fly at you and do damage.

The MAD agents in the blue suits with the guns will aim at you if you get close enough. Get even closer and they'll jump back and forth much like the snowmen from the second stage. Finish them off with the arrow.

When you reach the platform at the far end, the water will drop and you'll be able to continue left and go through more of the level. However, the water level will continuously rise and fall, and if you're in too deep for too long, you'll die. You'll need to use the walls in the background as platforms in order to survive and make your way to the second area.


Here, you'll have to ride the mine carts in order to get to the other end of the mine shaft.

The bombs with the "B" on them are, of course, bombs. You don't want to touch these, but you can attack them to get some power-ups.

The MAD agents that hang onto ceilings and the undersides of mine cart tracks will dive down at you in an attempt to knock you off the car you're currently on.

In case you hit an intersection, the mine cart you're currently on will keep going in its original direction.

You'll want to make your way to the lower-left part of the area where the guy with the gun is. To do that, you'll want to stay on the top, and when you make your way past the MAD agent on the underside of the tracks above you, you'll want to use the blue copter to fly to the bonus stage. Once you're out of there, jump on the mine cart that is down and to the left. When you reach the right end of the spiked platform you see after that descent followed by the big ascent, you'll want to jump straight up, use the blue copter and land directly on the mine cart below. From there, you can use the copter again and make a big jump to the left to get to the guy with the gun. Take the mine cart

From there, get on the mine cart just after the MAD agent that you'll pass by, then ride it to the end.


You'll have conveyor belts to deal with, as well as more mine carts, but at least the whole area isn't dominated by the mine carts. If you manage to land just above the tracks leading to the exit, you can activate the blue copter, walk off the edge and immediately hold Right to float over to the exit.


You'll be on a circular belt with five platforms on it. You'll want to stay on those platforms, but also keep your distance from Dr. Claw so the three fists on his chair don't pound away at you. This is probably the first boss area that will give you any real difficulty.

If the fists glow, they're about to strike. Keep that in mind as you constantly reposition yourself to get in the needed five hits to get out of here.

Gadgets and Power-ups


Grappling Hand: Lets you grab rings and other handholds above you.

Plungers: Fires sticky mini-plungers from your hat which can stick to walls. Use these to climb walls.

Blue Copter: Lets you glide in mid-air.

Red Copter: You can't fly with this copter, but you can send it upwards to attack enemies. You can guide it with Left and Right, but Gadget will move when you do this, so be careful.

Arrow: Fire arrows at enemies.

Bomb: Drop a bomb nearby. If the explosion hits an enemy, it'll do massive damage.

Lantern: Lets you light your way through dark areas. You can even throw the lantern on the ground and damage enemies with the flames!

Mini-Gadget: Sends out miniature Inspector Gadgets which will walk towards enemies.

Question Mark: Drops an anvil.

Hats: Hats are your energy for your gadgets. Each icon gives you two hats.

Inspector Gadget Head: Extra life.

Inspector Gadget Suit: Extra hit. You can only have one extra hit at any given time.

Brain Icon: Increase the range of your regular attack. Your range goes back to the default minimum when you die.

Tuesday, January 2, 2024

PrinceWatercress plays Inspector Gadget AGAIN - Stage 3 of 6


In this video, we go through the Amazon jungle fairly quickly as we go looking for Penny again.


Stage 3


Not much to this area. Take down the monkeys whenever you can, and avoid the spears thrown by the MAD agents in the masks and grass skirts.

The monkeys will throw fruit at you in two directions, and they can also jump straight up from the platform they are hanging on by their tails. The bombs make quick work of them if you're fighting them from above.

The lifesavers will keep you out of the water, which is instant death. The one that Brain is riding on is a springboard, and there is a bonus area right above him.


The fruits act as the breakable blocks here, but there are some hidden blocks at the very beginning of the area that I didn't notice when I played through it the first time. I noticed them the second time around.

Watch out for the fish that jump out of the water here. At the apex of their jump, they emit and electric shock and a robot fish skeleton drops out. The jump is the worst part of all this, as a well-placed jump can knock you right off the boat and into the water for a cheap death.

The wooden dummies will shoot darts into the sky that fall towards you. The dummies and the fish can send you to a cheap death if you're not careful.

When you get on the first boat, you can use the Blue Copter to save yourself from being knocked into the river by the fish if you've powered it up to the point that it's flashing when you have it selected. This will make you invincible against the fish here that are very hard to dodge.

When you step on the second boat, you'll face the boss.


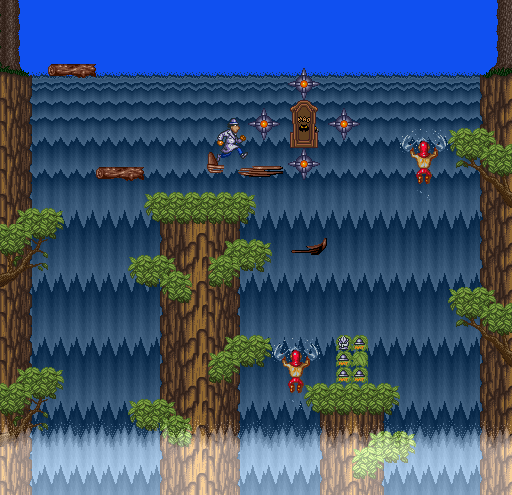
You'll land at the cliffs on the waterfall, breaking the boat. Dr. Claw will come at you with four spiked balls rotating around him. Attack the spiked balls four times to get rid of them. As you remove the spiked balls, Dr. Claw will move more slowly. The red copter will take out the spiked balls from below fairly quickly, and after you get rid of them, Dr. Claw is fair game to the arrow.

The logs on the left side of the area and the MAD agents on the right will act as platforms. Use your regular attack and punch upwards if you need to, and use the arrow to hit both Dr. Claw and the spiked balls from afar.

Gadgets and Power-ups


Grappling Hand: Lets you grab rings and other handholds above you.

Plungers: Fires sticky mini-plungers from your hat which can stick to walls. Use these to climb walls.

Blue Copter: Lets you glide in mid-air.

Red Copter: You can't fly with this copter, but you can send it upwards to attack enemies. You can guide it with Left and Right, but Gadget will move when you do this, so be careful.

Arrow: Fire arrows at enemies.

Bomb: Drop a bomb nearby. If the explosion hits an enemy, it'll do massive damage.

Lantern: Lets you light your way through dark areas. You can even throw the lantern on the ground and damage enemies with the flames!

Mini-Gadget: Sends out miniature Inspector Gadgets which will walk towards enemies.

Question Mark: Drops an anvil.

Hats: Hats are your energy for your gadgets. Each icon gives you two hats.

Inspector Gadget Head: Extra life.

Inspector Gadget Suit: Extra hit. You can only have one extra hit at any given time.

Brain Icon: Increase the range of your regular attack. Your range goes back to the default minimum when you die.

Monday, January 1, 2024

PrinceWatercress plays Inspector Gadget AGAIN - Stage 2 of 6


In this entry, we head through the Swiss wilderness and through a clock tower in our continuing quest to rescue Penny.


Stage 2


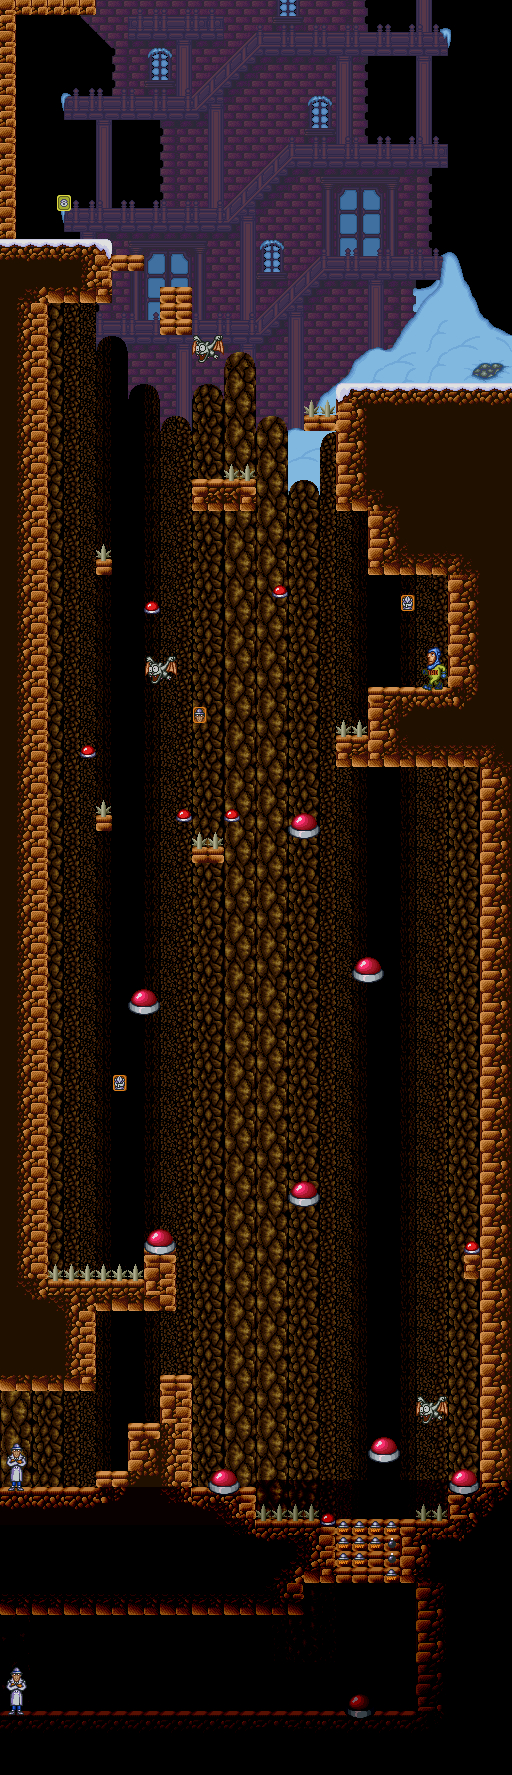
There's a bonus area just under the start. Step on the ledge in the floor (which tends to blend in with the ground) and use the Blue Copter as soon as you start falling to get there.

The MAD agents are here and they're dressed for the cold. They're also ready to lob snowballs at a moment's notice and jump when they see you jump. The snowmen will bounce around wildly when you approach them and take four hits to get rid of.

Be ready to use the blue copter to make some glides to some areas; falling into the pits here is not fun.


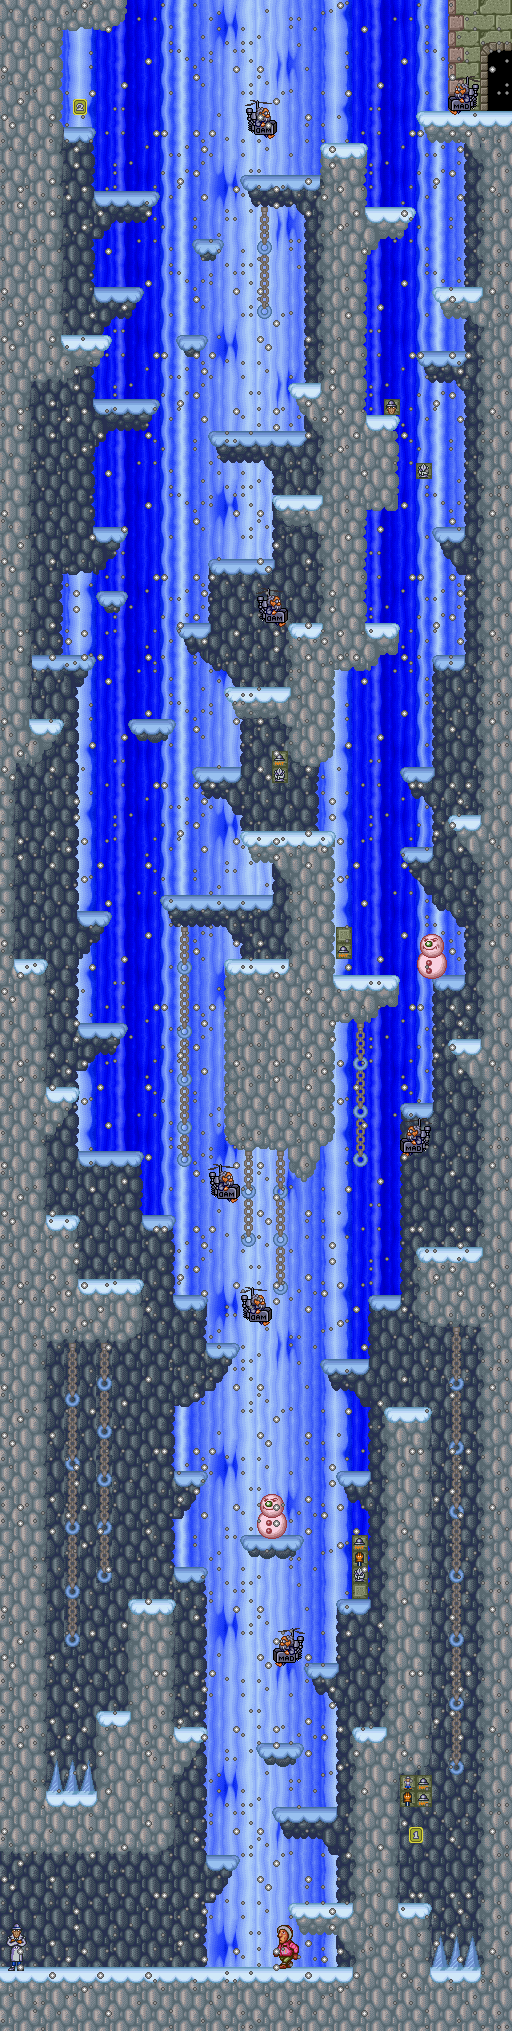
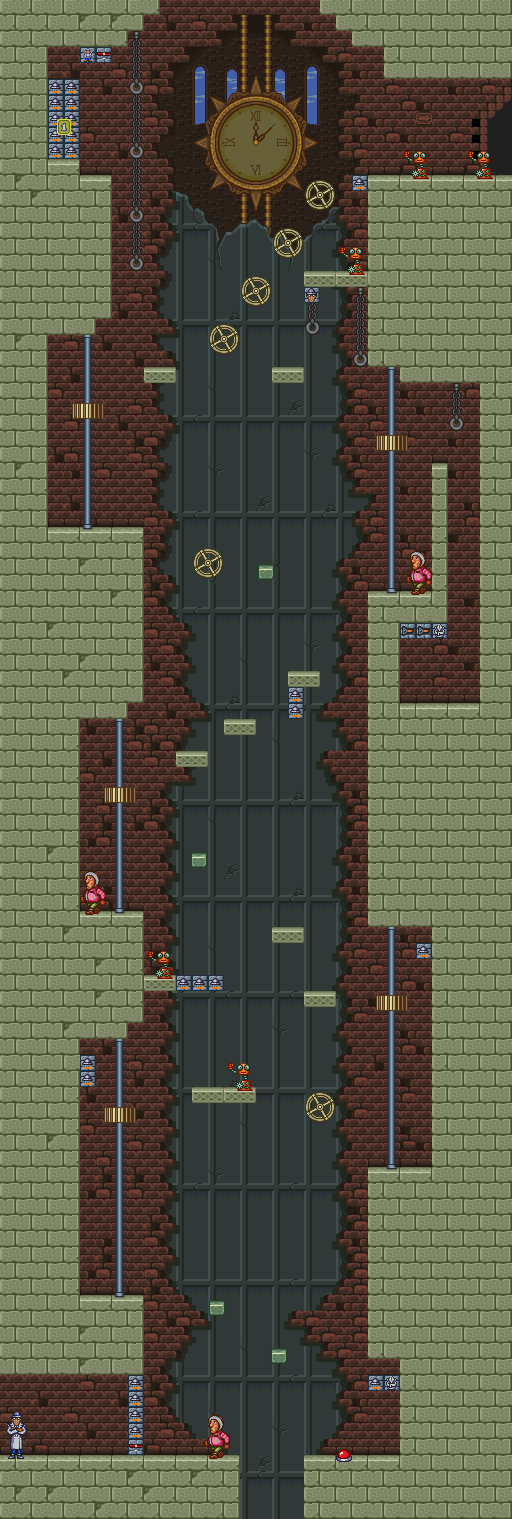
Now it's time for our first strictly vertical area. The mechanical planes will try to drop bolts down at you, and they take two hits to kill. Your Red Copter will come in handy to take care of some of the enemies here.

The snowmen here are tinted red, and they're mercifully easier to destroy (two hits versus four from the last section).

Watch the snow. Wherever it blows, that is where you'll be slowly pushed, especially in the air. It changes direction every couple of seconds, so watch it closely and time your movements to reach certain ledges.


Aside from the blocks that fly around in circles and the clock gear platforms that move up and down, you'll also have the wheel platforms that have you running in place when you walk on them.

Using the arrow will let you pick enemies off from afar.

You've also got the robots to contend with. When you hit them, the upper half will fly off, and will seemingly fly towards you. Even when they're dismembered, even touching the upper half while it's on the ground will cause damage. Either wait for it to die on its own or attack it with a ducking attack.


Dr. Claw is severely easy here. Keep your distance and hit him with three arrows. When he loses the swinging blade, hit three more times with the arrow while staying away from the spiked projectiles he tries to hit you with.

Gadgets and Power-ups


Grappling Hand: Lets you grab rings and other handholds above you.

Plungers: Fires sticky mini-plungers from your hat which can stick to walls. Use these to climb walls.

Blue Copter: Lets you glide in mid-air.

Red Copter: You can't fly with this copter, but you can send it upwards to attack enemies. You can guide it with Left and Right, but Gadget will move when you do this, so be careful.

Arrow: Fire arrows at enemies.

Bomb: Drop a bomb nearby. If the explosion hits an enemy, it'll do massive damage.

Lantern: Lets you light your way through dark areas. You can even throw the lantern on the ground and damage enemies with the flames!

Mini-Gadget: Sends out miniature Inspector Gadgets which will walk towards enemies.

Question Mark: Drops an anvil.

Hats: Hats are your energy for your gadgets. Each icon gives you two hats.

Inspector Gadget Head: Extra life.

Inspector Gadget Suit: Extra hit. You can only have one extra hit at any given time.

Brain Icon: Increase the range of your regular attack. Your range goes back to the default minimum when you die.