Monday, August 24, 2020

PrinceWatercress plays The Adventures of Star Saver - Part 2 of 5


Looking back on what I've written, the bosses in this game have simple yet interesting patterns. Despite that, playing this game wasn't that bad.

Stage 3

The circular things at the top of the tree at the start will drop if you come close enough. They can also do damage.

You can enter the caves and teleport further into the stage by standing in front of one and pressing Down. (Thanks: One Credit Classics)

If you stay at the top throughout the level and go fast, you won't have to deal with much, including the debris that falls from the top, the owl enemies and the tentacles that will stun you as long as you keep getting lion's head and spinning triangles.

When you finally have to take the bottom path, run to the right and jump over the tentacles, leap twice on the flashing platforms, then shoot the flashing part of the barrier.

The boss is some sort of insect droid that hands on the ceiling. Shoot it in the part connected to the wire connected to the ceiling, make sure it is not above you when it drops, and jump over the claws when they are shot at you.

Stage 4

The blocks with the "bird" pattern on them can be shot down in order to get them out of your way.

The platform in the bottomless pit acts as a raft. Keep facing right and keep firing to take out any fish that leap out of the water, but be prepared for any that leap out from the left. The first one that does will provide a bunch of platforms that help you across the bottomless pit. Keep in mind that there will be slow down.

The boss here is a giant fish. Avoid the fish that it shoots, then shoot at the head when the fish robot pokes its head out and opens its mouth. As you go through the battle, you'll notice a pattern in how the fish moves and fires smaller fish, and with enough practice, you'll know when to switch positions and when to shoot this boss. This battle can be a bit of a long one, especially if you get hit and lose the mech, but it's still beatable.

When the boss dies, you'll get a platform that takes you to the goal.

Sunday, August 23, 2020

PrinceWatercress plays The Adventures of Star Saver - Part 1 of 5


The Earth: under attack. Your sister: kidnapped. You: trapped on another planet with a mech that wants to help you fight back. Welcome to the adventures of Star Saver.

Stage 1

Left and Right let you move left and right, A lets you jump and B lets you shoot. Holding B allows you to run, and you can break into a run even in mid-air.

A and B simultaneously let you use a grappling hook that lets you grapple to certain things and pull you up, but you're better off using them for when you fall into bottomless pits, as you will automatically save yourself with the grappling hook when that happens. The grappling hook has a limited amount of uses, but if you collect bow and arrow icons, you can get more.

The tumbling triangles give you temporary invincibility when collected.

The P icon lets you regain the space mech if you get hit. When you get hit, you get knocked out of the mech and play as Max, the main protagonist. He's not any slower, but he doesn't have the fast rate of fire that the mech has and can only have one bullet on the screen at a time. If Max gets hit, he dies and you'll lose a life.

Be careful when shooting enemies; some split into two or three when shot.

The lion head also gives you temporary invincibility. Some of them show up on their own, but others are procured by defeating certain enemies.

The bouncing four-point star enemy gives you two power-ups when shot: the gun icon and the feather icon. The gun icon gives you a three-way shot if you are in the mech; the feather icon allows you to glide forward by double-tapping A.

Watch out for the fireballs and flame jets; they are indestructible. The fireballs hurt, while the flame jets just stun you for a few seconds.

The dog enemy chases you around, and cannot easily be destroyed. This is the first of a few wacky "Japanese" enemies in the game.

The boss here is a thing that looks like a cloud with tentacles. Keep your distance when shooting it so you don't get crushed, and remember that bosses are invincible for a few seconds after being shot. When you beat the boss, continue to keep your distance to take out the enemies, who will shoot crosses at you that will stun you. (This is the only boss in the game that does something like this.)

The square that looks like a monitor is the goal. Jump into it to go to the next stage.

Stage 2

At the start, there will be two building tops that are flashing. By jumping on these flashing areas three times, you will open up a bridge that lets you get over the bottomless pit at the start. Jump on the right one first, followed by the left. This won't be the last time you'll see something like this.

For the part after the dog, stand on the flashing floor tile, then shoot at the flashing tile on the wall to get rid of both barriers.

The musical notes stun you. Be ready to shoot them down quickly, them rush to the right. The tilde-shaped energy waves also stun you, but if you wait for them to disappear, you can pass by without having to deal with them.

Some of the platforms move when you jump onto them. Watch where they go before making a move. There are two sets of small platforms, and on the second set, jump on the second one three times. This reveals some hidden platforms, with the last one taking you to a bonus game. Shoot down all the blocks and jump on the back of the lion that you uncover. The lion will roar and you will be warped to the end of the level, where you can get the mech back.

The boss is a jumping triceratops robot. Stay away from him, and when it opens its eyes, shoot at the face, but also make it a priority to run under it to get to the other side of the screen. After a while, you'll eventually beat the boss. Do some careful platforming to get to the monitor and end the stage.

When you beat a stage, you'll get the mech at the start of the next one if you're playing as Max instead of the mech.

The Item Checklist (Again!)

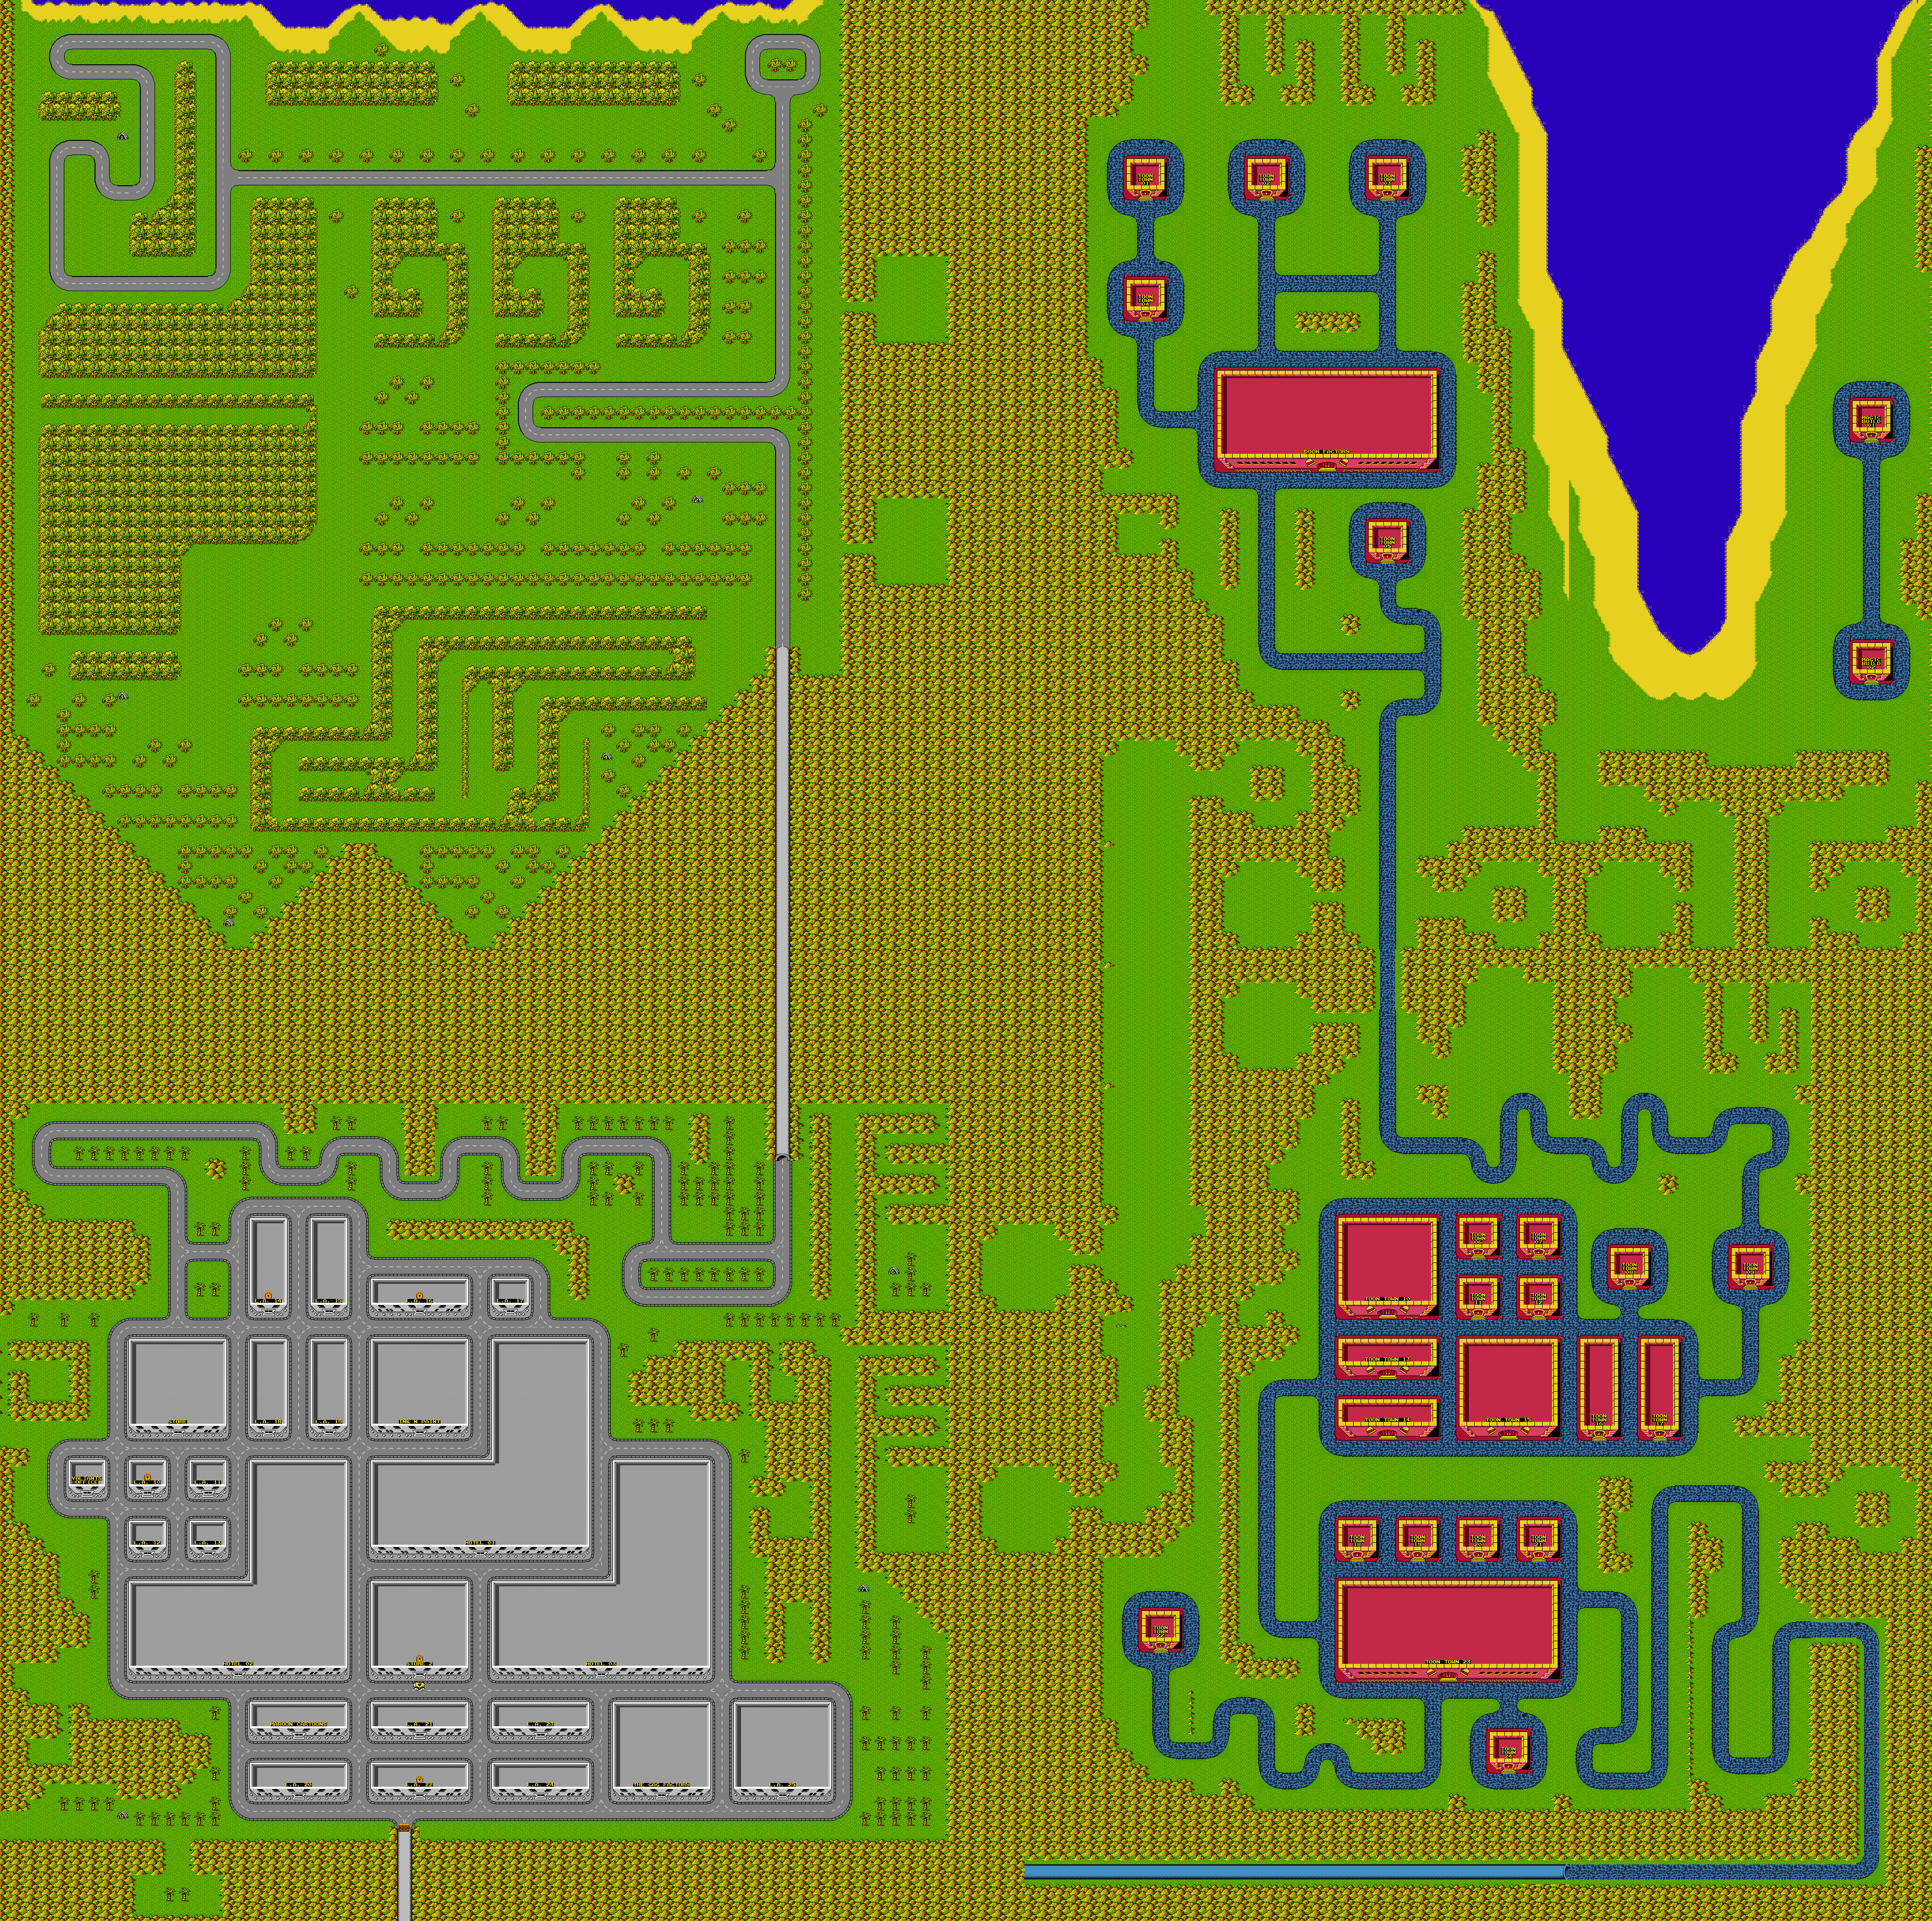
Here's the item checklist again, because I feel it might be useful again. Feel free to click the picture, copy it to Paint or something and print this out...or make one of your own!

Saturday, August 22, 2020

PrinceWatercress plays Who Framed Roger Rabbit? (NES) - Part 8 of 8


There we go. We got it done in eight videos. Could have beat it in seven, but I'm glad with the amount of progress I made in each video before the seventh one.

WARNING: The placements of the items in this Let's Play are random. While you can get all these items, where and when you will come across will vary. You should be able to get an idea of what you should do, should you be stuck at a certain point, but everything about the placement of the items is random.


The video begins with me in one of the caves past the tunnel north of Burbank, having already found the fourth and final will piece. Turns out, I had to go to the right to find the blasted thing behind a snake.

1:39 - Here we are. Throw the baseball, then walk diagonally into the door while the weasel is distracted to face Judge Doom.

You'll then face Judge Doom, who will try to kill you by "staring daggers at you." Seriously, he shoots out dagger projectiles. Go up the ladder in the center of the room, and keep your distance. All of your items at him will do no damage, and the bombs and cigars will only do minimal damage should you be able to use them. Stay away from the projectiles he shoots out.

If you see Judge Doom open his mouth, back away so you don't get hit. If he jumps backwards, get even further away, as the daggers will go further than usual if he does. He can also hit you with his fist if you're in front of him for too long.

The punchline meter acts as a life bar. Doom's health is the marker on the left. Your health is the marker on the right. If your marker reaches the D in "END," you lose. If Doom's marker reaches the N in "END", you've almost won. 

Use your punch. Get in close, watch him so he doesn't projectiles, then hit him with punches and move out. If you get in close, he will also try to punch you as well. Charge up your punch and let him have it a couple of times, then move back before he can hurt you. You want to trap him on the far left; if you can do that, you can hit Doom loads of times if you can keep a pattern going. This is what you want to do, as this will let you finish him off quickly.

The trick to this is to mash the A button at a certain speed that allows you to throw multiple punches yet still charge the punch up. Even better, if you can charge it all the way up, keep that rhythm going with the button pressing and hit Judge Doom multiple times, you'll make it slightly easier on yourself.

13:36 - When you run Doom's health marker all the way down to the middle, he will fall off the platform. Climb down the ladder leading to the platform you just fought on, then head to the truck, climb up the ladder leading to the roof of the truck and grab the Dip Cannon. Switch to the Dip Cannon in your inventory, then climb up the ladder and press B repeatedly to keep shooting dip at him as he charges at you. Otherwise, you're dead. Once you take down Judge Doom with the Dip Cannon, he's done. You'll rescue Roger and Jessica Rabbit, then get your one screen ending. You just beat one of the hardest games ever.

13:56 - The magnum opus of this Let's Play. Thanks for watching and reading.

PrinceWatercress plays Who Framed Roger Rabbit? (NES) - Part 7 of 8


This video is just me bumbling around for no reason because I forgot completely about exploring the caves of Burbank. Don't expect much out of this one.

WARNING: The placements of the items in this Let's Play are random. While you can get all these items, where and when you will come across will vary. You should be able to get an idea of what you should do, should you be stuck at a certain point, but everything about the placement of the items is random.


There's nothing going on here, because I can't seem to figure out that I need to go north of Burbank to hunt for the last will piece. That isn't figured out until the beginning of the next video. See you there.

Friday, August 21, 2020

PrinceWatercress plays Who Framed Roger Rabbit? (NES) - Part 6 of 8


We find our third piece of the will, find the Magical Building and bumble around Burbank in this entry.

WARNING: The placements of the items in this Let's Play are random. While you can get all these items, where and when you will come across will vary. You should be able to get an idea of what you should do, should you be stuck at a certain point, but everything about the placement of the items is random.


2:52 - Well, that didn't take long. We have the third piece of the will, meaning that the cave area north of Burbank is the only place where we haven't found a will piece...although I don't have that figured out at first.

5:32 - By going off the beaten path, we head to a road to two buildings separated from the rest of the factory area. By going into one of them, we enter the "Magical Building." By using an item, your currently equipped item will drop down from the inventory slot, and you can pick it up. By doing this, you can get nine of everything that you have. (If it's a one-of-a-kind item, a multiple use item or a piece of the will, however, it won't work.)

16:38 - The rest of the video is me bumbling through Burbank, but at least I finally found the fishbone, which keeps the black cat from attacking me.

19:31 - Here's the rose, which we can hand to Jessica Rabbit at the Ink & Paint Club for a hint...

20:18 - ...which we do here.

PrinceWatercress plays Who Framed Roger Rabbit? (NES) - Part 5 of 8


We find out second piece of the will as we explore more of the Toontown half of the game.


WARNING: The placements of the items in this Let's Play are random. While you can get all these items, where and when you will come across will vary. You should be able to get an idea of what you should do, should you be stuck at a certain point, but everything about the placement of the items is random.


0:30 - This is where I mention that each "quadrant" of the game's world has its own piece of the will. Despite my going back and forth between saying there is and saying there isn't, there, in fact, is.

7:24 - Finally, our second piece of the will! This leaves just the park area with all the caves north of Burbank and the Judge Doom factory area north of Toontown as the only places with will pieces left.

7:49 - The custard pie can be used as a weapon.

9:53 - The baseball is really useful. It helps you get past the weasel guarding the entrance to Judge Doom's lair, where the final battle will take place.

18:17 - After hunting for more items, we finally go to the factory area north of Toontown.

19:43 - Here is the Judge Doom building. The weasel blocking the door will kill you if get near, but if you throw a baseball to the side, you can get to the door as he runs towards it. You'll still need all four pieces of the will before you can go in, however.