We've started out strong, and now it's time to finish up Lake Orangatang!
All maps by Tropicon.
.gif)
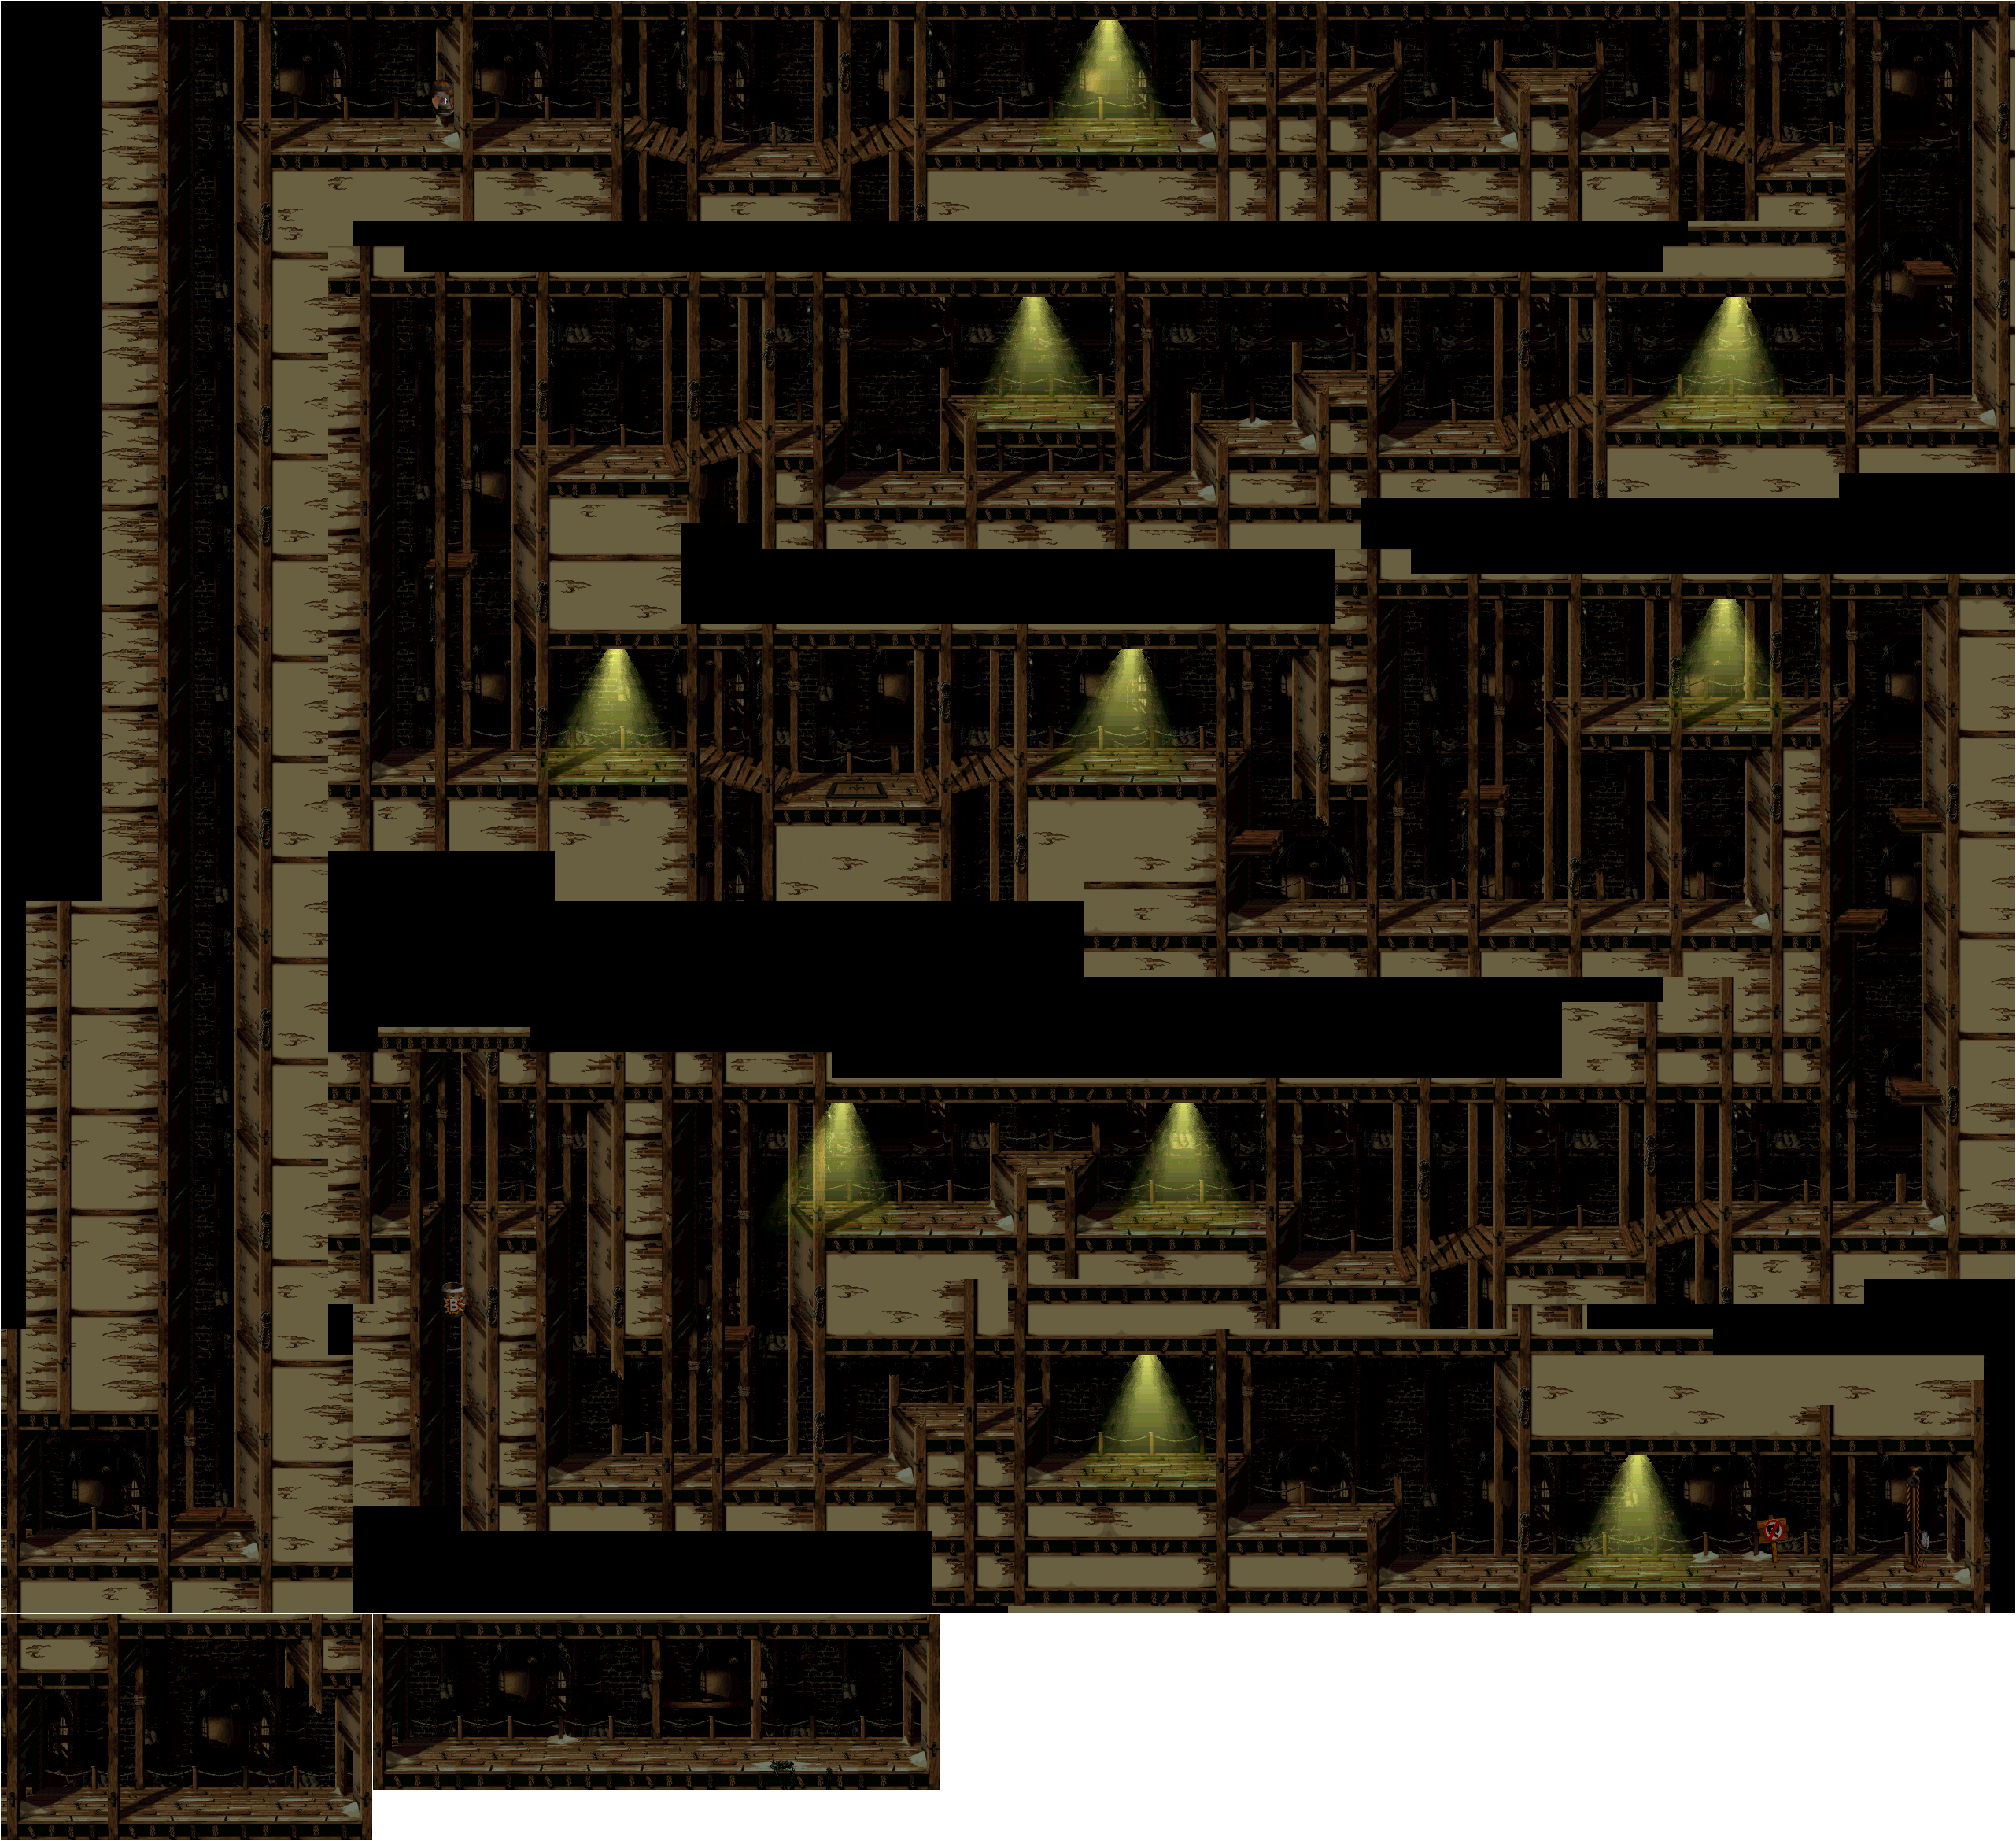
Skidda's Row
Bonus areas: Two (2)
It's a snow level, which means that there are ice physics.
The Warp Barrel is up and left of the left edge of the first house. Stand there, jump up and toss Dixie in that direction to reach it. Some of the homes you can walk past; others will require to run across the roof to get past them.
The first enemies you will meet is Skidda, who skids back and forth and looks like a purple Kobble. He can be beaten in just about any way, but if you don't have a barrel, a jump on the head is recommended.
Krimp is the chomping enemy for this game. Do not roll into him; jump on him instead, otherwise you will take damage.
The first bonus area is in plain sight after the second Krimp in the stage. You can use Kiddy's tag throw or Dixie's Helicopter Spin to get there. Jump cleanly on all four Skiddas to get the Bonus Coin.
Koin is just past the Star Barrel. All you have to do is throw the steel keg over Koin and have it bounce off the wall into his back.
The second bonus area is above the house shortly after the N. Take out some of the baddies to get the second Bonus Coin. Leaping on the Knik-Knak you see after you leave the second bonus area will be hiding a 1-Up.
Murky Mill
Bonus areas: Two (2)
Unlike Doorstop Dash, this area is substantially darker.
Take the elevator up, and enter the Ellie Barrel. If you have both Kongs, you'll have a picture of Ellie (or whatever animal buddy you're playing as, in case you ever enter any of the other Animal Barrels) on the lower-left corner signifying that you have an extra hit.
You can also throw Dixie into the corner to the left after the elevator at the beginning stops for a Warp Barrel, if you want to find that.
The orange Kremling that bounces up and down is Rekoil. They don't make a lot of extreme movements here, but in later stages, they can be very, very annoying.
If Ellie sees a Sneek in the light, do not approach it. If you do, Ellie will briefly run in the other direction. Instead, you'll have to fight them through other means. If you can find a barrel, send it into the Sneeks. If you have to use Ellie's trunk to grab the barrel, do it.
You'll eventually see a green Buzz guarding a trap door. Throw a steel keg on it, then jump onto the trap door to open it and enter the first bonus area. Here, send barrels into the Buzzes to get the Bonus Coin.
Shortly after the first bonus area is Koin. Hold Up on the Control Pad before throwing the nearby steel keg to aim it at the space above Koin so it goes to the other side and hits the wall. You don't have to hold Y to drag the keg back towards you for another use, but it is pretty funny.
You'll see the nearly-indestructible red Buzzes after this. Be sure to jump before hitting that Sneek.
You'll eventually learn how Ellie's trunk can grab barrels from a distance after the N. Thankfully, I've already explained it.
If you go left after the big drop after the N, you'll find the second bonus area. Get rid of the Buzz guarding the Bonus Barrel by dragging the nearby steel keg forward.You'll need to carefully time your jumps over the Buzzes to get to the other side and collect the Bonus Coin before time runs out.
You'll need to use both Rekoils near the end to get the G. Be ready to run straight to the right and jump on the Sneeks near the flag.
Swanky's Sideshow
Swanky's Sideshow appears to be a carnival barker now. For two Bear Coins, you'll be throwing balls at targets. There are three games to play.
Head to Head has you going up against Cranky Kong. If you can move the marker to the top where your face is by hitting more targets than Cranky, you'll win. If the marker is closer to your end when time runs out, you will also win. The better you do, the quicker this can be, as this is the fastest of the three modes to win in.
Race to 25 has you and Cranky Kong in a race to hit 25 targets first. The first Kong to do so wins.
Endurance sees how long you and Cranky Kong can last without missing a target. The first Kong to miss a target loses, and if you plan to outlast Cranky Kong, you'll be playing for about a minute before that has a chance of happening.
For winning a game, you will earn four Bear Coins and four Banana Bunches regardless of what mode you played.
Both Kiddy and Dixie perform identically, so it doesn't matter who's in the lead.
Belcha's Barn
Jump into the trap door, hit the DK barrel on the way down, and here we go! It's the first boss battle of the game.
Belcha is a giant barrel that spits out smaller barrels. Jump on the barrel to reveal a yellow bug, then jump on the yellow bug. From there, pick the bug up like a barrel and throw it into Belcha's mouth when it is open. If you can aim it right, Belcha will eat the bug and belch, sending him flying backwards. You'll have to do this a few times to send him over the edge on the other side, but if you take too long, it will be you tumbling off the left side of the room instead. Thankfully, this is a pretty easy boss battle.
When you beat Belcha, you'll get a Bonus Coin. Grab the coin and you'll beat Lake Orangatanga.
No comments:
Post a Comment