In this entry, we finally make it to the seventh "Your Sanctuary" location, then step into the Lost Underworld.
The Hyper Spinning Robo can cast Shield Beta to protect itself and other enemies from physical attacks. It can also disrupt a party member's senses and cause them to be unable to use PSI (effectively Silencing them) and can also fire a beam.
Luxury Jerky recovers the most HP out of all the Jerkys, and recovers around 300 HP.
Ness learns Flash Theta at Level 61. Paula learns Thunder Theta at Level 57. Poo learns Thunder Omega at Level 55.
The Rabbit's Foot only increases defense by three, but it increases Speed by 40 and protects from Paralysis. It is the best of the four Charm items in the game.
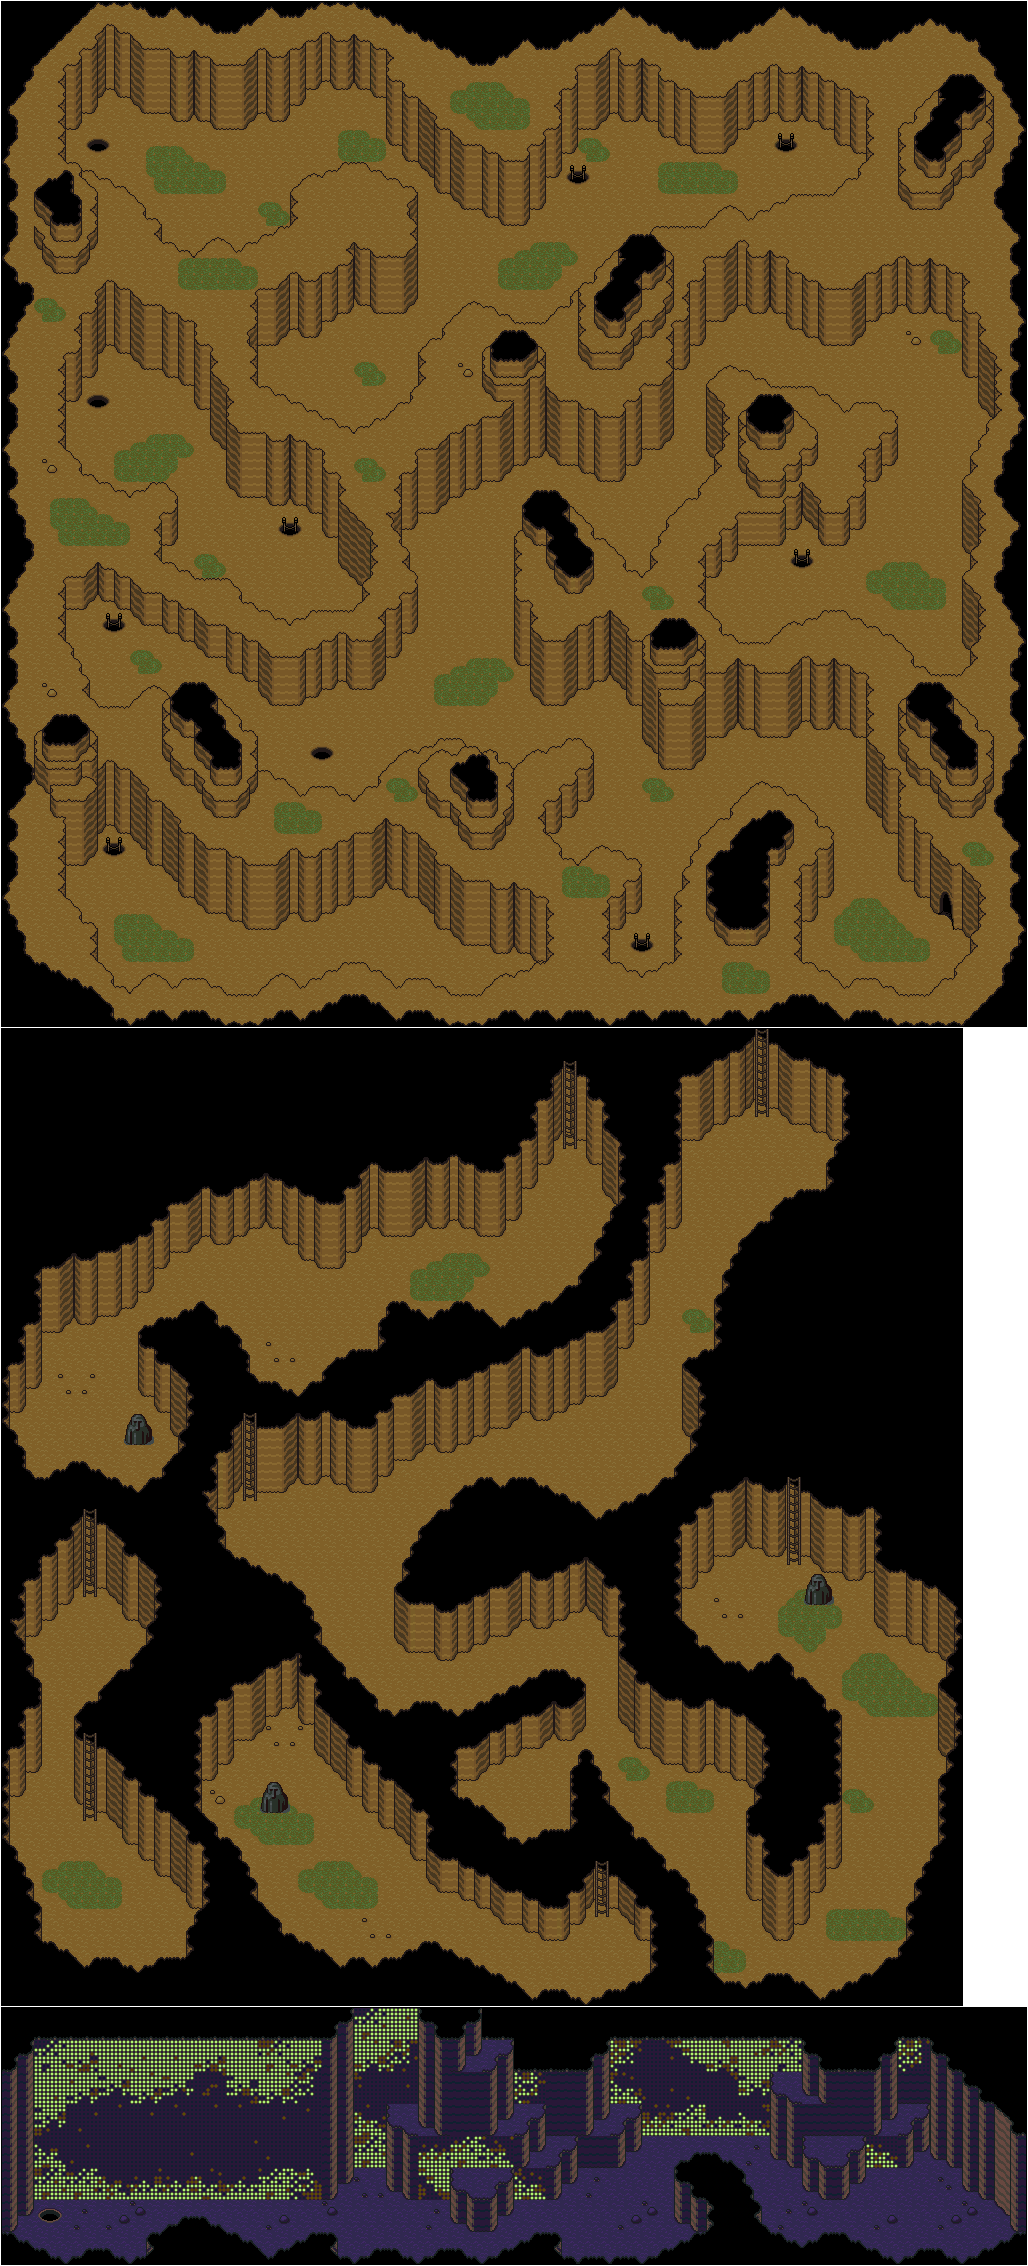
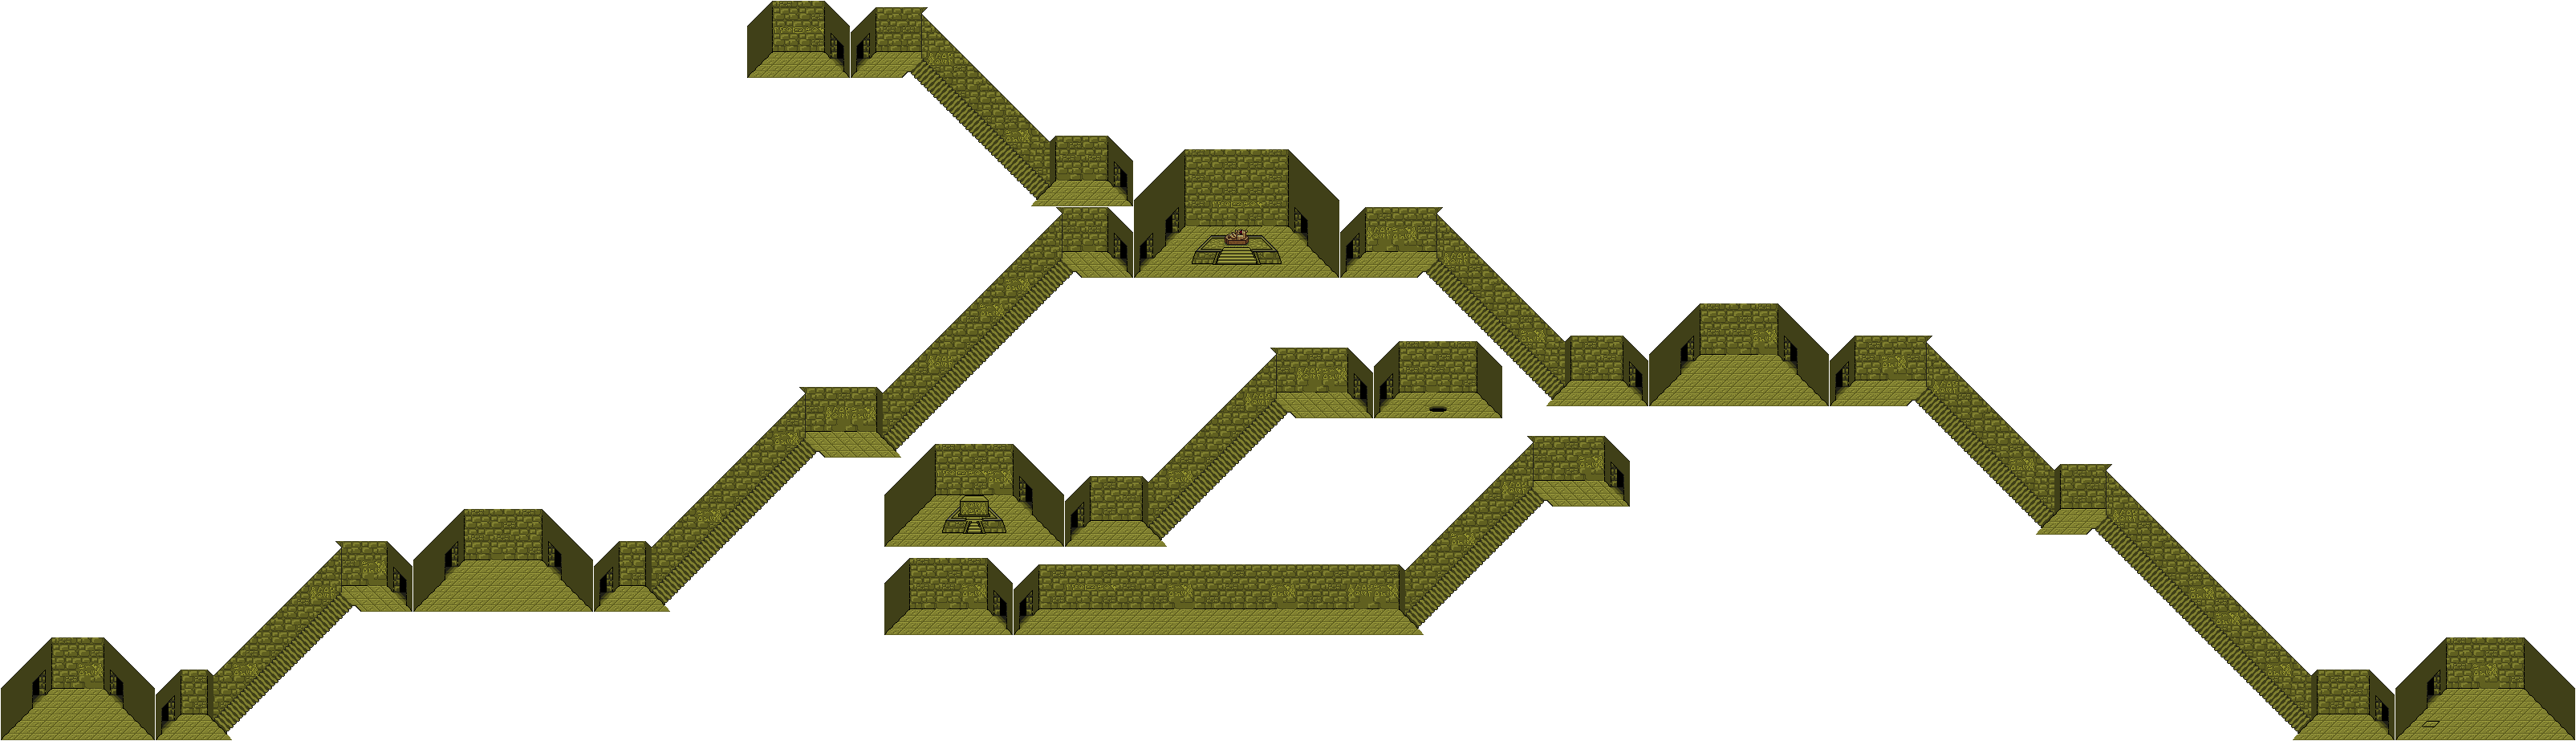
The seventh "Your Sanctuary" location is blocked by the Electro Specter. It begins the battle with Shield Beta cast on itself. It can use an electrical shock attack, which is basically the same as Thunder Beta and does a fair amount of damage to two random party members. It can also use a Hungry HP-sucker, a Neutralizer and a Shield Killer. Use a Neutralizer to get rid of the shield, then plug away with powerful attacks including Multi Bottle Rockets and Freeze attacks.
Once you beat the Electro Specter, you'll find Lumine Hall, the seventh "Your Sanctuary" location. The wall will write Ness' inter thoughts on it - supposedly - then you'll get another part of the melody before you can leave. The hole to the left leads to the Lost Underworld.
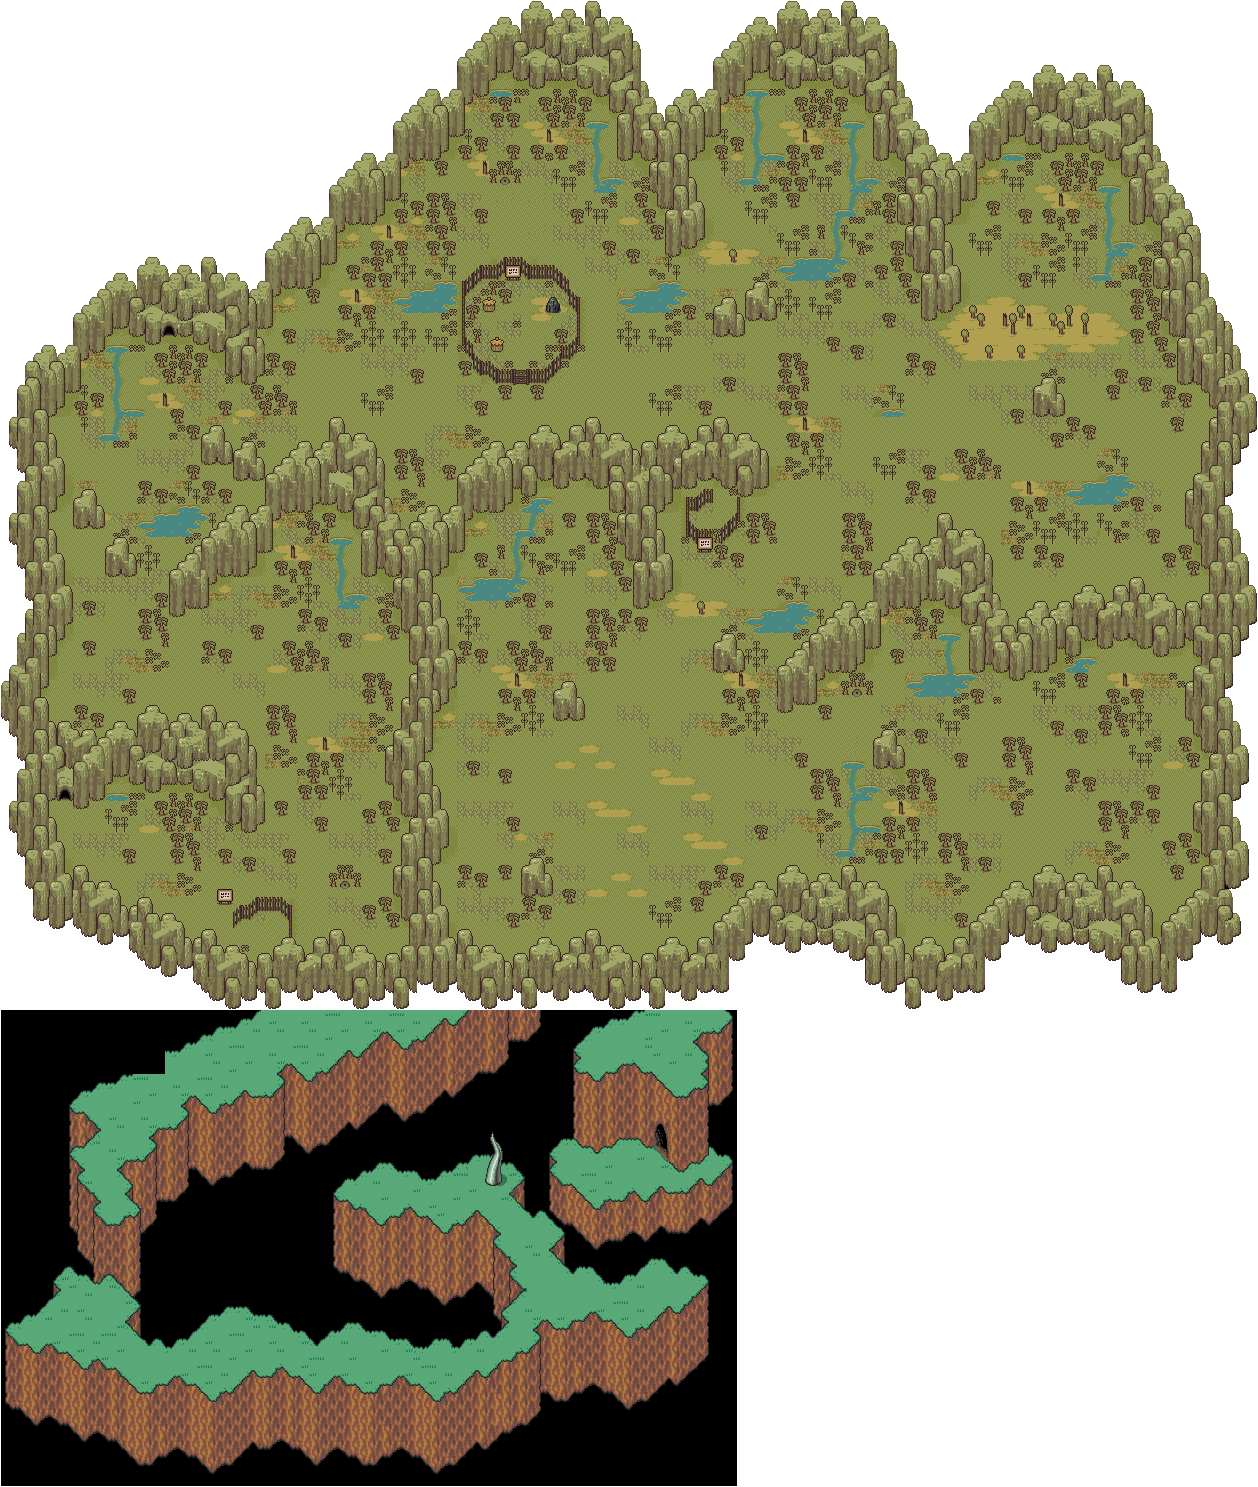
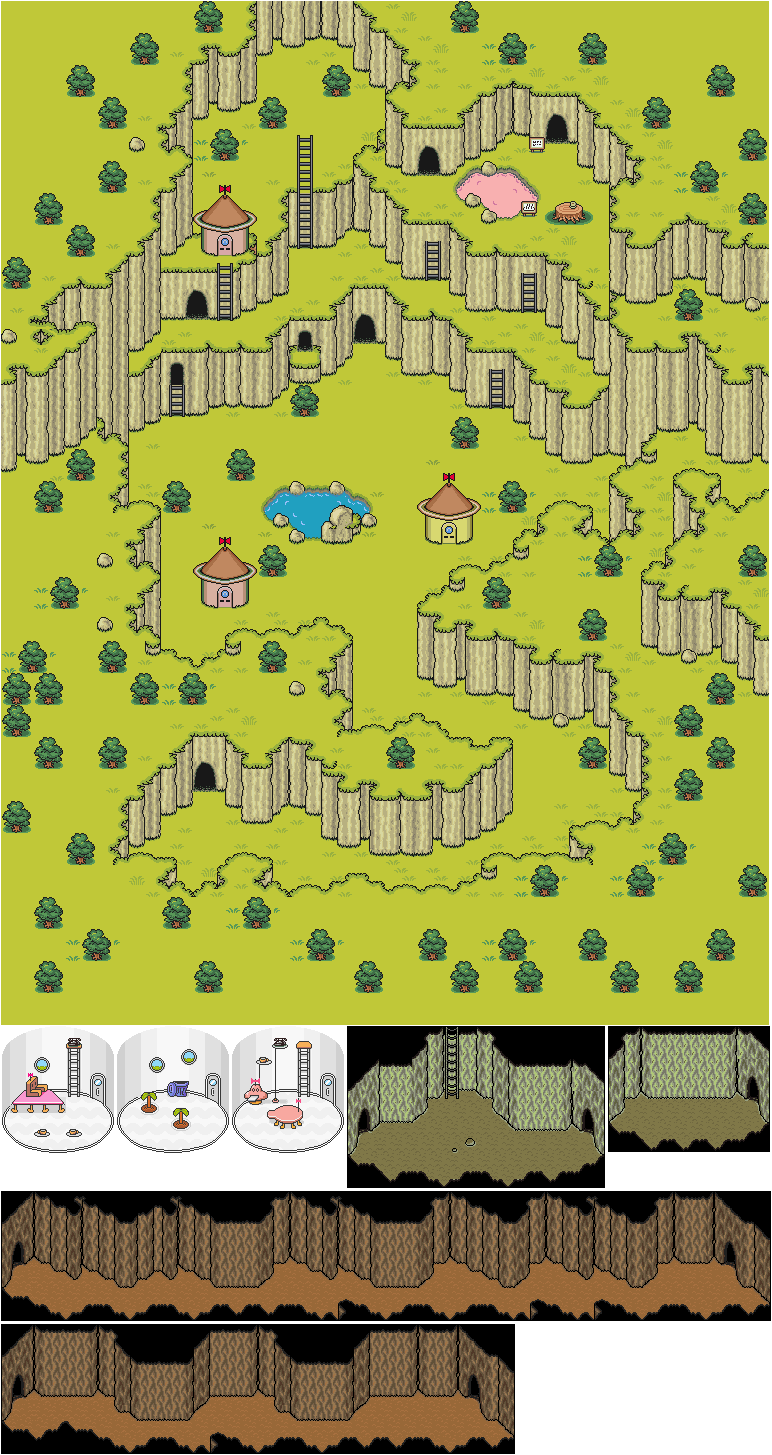
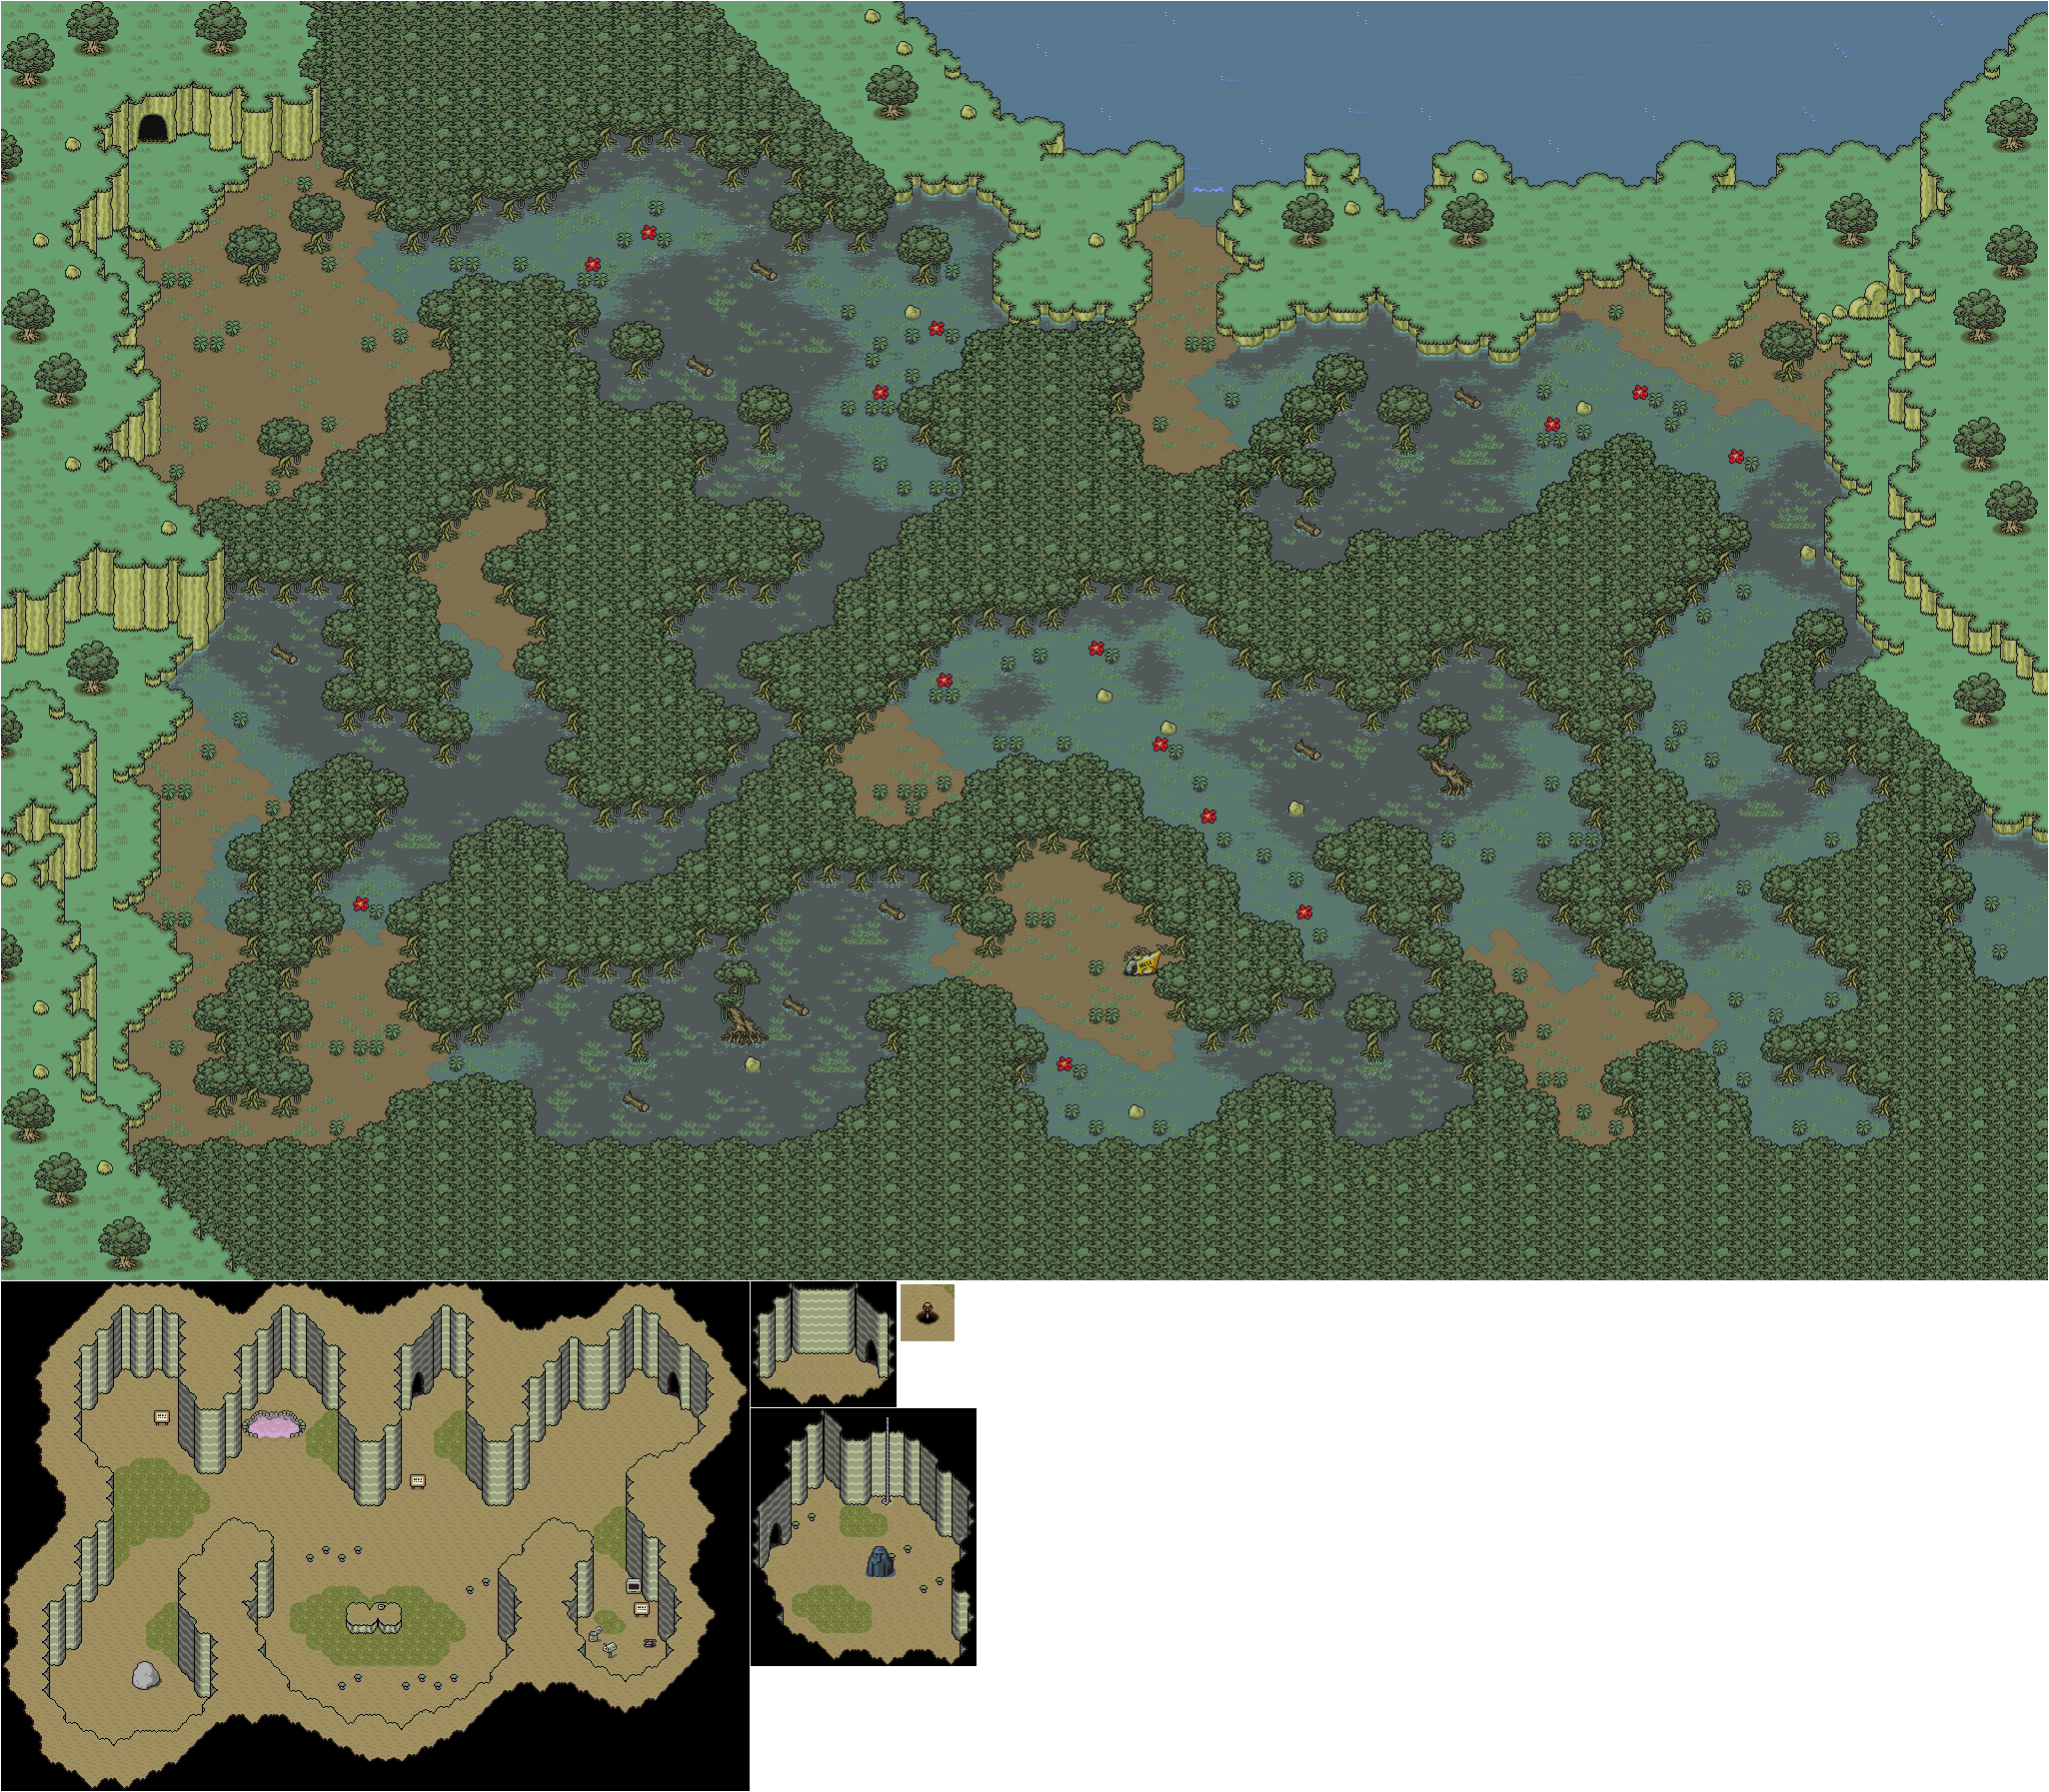
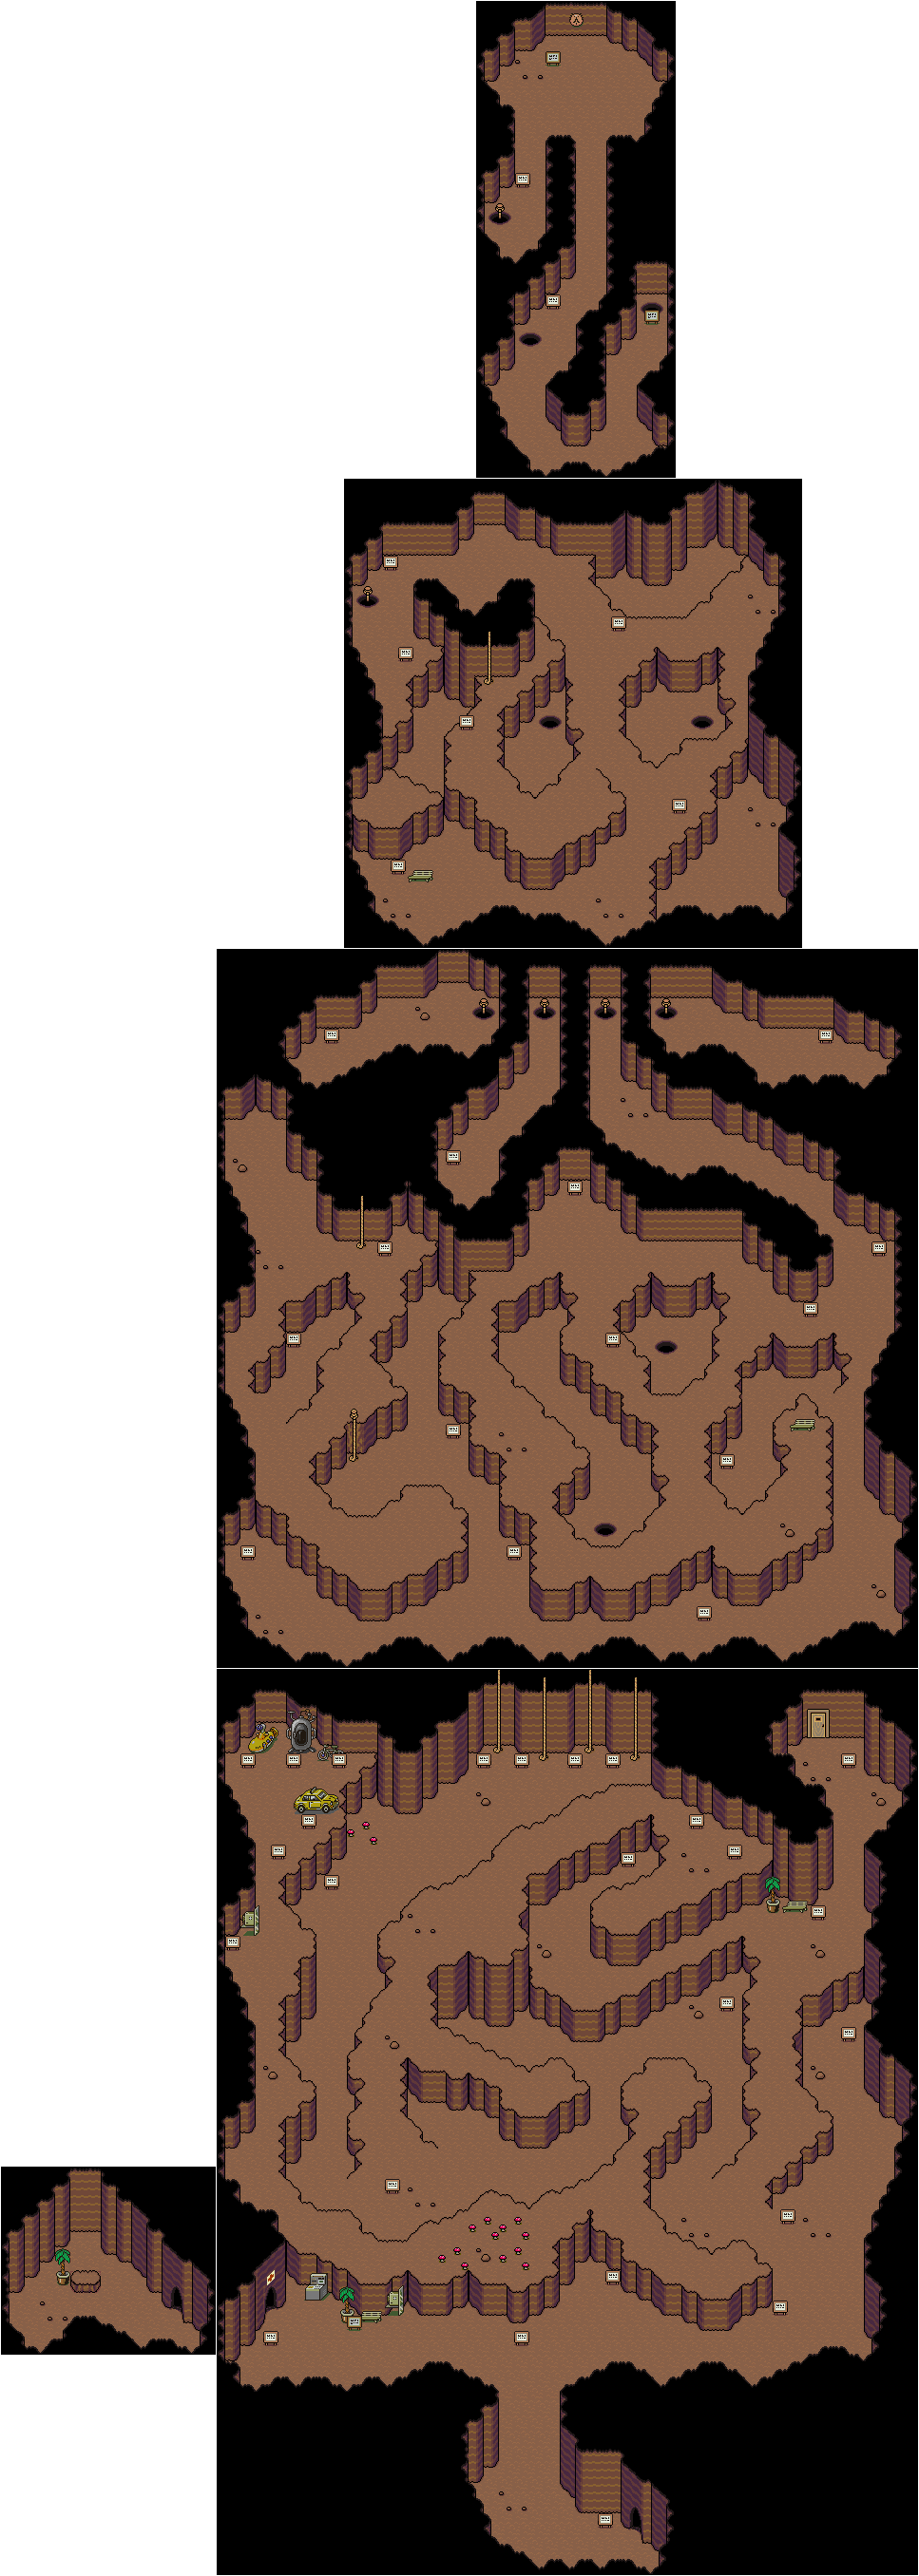
You'll land in the southeast corner of the Lost Underworld. If you stop on a geyser and then use it, you'll be able to heal yourself. The screen will shake every so often, and when it does, the geysers will eventually come out.
The Wetnosaur can stomp, swing its tail and bite to damage a party member (the stomp does low damage, while the others do high), and the loud rumble will solidify a party member. It is weak to fire.
The Chomposaur will have Shield Beta working when you fight it. It can cast Fire Alpha, Beta and Gamma, which can damage all party members with each one more devastating than the least. It can also stomp and swing its tail. It also has a chance of dropping a Magic Fry Pan, which Paula can equip. It does less damage than the French Fry Pan, and while it increases Guts by 100, allowing for some wicked critical hists, it also misses 25% of the time.
The things that look lie white cubes are presents that you can open to get treasures.
As you follow the path, you'll find a small fenced-in area. Here, you'll find two Tendas. They will tell you about the geysers. You'll also be able to save your game in this small area.
.png)
.png)
.png)
.png)
.png)