We take down two Mavericks and two X-Hunters, and we almost beat a third Maverick in the meantime. Due to never having played this game as a kid, this is perhaps the hardest part of the game for me.
Overdrive Ostrich
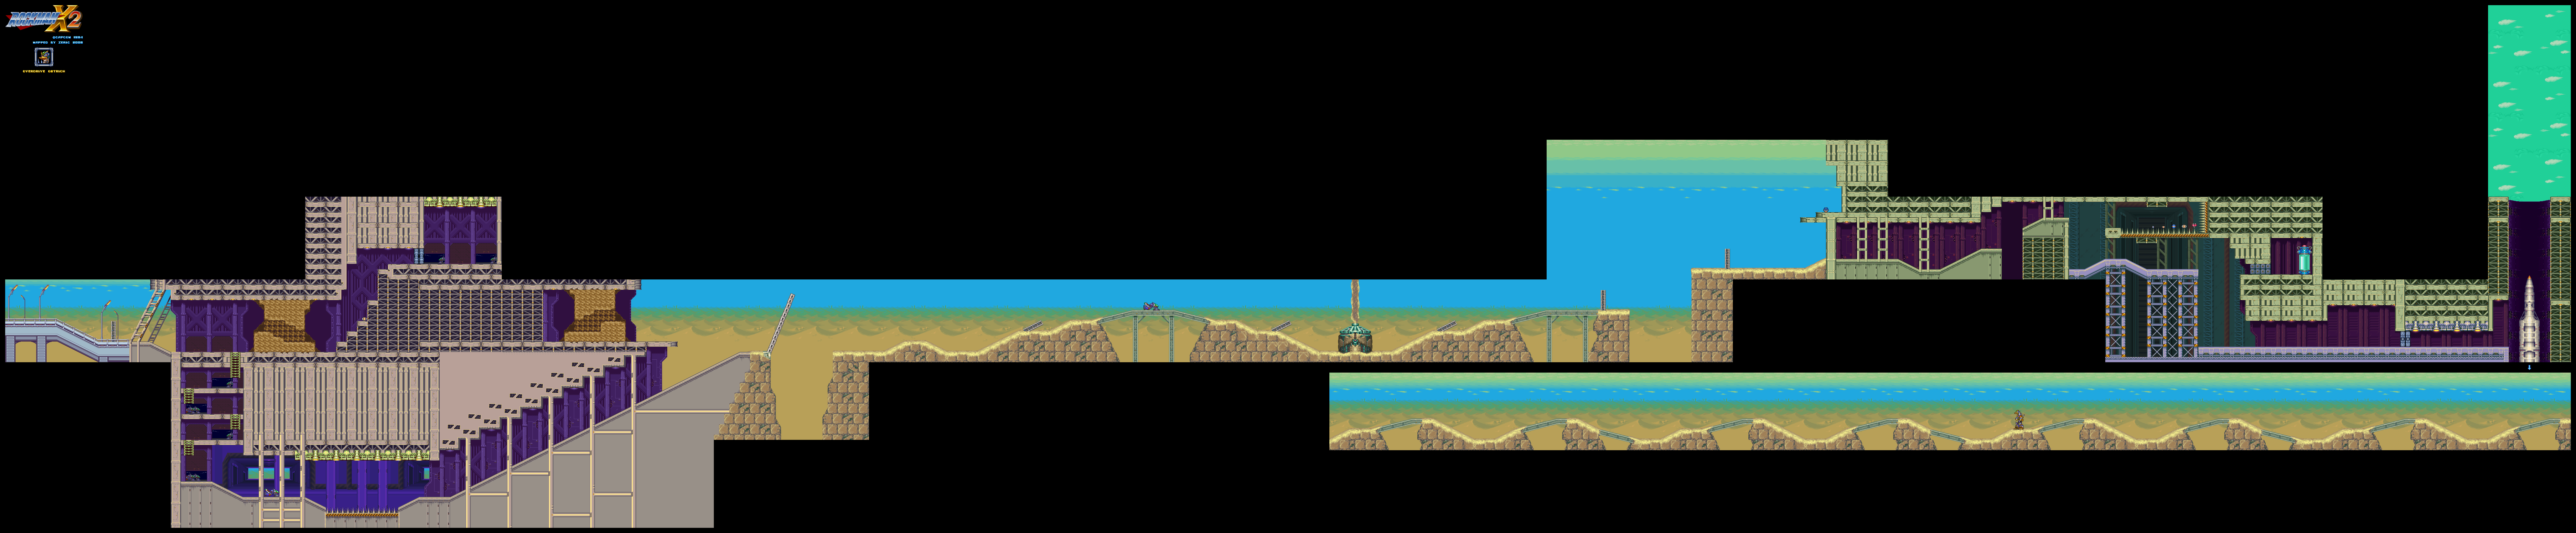
Knock the columns in your path over with the X-Buster.
The one-wheeled robots with the spikes move back and forth, while the scorpion robots sit there and shoot at you.
Instead of going down that ladder, use the Spin Wheel on the dirt wall to the right. You'll find a hidden passage that takes you to a battle with Violen, one of the X-Hunters. It looks like he's the powerhouse of the group.
The doors to the X-Hunters look different to the ones that lead you to the Mavericks, so keep that in mind. If you need to find an X-Hunter area in other stages, feel free to hit up the maps. They're there for a reason.
Violen jumps around and shoots downward in mid-air, and sometimes he'll shoot forward to. Both of those shooting attacks have multiple shots that go in their respective directions at an angle, making avoid the shots a little more difficult.
His nastiest attack, however, is the mace attack. The mace comes out rather fast, and Violen will quickly swing it all around the room as he stands there.
Beating Violen will give you Zero Part No. 02.
Now you'll be able to go back and take that ladder down. Go down further and you'll be able to take a jetbike.
Jump on the jetbike. You won't be able to take damage while you're on, so keep shooting the entire time so you can push the barriers down and not crash into a wall. Left and Right let you change direction and manage your speed, Y lets you shoot and A lets you dash to go faster. You'll run into a sandstorm that makes it harder to see, but it's not really all that bad. When you make it into the next building, take the top path. You'll get the Heart Tank, but you'll immediately crash into the spiked wall and die from touching the spikes. At least you got the Heart Tank.
Crash your bike and then head up the wall to the blocks underneath where the Heart Tank was. Destroy the blocks with Spin Wheel and you'll reveal a path to the Air Dash ability, which lets you dash in-mid air and allows you to climb ladders faster. Take it. It'll come in handy later.
After this, you can head out of here and continue normally. When you reach the rocket, X will automatically destroy it. You'll be back in the desert, and you'll take on Overdrive Ostrich.
Overdrive Ostrich will leap around. You'll want to be under him when he jumps, and that's easier to do when he's going downhill. If he's going up hill, stay away from him until you reach a downward slope and quickly position yourself so that he'll jump right over you, as it is easier for him to hit you while going up a slope. All the while, he mixes it up with two attacks: one where he fires a Sonic Slicer wave out out of his mouth and another where he fires one upwards that turns into four bigger Sonic Slicers that come down around where he fired it.
Sometimes Overdrive Ostrich will run away and run through the background. When he stops, he's going to leap back to where you are. Avoid him and carry on with the battle.
He's also easy to beat with the X-Buster (preferably if you have the upgrade for it), but the Crystal Hunter from Crystal Snail's stage does the most damage.
Beating Overdrive Ostrich gives you the Sonic Slicer. It works much like the boss's regular mouth shot. Powering it up works much like Overdrive Ostrich's other attack - four Sonic Slices come down from above.
Wire Sponge
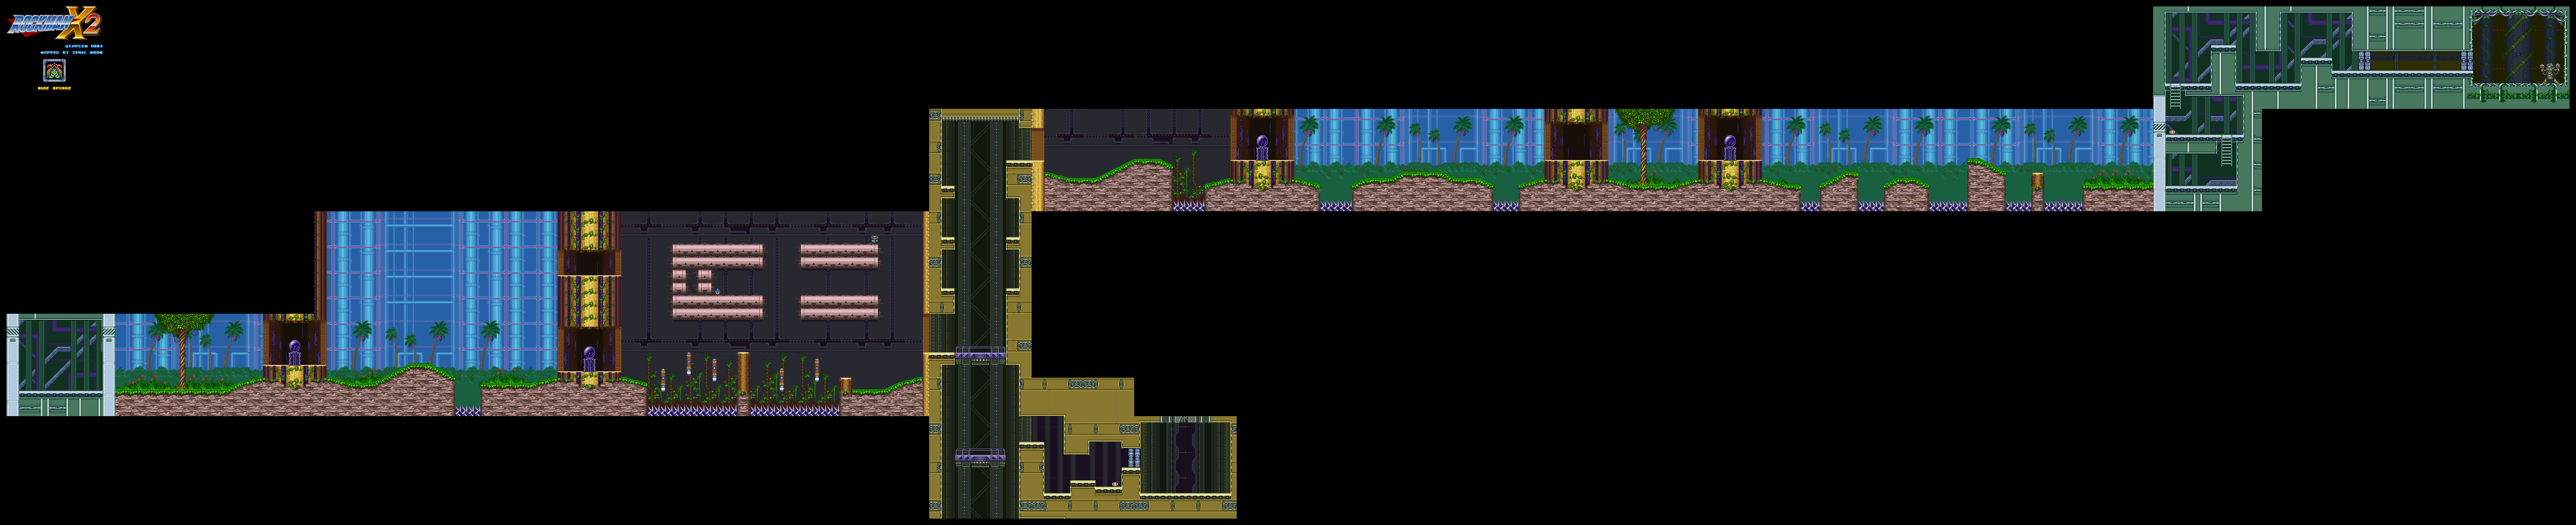
You won't believe where the Heart Tank is. As a matter of fact, it's probably the easiest thing in the game to miss. Wall jump up the left wall at the beginning and you'll find it. That's all. Really.
You can change the weather here with the weather control orbs if you hit them with specific weapons. If everything has a yellowish hue, that means it's humid. If that happens, the frog enemies that just leap forward and shoot at you will immediately fry from the heat and die when on-screen. If it gets dark, it will start raining. Remember the rain from the Toad Man stage in [i]Mega Man 4[/i]? If it rains here, prepare to be blown back while in the air...again. If you have the Crystal Hunter, you can create foggy weather.
At the second orb, go up and take the top path. Go right to find some cool stuff, such as an extra life and one of the four Sub-Tanks! Now you have a portable energy tank! At last! To fill it up, fill your health all the way up, then collect health-pickups. They'll instantly go into your Sub-Tank.
Slide down the wall when you get to where the lifts are, and you'll find the X-Hunters area to the right. (This and the Overdrive Ostrich X-Hunter rooms require something to be accessed, the rest can be found by just exploring and don't require anything. Again, consult the maps.)
From some reason, I face Agile here. Stay on the upper part of the wall to kite him into attacking you. Dash to get under the huge crescent projectiles he shoots out if you're on the ground, and stay away from him as he tries to do a Shoryuken with his sword. If he rushes at you, be ready to wall jump and dash over him. This is easier if you stay on the wall.
Beating Agile will give you Zero Part No. 03.
Flame Stag
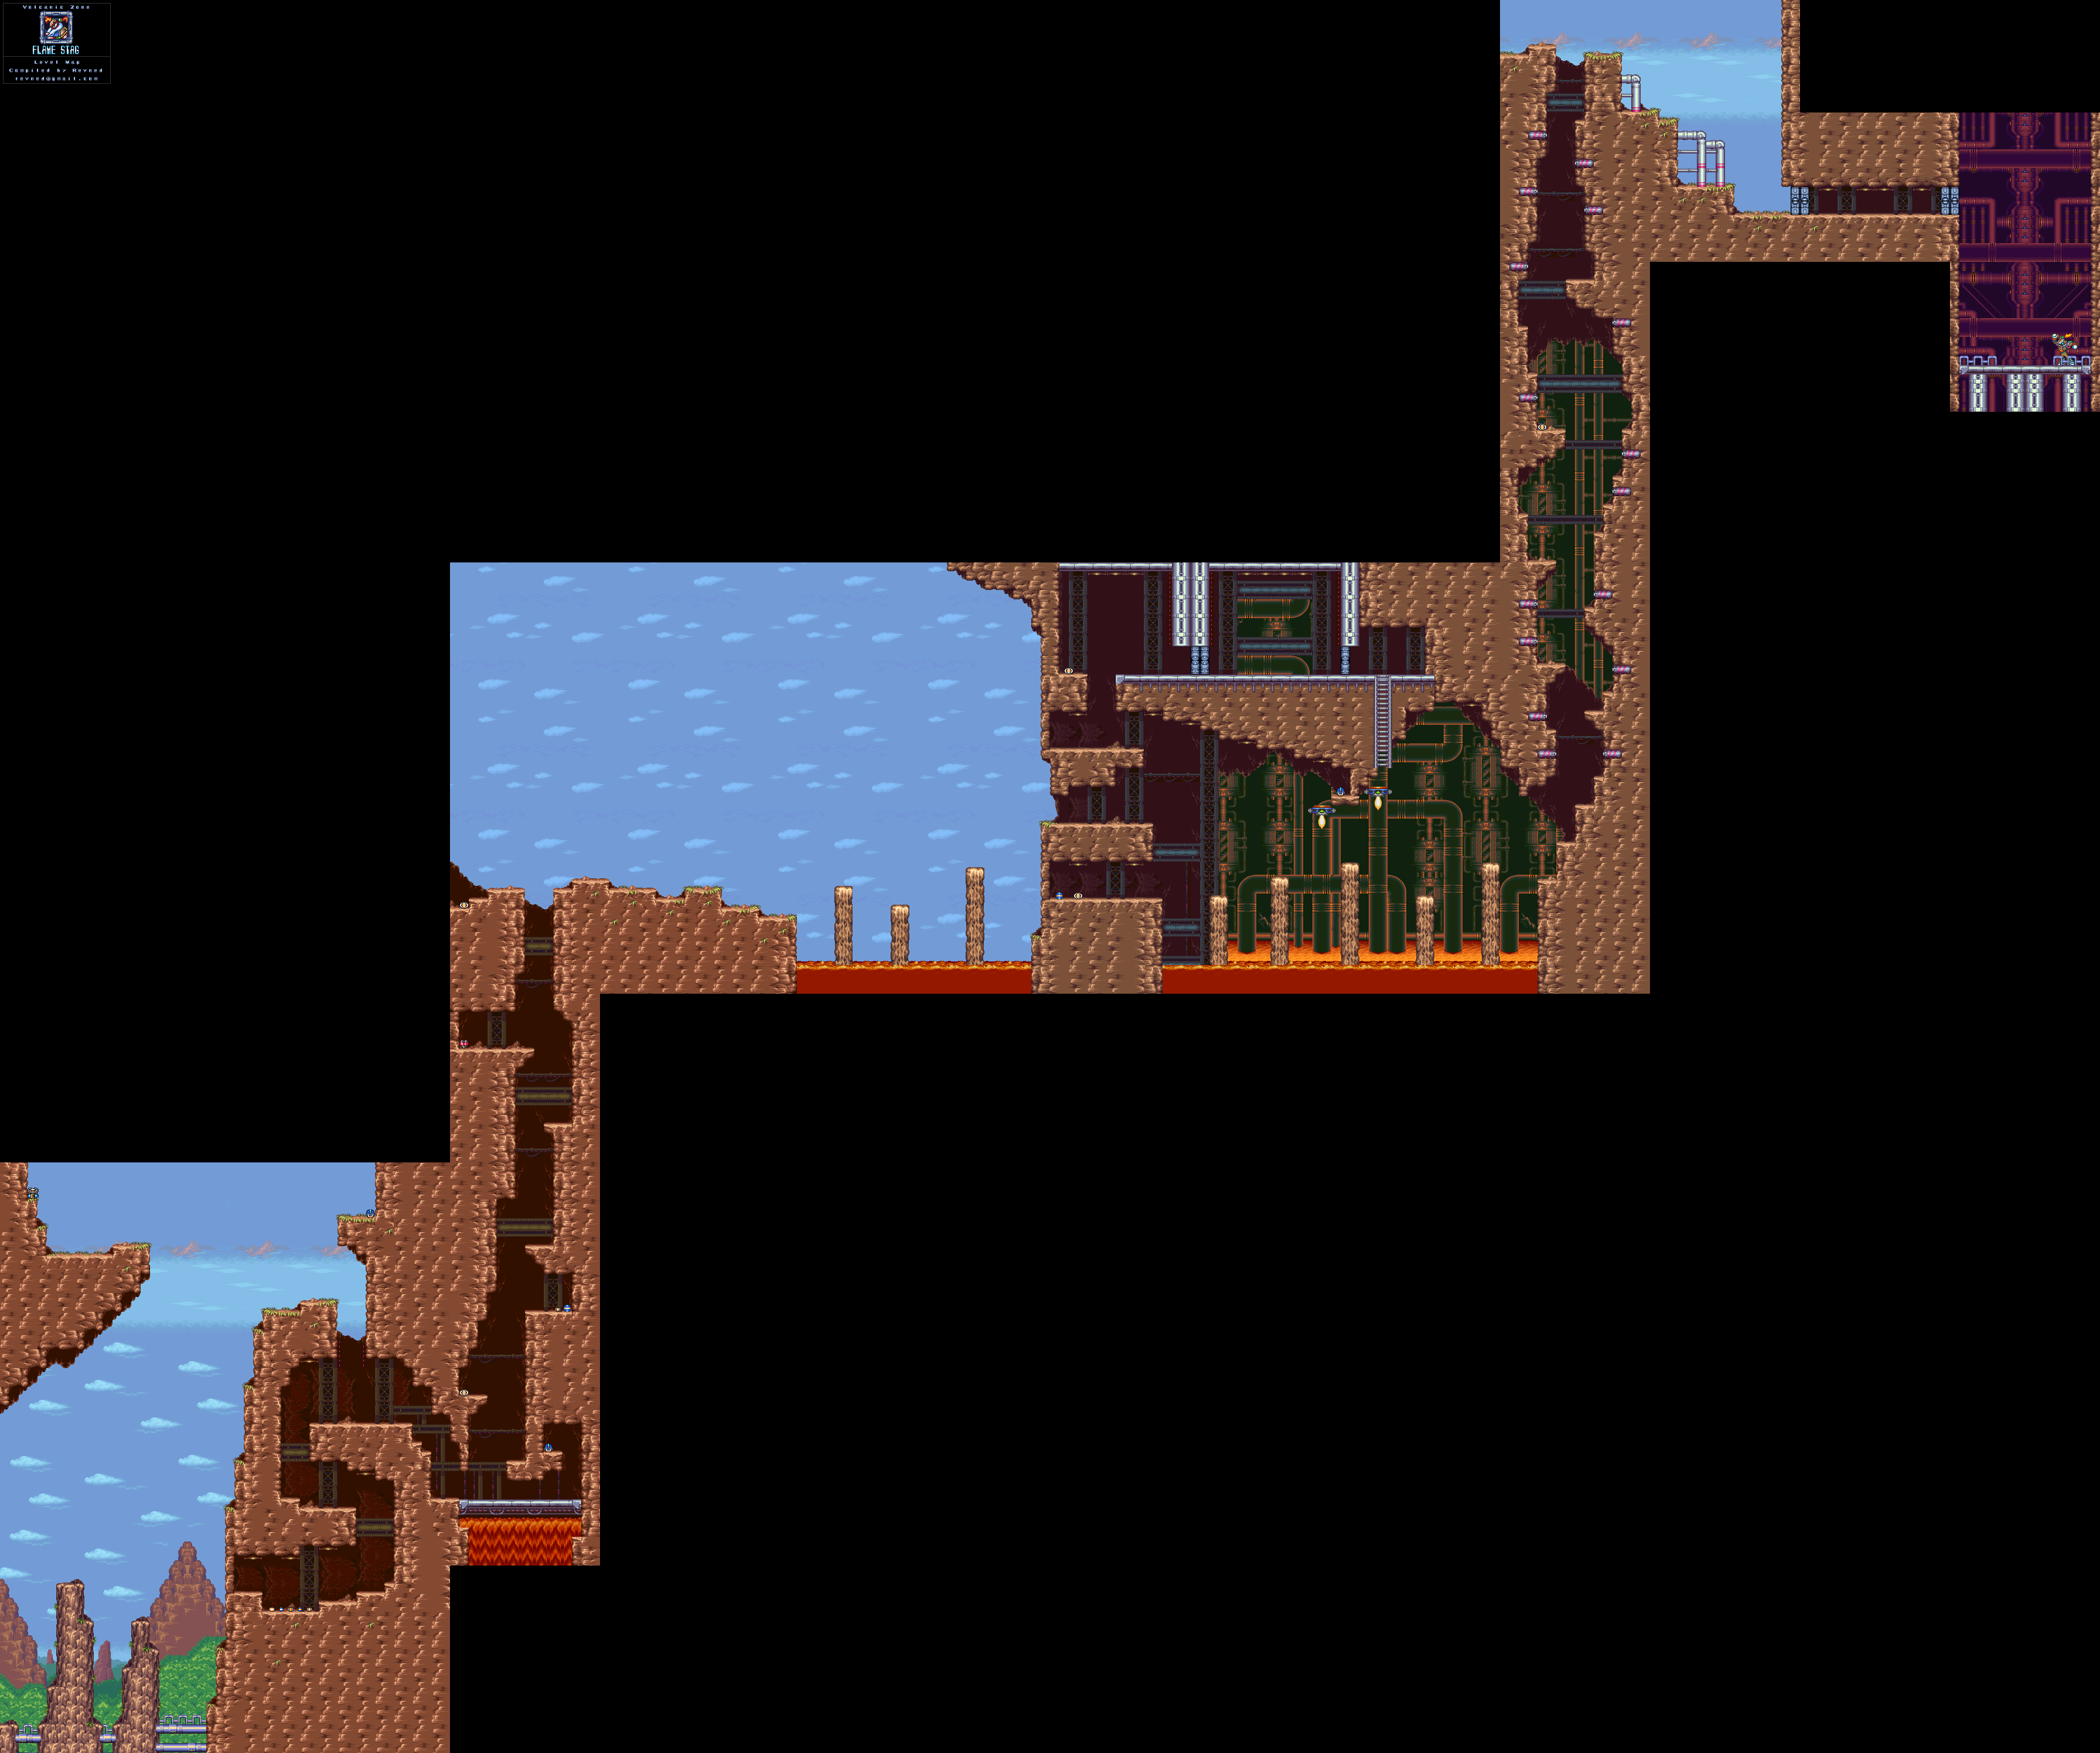
To take care of that stag beetle robot, just have it plow into the wall where you're supposed to go. This wall will block the path to the rest of the level. If you can lure it upwards, though, you'll be able to access a 1-Up as well as a Sub-Tank. To do that, lure the stag beetle robot to the right, then stand on the flat part of its head. It will take you up to some platforms that you couldn't normally access. There you go. If you go low, however, the stag beetle robot will break the wall when lined up to it, then explode.
You'll then be in a race against the lava in an upward climb. If you're quick, you can get rid of the wall robot that blocks your path and get the Heart Tank behind it.
Once you make it away from that volcanic eruption waiting to happen, you'll be able to continue to the right. If you even do so much as do a wall kick on the column-like platforms, you'll cause them to sink into the lava with a mighty quake.
The vertical shaft with the pipes with the pink stripes in the walls may seem harmless at first, but the lizards that walk down the walls and glide their way down turn the fumes into the flames if they're not trying to hit you with three-way shots.
If you're wondering why the area where you fight Flame Stag is huge, well, that's because Flame Stag will wall jump to you until he hits you. You're going to be moving around quite a bit as you fight him.
Do you have the Bubble Splash? If you do, just shoot him with it and jump over the fireball he throws before shooting him again. It won't take long at all to get him in a loop like this and get rid of him very, very easily.
Beating Flame Stag will give you the Speed Burner - a much larger version of Flame Stag's fireball that quickly travels across the screen. Powering it up lets you rocket forward, much like on Flame Stag's regular attacks.
No comments:
Post a Comment