We got a lotta pushin' to do.
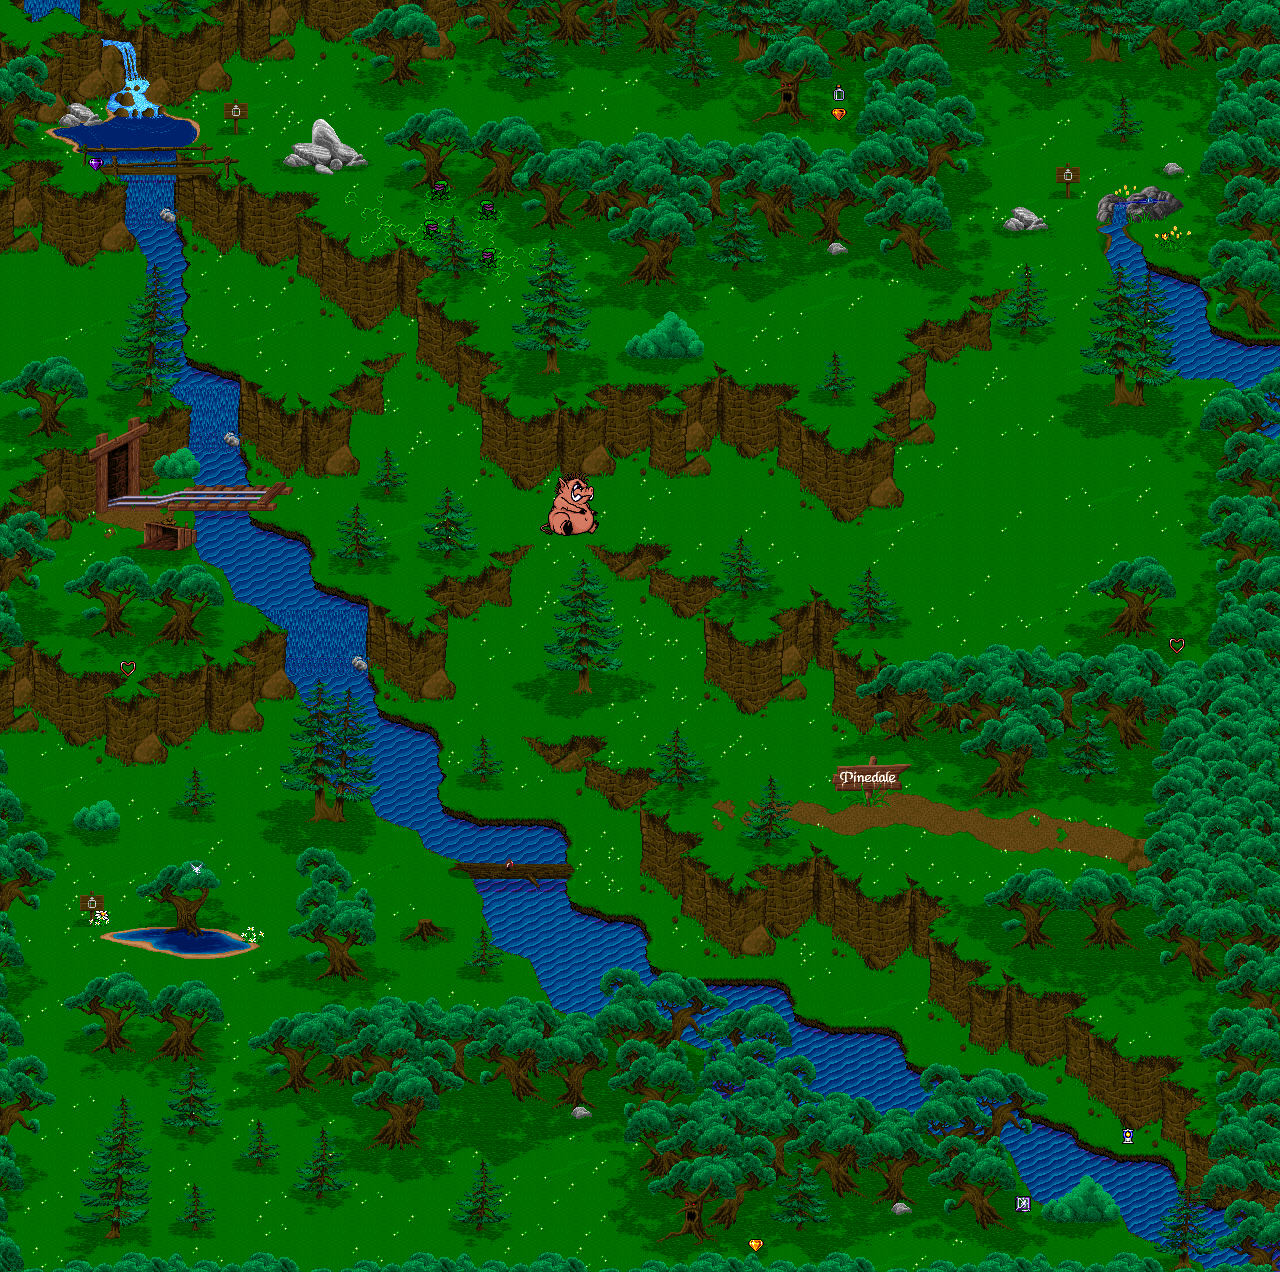
As soon as you enter the stone archway, you'll be met with a new puzzle and a fire blocking your path. There are three bowls to put things in. Put rainbow water from the lake at the start in the left bowl, the clear water from the spring near where the pig enemies were in the center bowl, and the blue water from the fairy's lake in the right bowl. The only things hinting at these waters are a rainbow, a yellow flower near the stream near the pigs, and the white daffodil from near the fairy's lake, respectively. Putting the correct waters in the correct bowls will get rid of the fire. If you don't put all three waters in the correct order, you'll have to go all the way back, re-collect the waters, return here, and then put the waters in the right place. Talk about annoying! At least you can use the spring to get back to the blue gem area.
Once the fire is out, go left and use the balloon near the ledge above once you move the plaques out of the way. You'll elevate yourself up to an area that you usually couldn't reach to get a health extension. To get back down, just move down in a specific spot and Merlin will drop down.
On the way right, you can move around south of the lava.
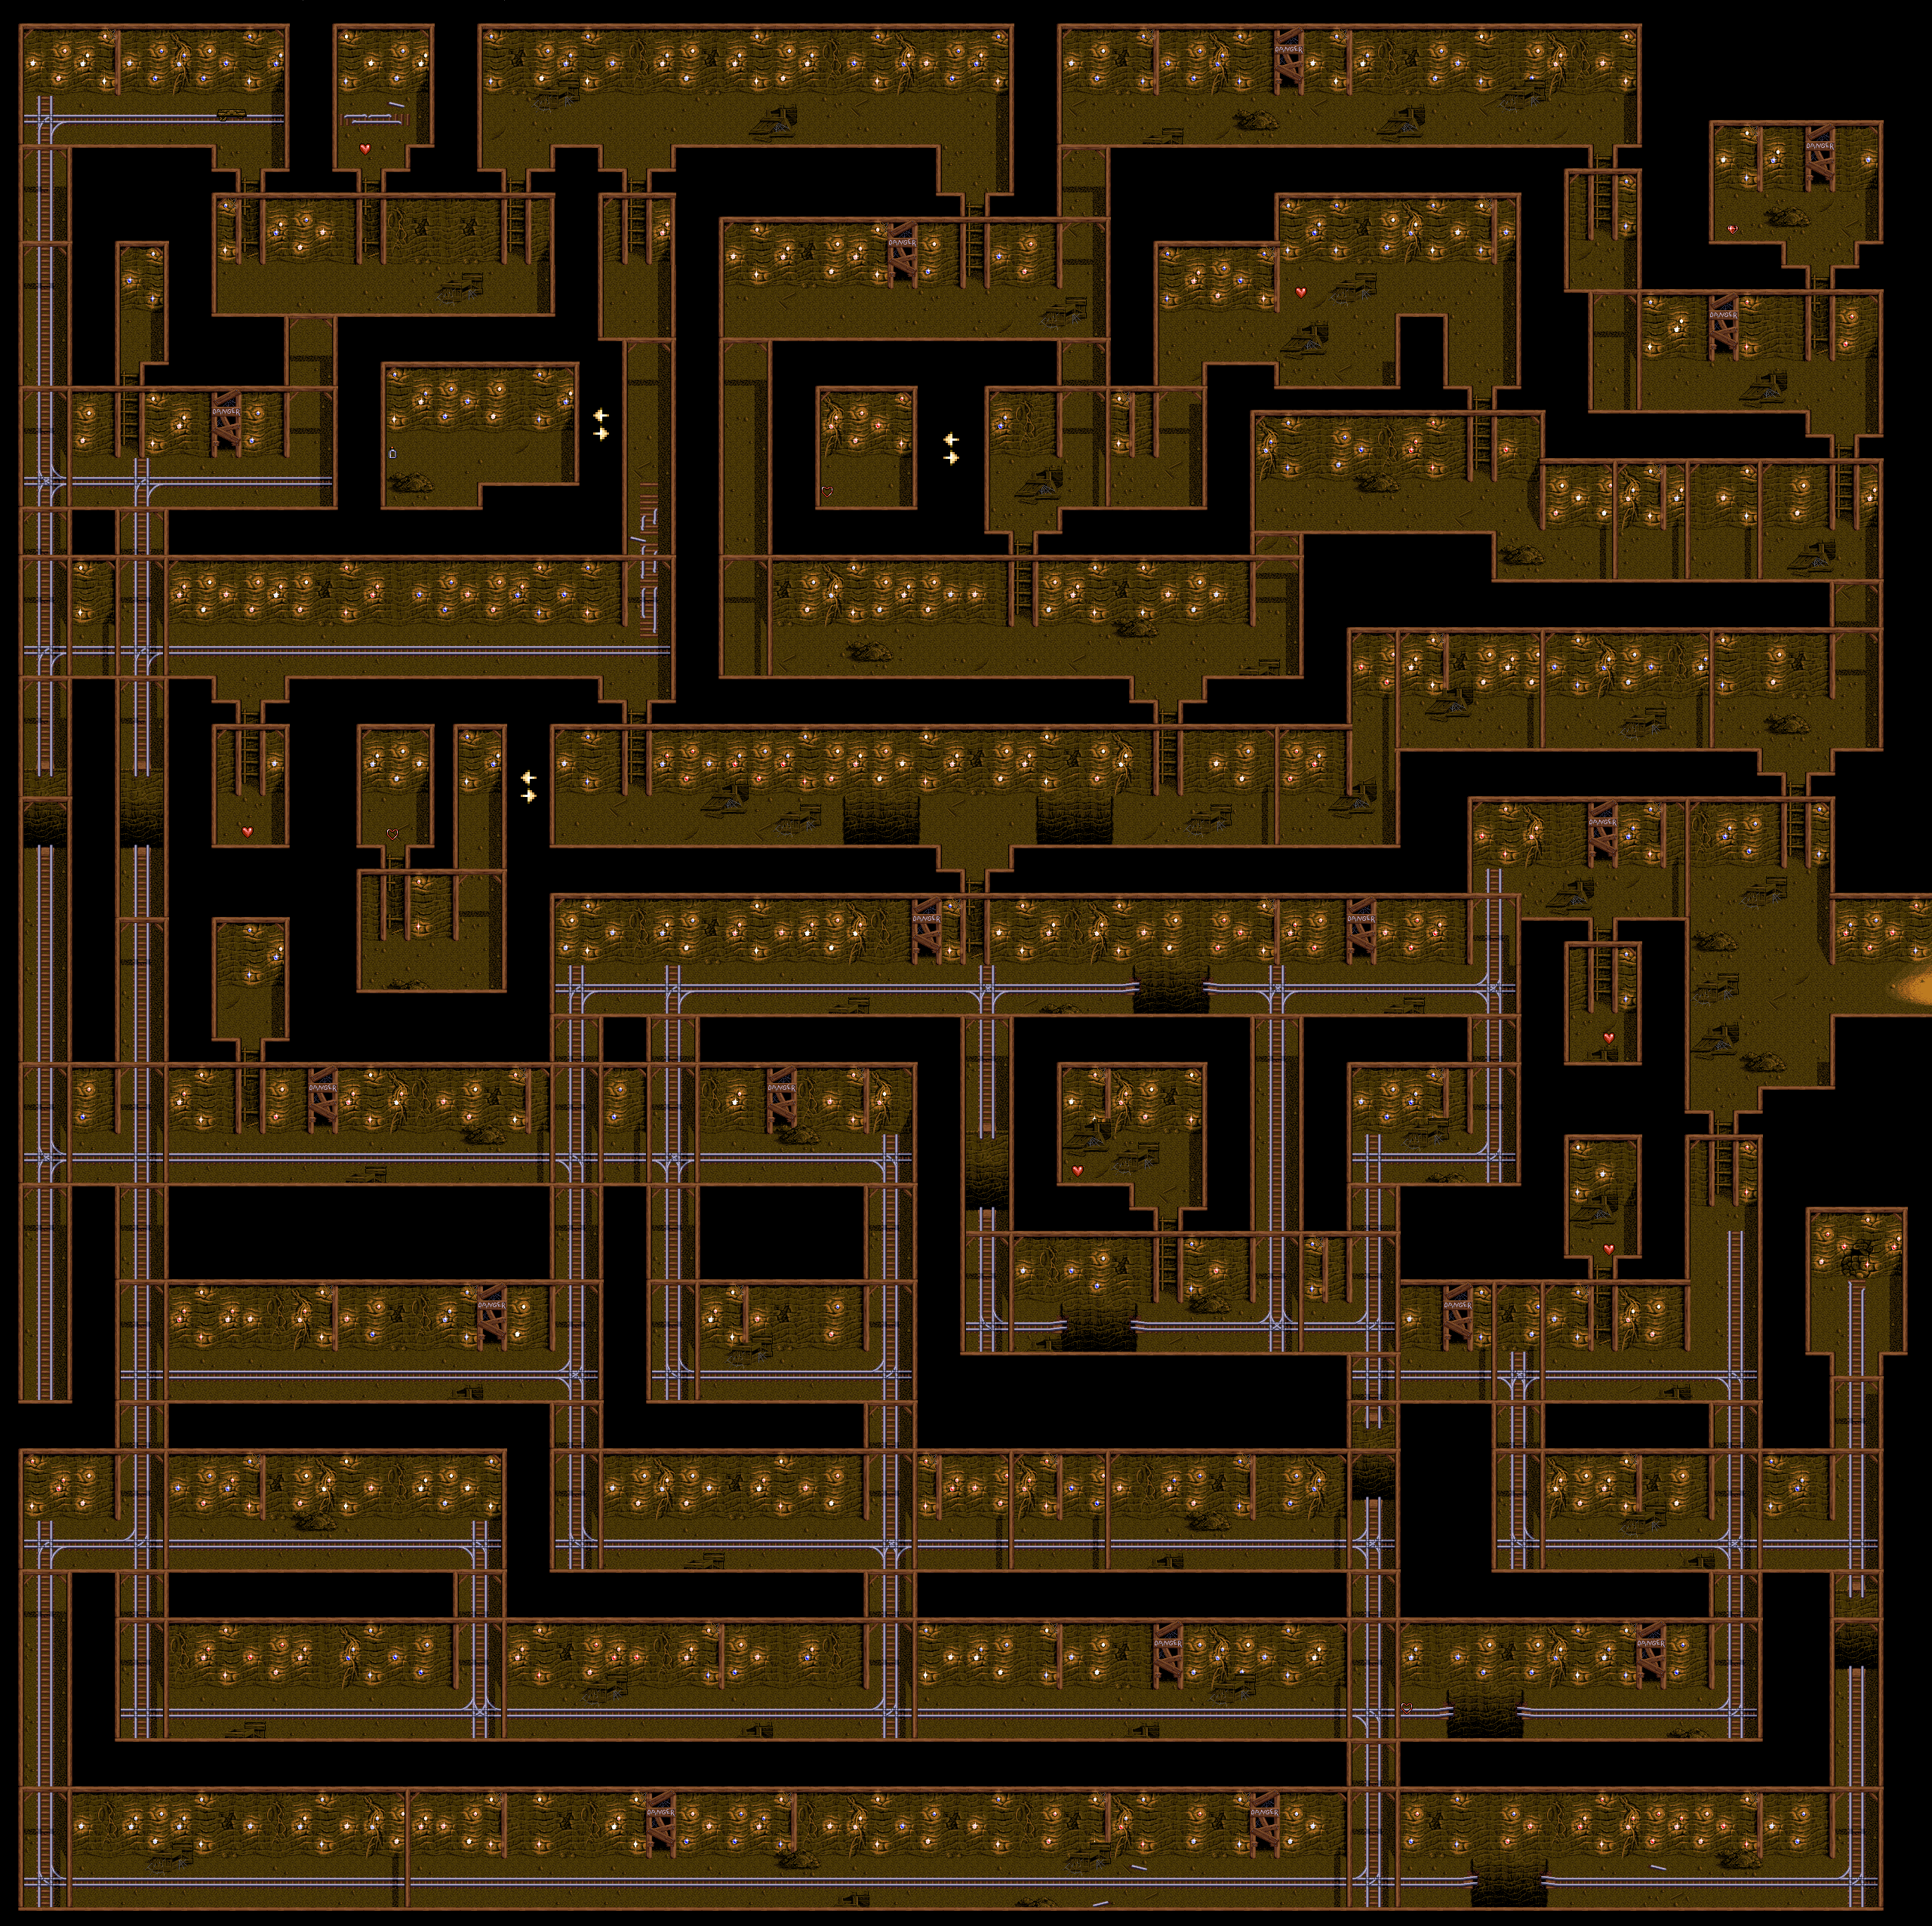
The four arrows logo on the floor can be used to reset puzzles. Just use the four arrows item like any other item, and you'll reset the nearby puzzle while reappearing on the nearest logo. Thankfully, completed puzzles don't get reset.
Pushing the next plaque onto the button lets you head north, where you'll have to get more plaques on more buttons. You'll need to push the three next to each other in position first, then move the other two. Keep in mind that the plaques can only be moved around on the checkerboard floor, but you can push them from outside said floor.
Head to the north. For the next puzzle, you'll need to get all four plaques on the left, then move them into place. That's all you need to do. The door opens up with the plaques disappearing. There will be a soldier past the door, and you won't be able to get past him...yet. But at least these puzzles are done.
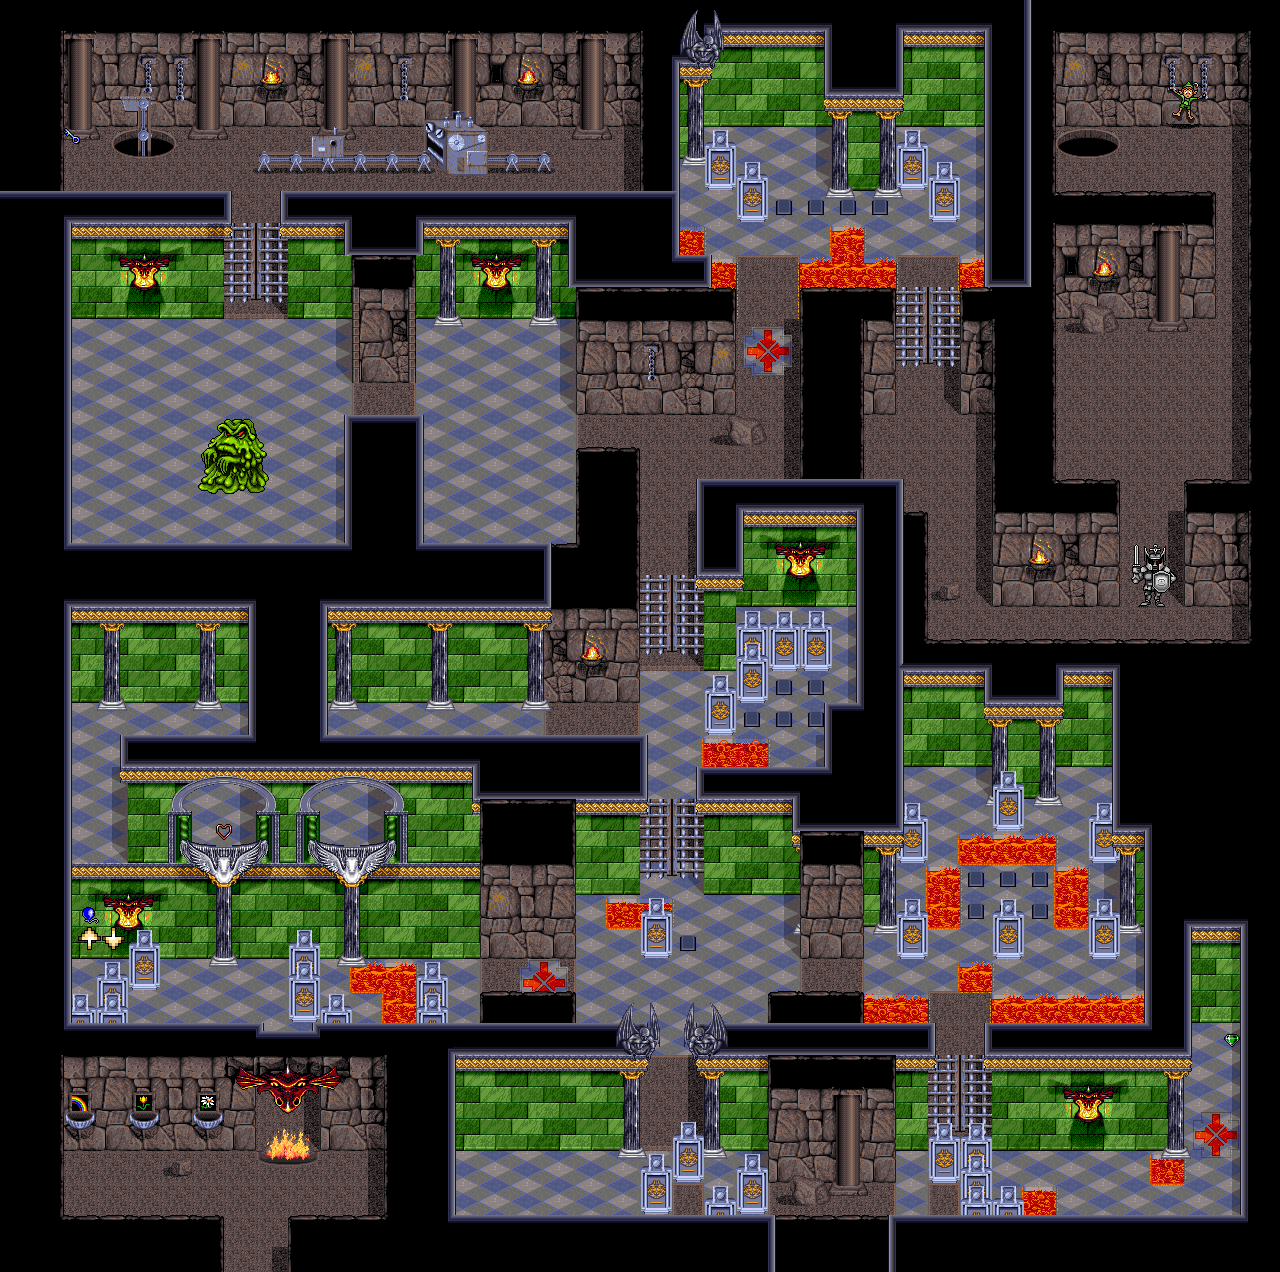
For now, head back, then go left of the four arrows logo. Equip the powder and enter the next room to face Bloop. Wait for Bloop to split into four, then freeze the pieces of him with the powder and attack them with the stars. He may get back together once or twice, but the parts that get destroyed will stay destroyed.
After Bloop is defeated, head north to find some machinery. Head left to pick up the key. Keep the machinery in mind for later; you'll need to put something on it when you get that something.
For now, go back to the intersection east of where you started and go east. It's time for another puzzle. Push everything at the bottom to the top row - center, left and then right. Push the top right plaque north once, and the top center plaque to the west twice. This lets you push the top left plaque out and onto the bottom left button. From there, you can push the top center plaque to the bottom center button, then push the top right plaque onto the last switch.
This opens the door to the south, but you'll need to wrap around to that area from the other side. Move the plaques that are in the way to the south so you can head to the right, then move the middle plaque to the right. Wrap back around to the other side and push the plaque to the right south and the plaque to the left west. You'll be able to get the green gem and get out of here.
You now have all of the puzzles solved. They will stay solved, and while you'll still have to push a few non-puzzle plaques out of the way, getting around here is a lot easier now.
You can now head all the way back to the lake and throw in the green gem. When you do, you'll get the magic mirror. Meanwhile, there will be two dwarves where you found the blue gem...and now you're going to have to go through there AGAIN!
No comments:
Post a Comment