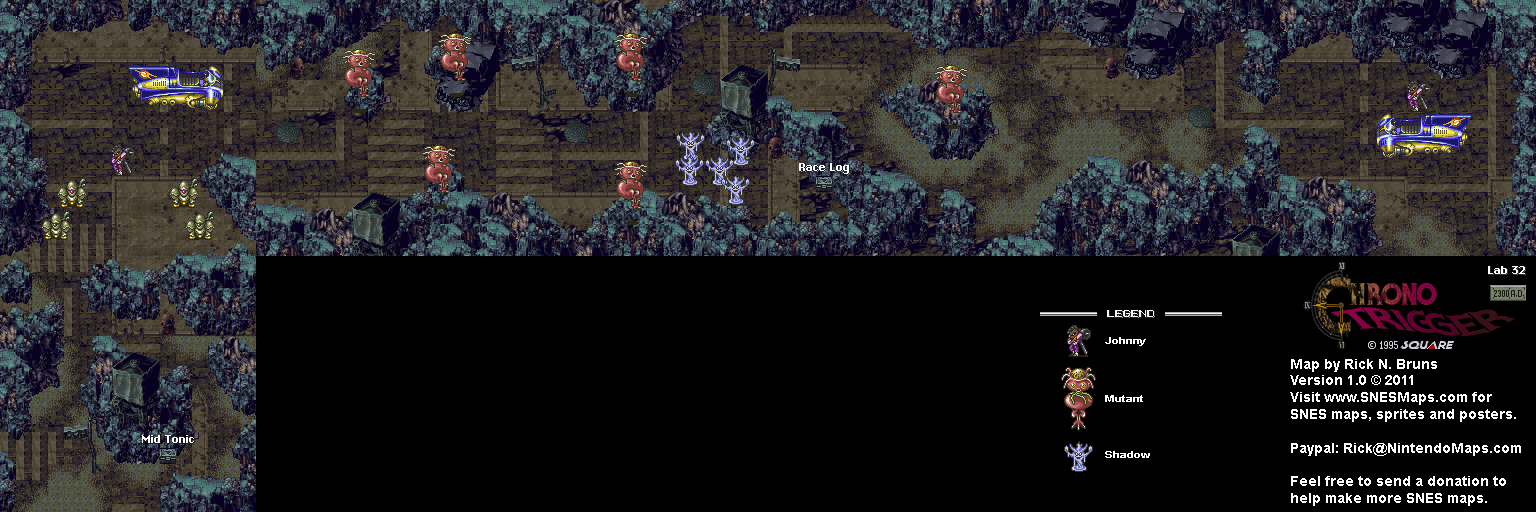
In this entry, we rescue Melchior and head out towards the Ocean Palace.
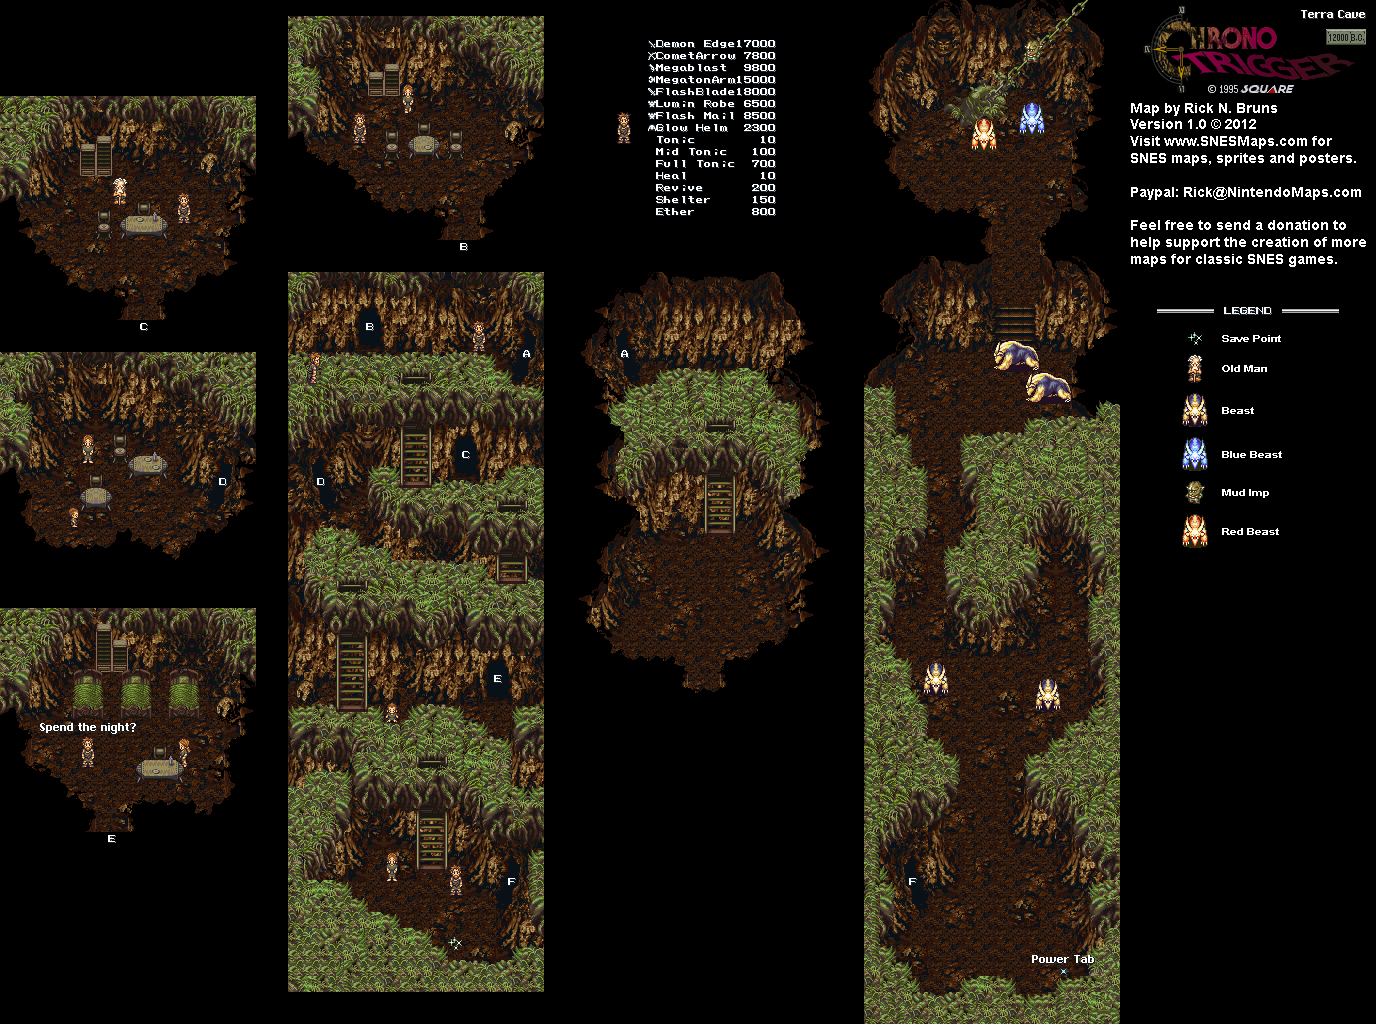
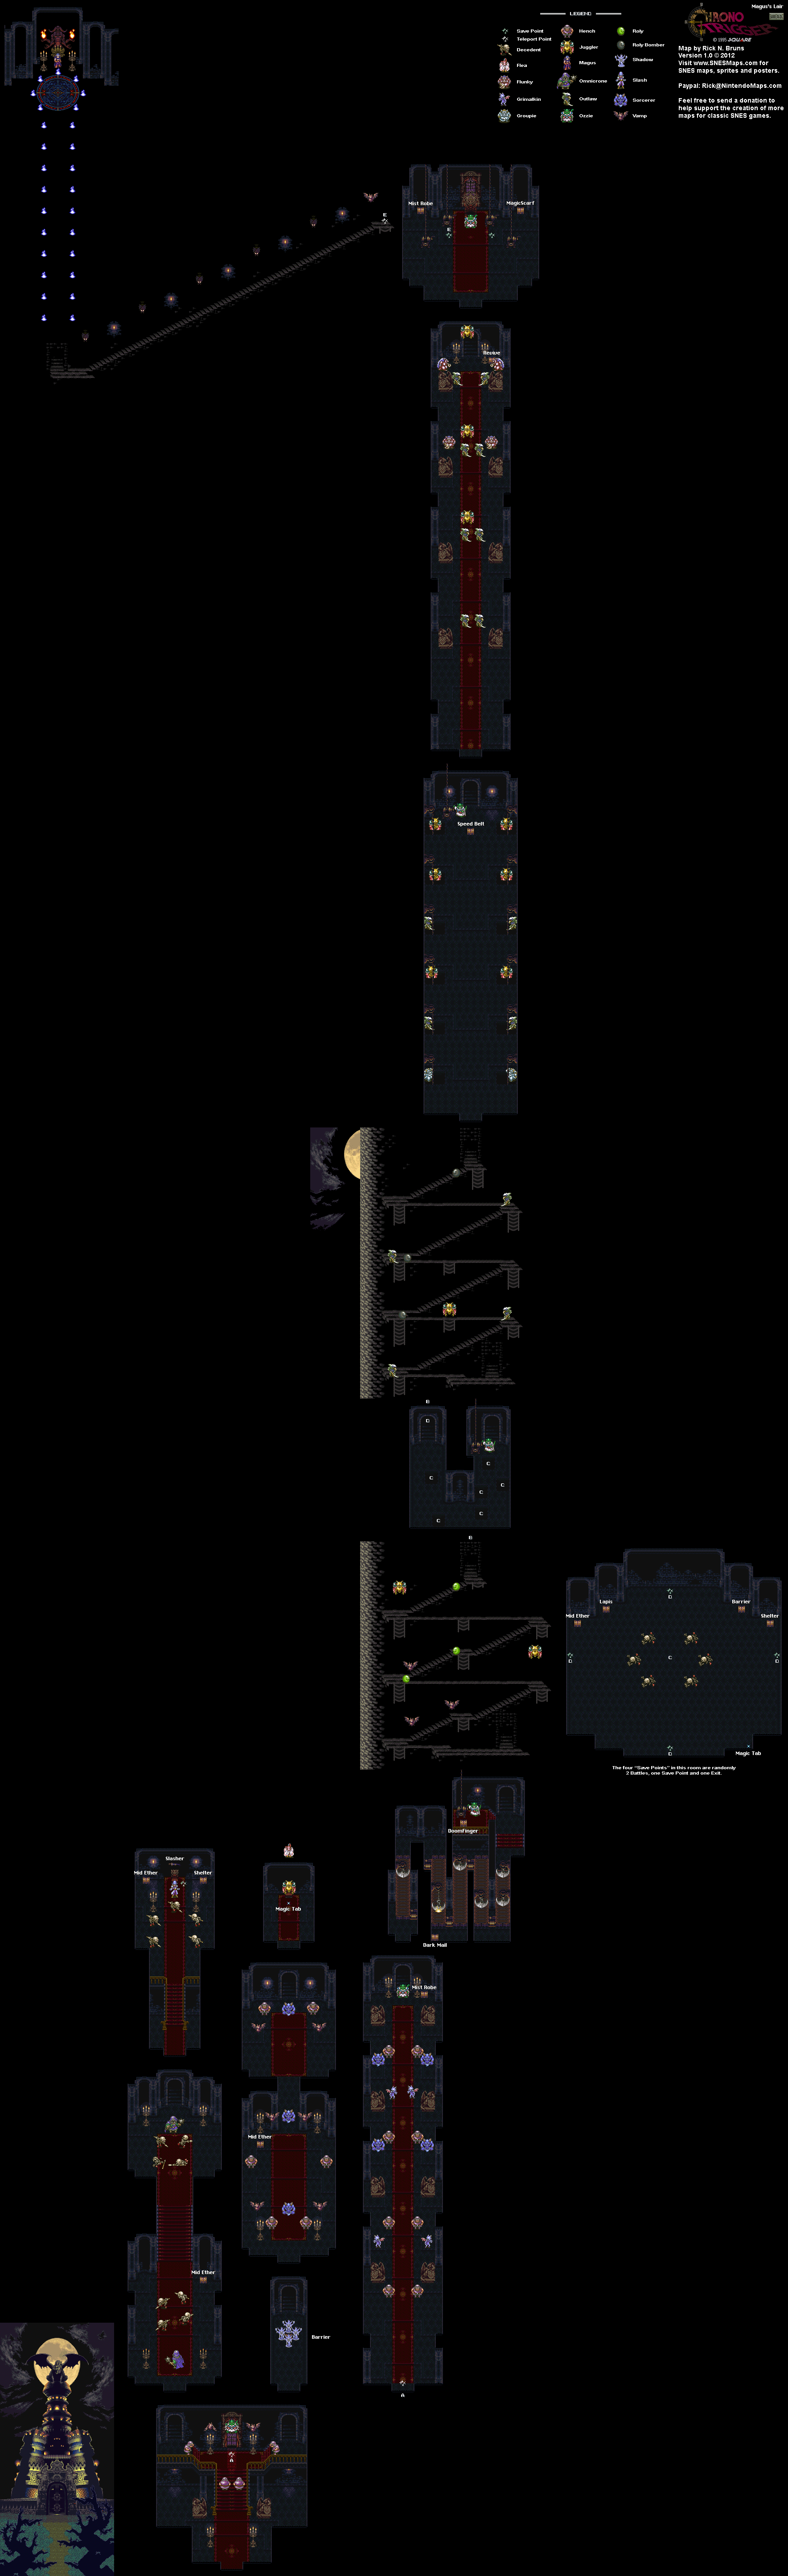
When you reach the save point on Mt. Woe, you're nearly at the top. When you climb up the chain in the next room, the sky will get dark. You'll then reach the summit, where Melchior is trapped inside a barrier. When you approach the barrier, the barrier will disappear, and Giga Gaia will show up from out of the ground.
You'll want to get rid of the fists first, as they can perform an electric-based and a fire-based double team attack that can do damage to your party. (Good thing we had those R'Bow Helms equipped!) Once again, bringing Ayla here to take them both out with Falcon Hit works wonders. The hands can be revived, but they will revive at half their original HP, making them easy to take out with one Falcon Hit instead of two. Once you take out the hands the first time, you can work on Giga Gaia's head and do damage to it. When the hands revive, you'll want to get rid of them again.
Speaking of Ayla, if you Charm Giga Gaia's head, you'll get a Speed Tab.
When you beat Giga Gaia, you'll free Melchoir, who will have no idea of who you are or even reforging the Masamune, as you are meeting him in a time before he ended up in 1000 A.D. You'll then return back to the Elder's room in the Terra Cave.
.png)
Back at the Terra Cave, Melchior will tell you what Lavos is doing deep beneath the Earth, which is stuff you already know, and that Lavos must be stopped before it is too late. Suddenly, Schala and Janus will show up. She will mention that the Ocean Palace is now operational, then tells you that she has kept the Skyway open and asks you to stop her mother. Dalton will then show up and attacks Melchior, Janus and the elder before taking Schala hostage. He then teleports away with Schala and Janus.
Once you have control again, talk to Melchior. After he says that the world is doomed thanks to Queen Zeal, Crono steps up to challenge the queen. In a gesture of thanks, Melchior will give you the Ruby Knife, which you'll need to stop the Mammon Machine, which is now in the Ocean Palace. Your next stop is Zeal Palace, and thanks to Schala, we can finally go up to the floating continent with the Skyways again.
Before we go there, we handle a few things.
.png)
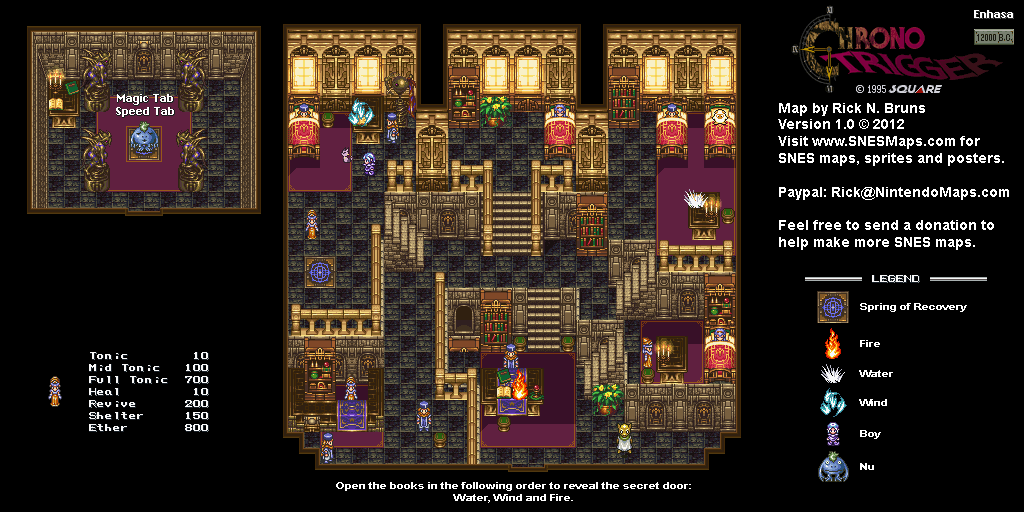
Believe it or not, there is a Speed Tab at the southeast corner near the door in that area. You'll see it in the previous room if you're in the northwest corner and you see the sparkle there. You'll have to go behind that wall to pick it up. (This is a copy-paste from Part 28, I know, but I finally get it here.)
Also, the store here sells Lode Armor and Lode Helms. When the Nu shopkeeper asks if you have Schala's pendant, say no. He will then sell to you. Buy the Lode Armor for your party, as the Lode Helms are useless thanks to the R'Bow Helms. (If you say Yes, the Nu says "I hate liars." You'll then have to exit and re-enter Enhasa to try again.)
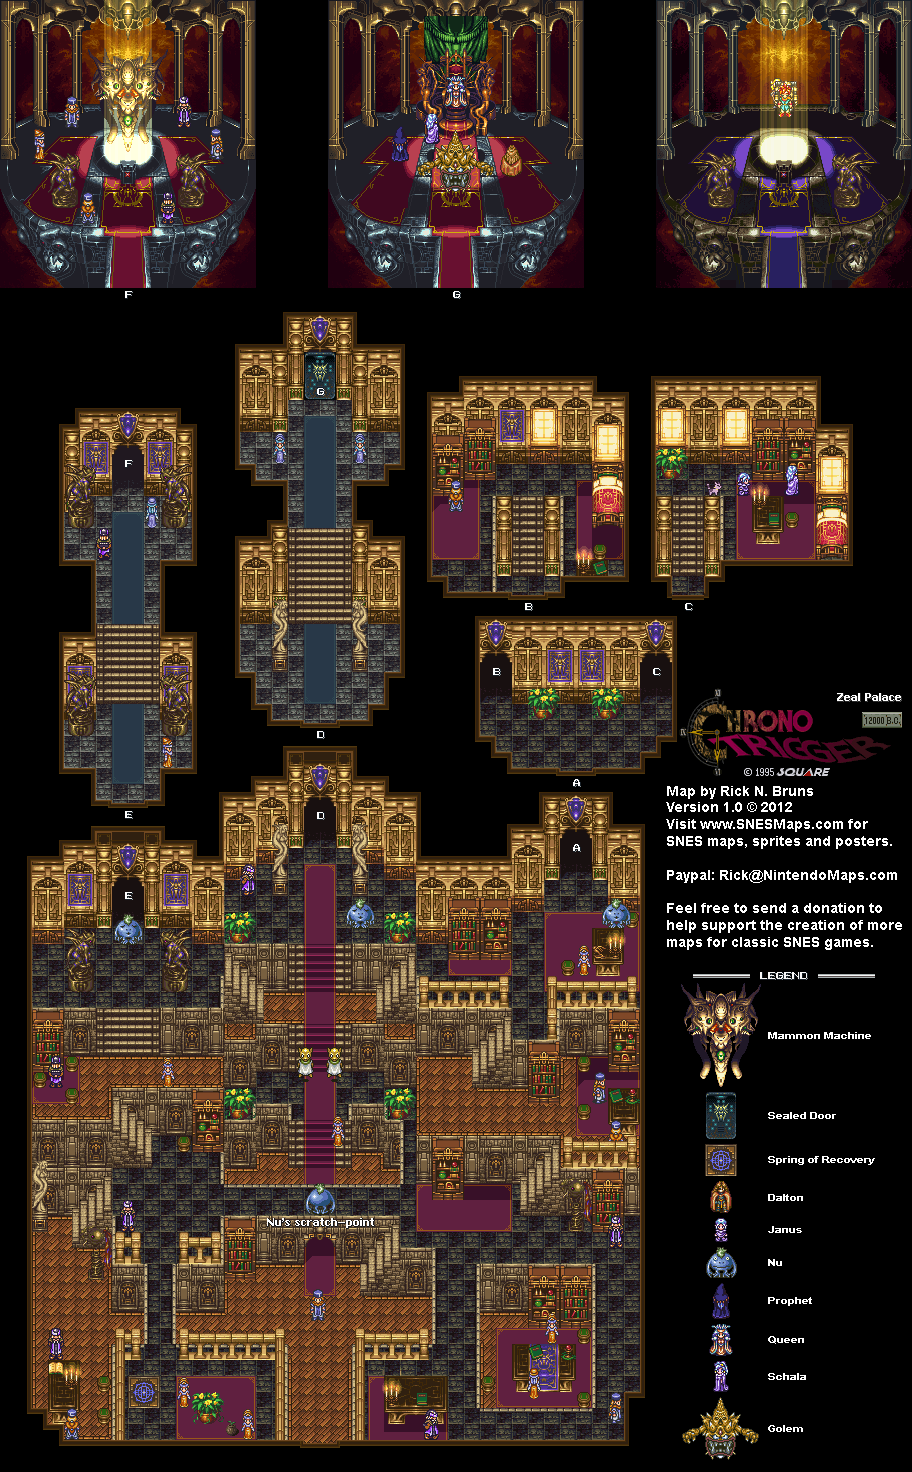
Back at Zeal Palace, it's a straight shot to the throne room thanks to Masa and Mune no longer being in the way.
If you go to where the Mammon Machine used to be, you'll find out that it is gone and has been moved to the Ocean Palace.
When you get to the throne room, you'll face Dalton. Dalton attacks much like the Golems with Iron Orb on counterattack, but not much else. Using Delta Force with Crono, Lucca and Marle whenever possible really tears into his HP. Just be ready to heal your party with Aura Whirl often.
If you have Ayla in your party, you can Charm Dalton and get a Power Meal. This item just cures the "Lock" status and does nothing else, and is only worth 1G if you try to sell it.
If you have Ayla in your party, you can Charm Dalton and get a Power Meal. This item just cures the "Lock" status and does nothing else, and is only worth 1G if you try to sell it.
When you beat Dalton, he will flee to the Ocean Palace, and a Gate leading to the inside of the Palace will form.
.png)
.png)
.png)
.png)